
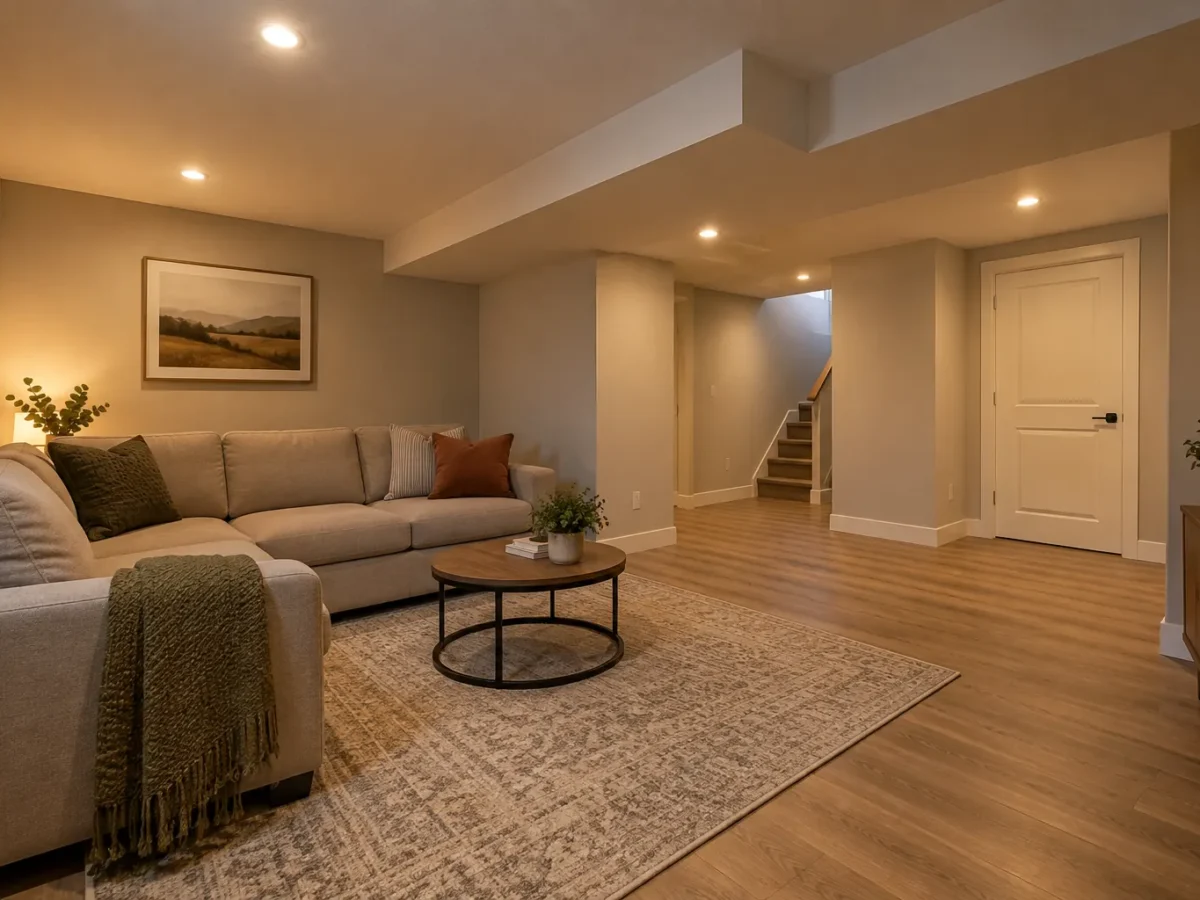
Yes, pot lights can often be installed without access to an attic above the room. Whether a specific layout is feasible, how much investigation it takes and what finish repair remains depend on the actual ceiling. A shallow LED fixture can fit in some constrained places, but wiring still has to reach it appropriately and the driver must have a suitable location. Joists, ducts, plumbing and insulation can change the plan. Treat “no attic access” as a reason for a careful site assessment, not as an automatic refusal or a promise of invisible installation.
Picture the ceiling as a series of cavities
From below, drywall presents one continuous plane. Above it are framing members and possibly blocking, ducts, plumbing, wiring, insulation and other services. A light proposed at one point may have space while the next point does not. A route running parallel to joists may present different constraints from one crossing several cavities. The contractor must assess these conditions and devise a compliant installation method; a homeowner cannot determine the route by measuring equal gaps across the ceiling.
This is why a layout should express the lighting goal, not just a fixed row of dots. If an obstacle requires a shift, consider where the beam will land after the move. A fixture intended to light a kitchen counter might end up behind the cook and cast a shadow. A light moved in a living room may reflect in the TV. The finished-ceiling guide develops the constraints in detail, and the spacing guide helps preserve the lighting result.
Four common versions of “no access”
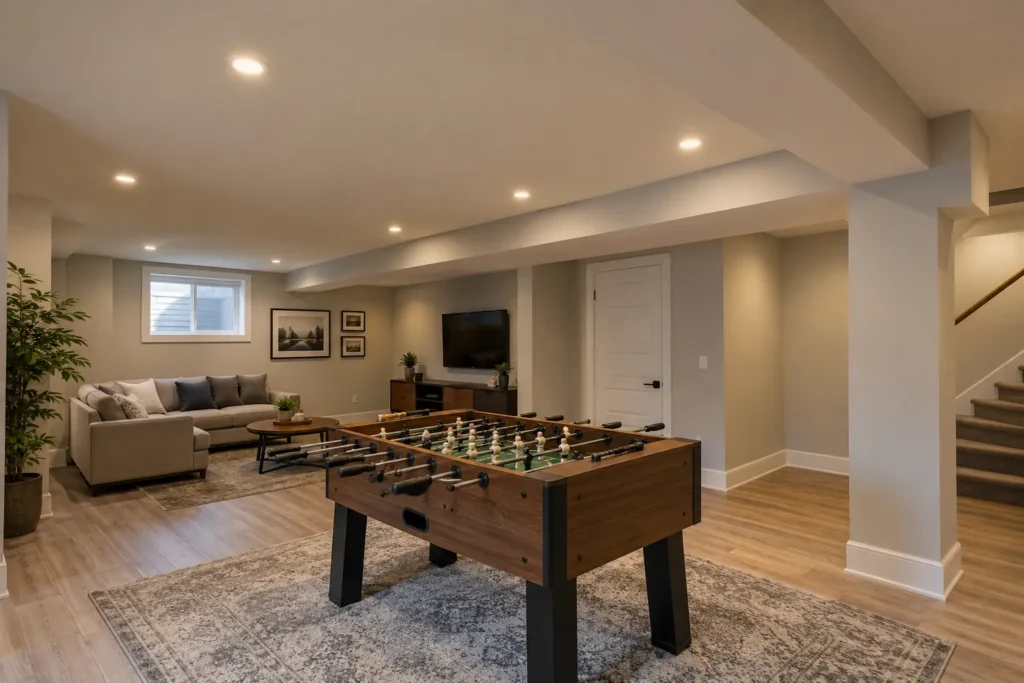
A main-floor living room under finished bedrooms has no open cavity reachable from above. A basement beneath a finished main floor may have ducts packed among joists and a lower ceiling. A top-floor bedroom might have an attic with no usable hatch near the work. A condo could have building rules and a ceiling assembly that requires additional coordination. These are not interchangeable jobs. Describe your building type, room position and known access points when asking for an estimate.
Existing lighting openings or nearby unfinished utility spaces may help with investigation, but they are not a guarantee of a route. A renovation opening in another room can sometimes create useful visibility. If you plan to repaint the ceiling soon, there may be an opportunity to coordinate work and finish repair. A contractor should inspect the circumstances rather than quote solely from the label “pot lights in finished ceiling.”
Start with the room's use, not the obstruction
It is tempting to choose the easiest possible hole first. Instead, identify counters, seating, walls and pathways needing light. In a kitchen, under-cabinet fixtures might solve counter shadows with less reliance on a difficult ceiling cavity. In a living room, a wall or reading light might serve a task more comfortably than another overhead fixture. A basement often needs separate zones for media, play and work. Decide the purpose, then find viable fixture locations that deliver it.
This can reduce unnecessary openings. A layout based on a universal count per square foot may ask for lights in inaccessible or visually unhelpful positions. A fixture with different output or beam might achieve the intended coverage with a revised arrangement. The quantity guide discusses that decision. Do not let installation convenience alone decide the room’s long-term lighting, but do not force a ceiling grid through structural or mechanical obstacles either.
What a slim fixture can and cannot solve
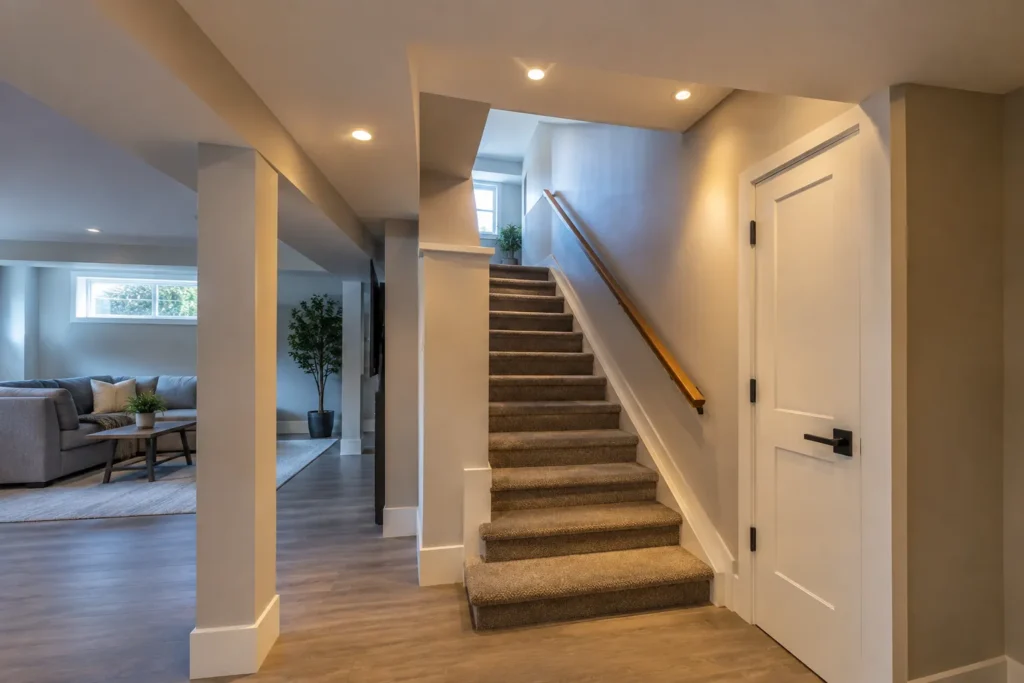
Slim or canless LED fixtures have a shallow light module, which can help where available ceiling depth is limited. Their associated driver or junction component still needs a suitable place, and wiring must be properly routed. Product instructions may impose conditions related to insulation, component access and ceiling construction. A shallow module does not make a joist, duct or pipe disappear. It also does not mean a dry-location model is appropriate near a shower or under an exterior soffit.
Traditional recessed housings and retrofits have their own advantages and constraints. Where an existing housing is present, a compatible approved retrofit might avoid some work; another ceiling could benefit from a different system. Compare actual products and ceiling conditions rather than deciding every finished room requires wafers. The slim versus traditional recessed guide gives a product-specific framework.
What should you expect for drywall?
Every new recessed light needs an opening for the fixture, and the electrical route may require other access openings. Sometimes an installer can use existing openings and achieve a relatively clean finish. Sometimes hidden construction makes additional openings necessary. A blanket promise of zero drywall repair before the ceiling has been assessed is not credible. Ask how exploratory openings are decided, who approves a change and whether the proposal includes patching, sanding, texture matching and painting.
A patched ceiling can show a difference under side light even when the patch is sound. Repainting a spot and repainting the entire ceiling plane are different scopes. If the ceiling has decorative texture or special finish, discuss matching before work begins. If you are already renovating, schedule electrical review and drywall closure together. The pot-light cost guide treats finish work as a distinct estimate factor.
Existing electrical conditions matter

The location of current switches and fixtures can affect the proposed control plan. If you want two lighting zones or dimming, ask what new electrical work is needed and whether existing wiring supports the selected controls. A photo of the switch plate cannot answer everything inside the wall. An LED fixture and dimmer should be specified as a compatible pair to avoid low-end flicker or buzzing. A finished ceiling can make changes more involved after paint, so settle the control behaviour while the layout is being planned.
Avoid asking a handyman to improvise a route or hide wiring to preserve the drywall finish. ESA says an Ontario homeowner hiring someone for electrical work must hire a Licensed Electrical Contractor. ESA also says almost all electrical work needs a Notification of Work and that the person doing the work files it. The official notification information and our ESA guide explain the process. A clean-looking ceiling does not establish electrical compliance.
Insulation and the building envelope
An attic or ceiling can contain insulation and air or vapour-control layers. A penetration may affect those layers, and a fixture or driver must be suitable for its placement under the manufacturer’s instructions. “IC,” “air-tight” or another marketing term should be checked against the exact model’s documentation and actual assembly. Do not treat a thin product as permission to push aside or compress insulation casually. The installer must plan a suitable electrical and building-envelope result.
Approval is also separate from fit. ESA maintains the recognized electrical product marks. Check that the delivered fixture system carries an appropriate mark and is suitable for the intended location. A product listing for several regional variants might not identify the Canadian-approved unit you receive. Our approved pot lights guide has a purchasing checklist.
How an estimate conversation should go
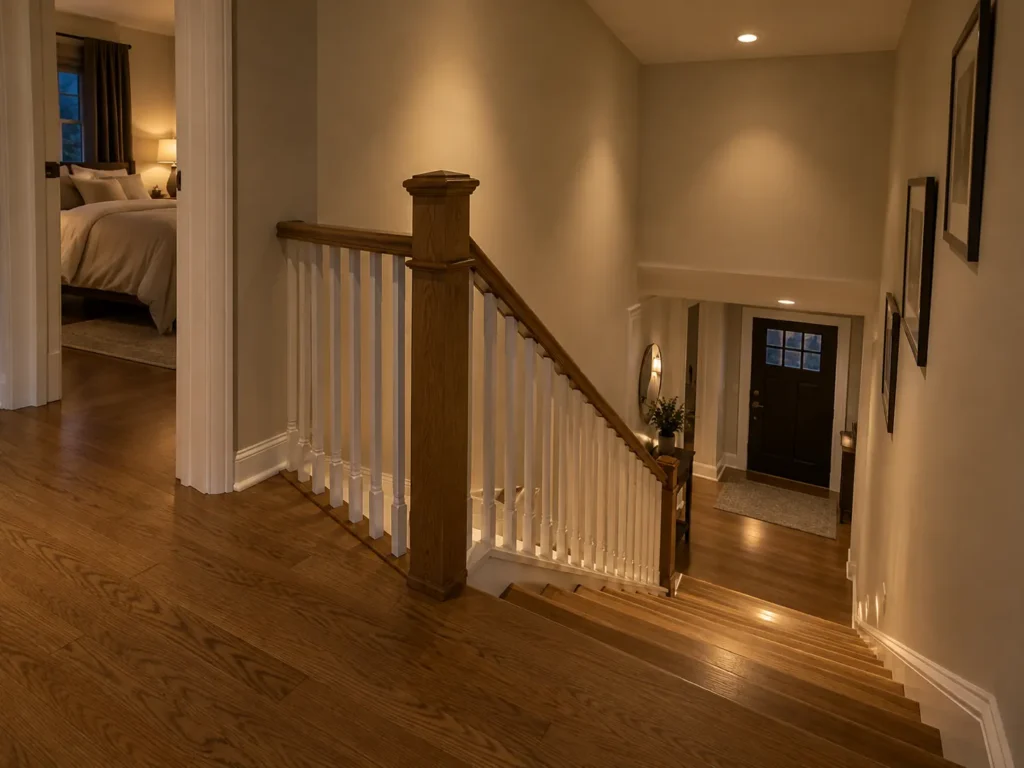
Provide a full-room photograph, ceiling close-ups, approximate dimensions, ceiling height and pictures of nearby unfinished areas or existing fixtures. Explain the work surfaces and furniture, not only how many lights you want. Mention if a bathroom, kitchen or HVAC system sits above the ceiling and whether painting is planned. These facts allow a preliminary layout and a list of assumptions. The contractor can then investigate the space and identify which points and routes are viable.
Ask to see the proposed fixture model and its light distribution. Ask which lights operate together, what ceiling openings are anticipated, how hidden conditions change the scope and who repairs the finish. Clarify whether the price includes controls and ESA notification where applicable. The answer should be understandable without electrical jargon. Written assumptions make a change easier to evaluate fairly if something concealed is discovered.
Be willing to revise a row intelligently
Suppose a joist prevents one proposed light near a kitchen wall. Moving the point toward the middle might maintain visual alignment but put the cook between fixture and counter. A different product beam or an under-cabinet task layer might preserve the work light better. If a duct blocks a central basement point, shifting it toward the sofa may create glare. A ceiling drawing should be reviewed from standing and seated views every time positions change. The room determines the lighting, not an abstract grid.
In some cases a surface-mounted or decorative fixture, a wall light or a smaller first phase can be the better choice. It is reasonable to compare options rather than force recessed lights into every ceiling. This is especially relevant when finish disruption would be disproportionate to the benefit. The goal remains comfortable, useful light for how the household lives, not a prescribed number of circular openings.
Questions homeowners usually ask
Will installation damage my finished ceiling?
New fixture openings are necessary, and extra access holes may or may not be needed. A site assessment can narrow uncertainty, but an uninspected ceiling should not be sold with a zero-repair guarantee.
Are slim lights the only option?
No. The actual cavity, optics, existing housings, insulation and service access determine suitable products. Compare complete approved systems, not marketing labels.
Can this be done before I repaint?
Coordinating lighting work before a planned ceiling repaint can be sensible because any access repair can then be finished together. Share your timing and ceiling photos with a Milton lighting estimate request.
Share the space, current lighting and the result you want.
Request a Lighting Quote