
There is no reliable number of pot lights per square foot that works in every Milton room. A small kitchen with dark cabinets and demanding counter work can need a different lighting arrangement from a larger living room with generous windows and several lamps. The right starting point is the result: where must people see clearly, where should the light feel calm, and which existing or planned fixtures already contribute? Quantity is the outcome of that plan. It is not the plan itself.
Define what the room must do
A kitchen has preparation, cleaning, storage and social zones. A living room may alternate between conversation, television and reading. A basement might include a desk, seating and a pathway to the stairs. Label these uses on a simple floor plan before marking ceiling points. Identify surfaces such as counters, tabletops, closet fronts and vertical walls. Light aimed only at the centre of open floor can leave the important surfaces dark. Our room-specific lighting hub shows how the same design question leads to different choices by space.
The quantity decision also depends on which lighting layers already exist. A row of well-positioned under-cabinet lights may handle kitchen counter tasks better than adding several ceiling fixtures. A pendant can define an island, while a wall light can support a reading corner. Pot lights are useful general and focused tools, but one layer does not have to do every job. Decide whether additional recessed fixtures solve a real gap rather than merely matching a pattern seen in another house.
Measure the room, then look beyond the floor area
Length and width help define the available ceiling plane, but ceiling height and room shape change how light reaches the surfaces below. A long narrow hallway, a square bedroom and an L-shaped connected living area cannot share a universal grid even if their floor areas are similar. Draw cabinets, furniture, an island and circulation paths. Note bulkheads, beams, skylights and ceiling fans. The drawing does not need to be architectural; it simply prevents the fixture count from floating free of the room.
Height affects the spread and intensity at the work plane. With a taller ceiling, a fixture may cover a wider area at floor level while delivering less useful light to a countertop or wall. A higher-output or differently aimed fixture might be more appropriate than automatically increasing quantity. In a low ceiling, a bright exposed emitter can be uncomfortable in direct view. Product optics and trim depth matter. See high-ceiling pot lights for a distinct planning approach.
Compare useful output and beam
Lumens describe light produced by a product, but they do not by themselves describe where that light lands. Two fixtures with similar lumen figures can feel different because of beam angle, diffuser, trim and mounting height. A narrow beam may create pronounced pools; a broader beam can soften general coverage but may deliver less emphasis to a target. Ask for the manufacturer’s photometric information when the room is demanding. A simple layout sketch can indicate overlap and dark gaps, while a more detailed lighting study may be appropriate for complex spaces.
Avoid counting every emitter as if it contributes equally. A fixture placed directly behind someone working at a counter may light their back and cast a shadow onto the work. Another aimed toward the counter can be more useful. Likewise, four poorly placed fixtures in a room with a dark fireplace wall may feel less balanced than a smaller or differently distributed plan that lights the vertical surfaces. Spacing and layout deals with those placements in more depth.
Reflectance changes what you perceive
White paint and light flooring bounce some light back into a room. Deep blue walls, matte dark cabinetry or a charcoal ceiling absorb more. Glossy tile, polished stone and a television screen can reflect light in ways that create uncomfortable bright spots. These finishes do not generate a fixed number of extra lights; they change what the design must accomplish. Bring finish swatches or photos to the lighting discussion, particularly if a renovation will alter the room after the fixtures are installed.
Light on walls often makes a room feel brighter than the same measured output aimed into an empty centre. In an open-plan space, varied finishes can also make one area appear dimmer than the neighbouring zone. Consider how recessed downlights, accent fixtures and decorative lights collectively render those surfaces. A single count across the entire connected floor may hide the difference between a bright working kitchen and a softer dining area.
Daylight and evening operation
A south-facing living room can look luminous at midday but still need balanced electric lighting after sunset. Window placement matters more than a generic label of “bright room.” Identify where daylight reaches, whether blinds are normally closed and whether a shaded work area persists. In Milton’s darker winter evenings, the controls should let the room move from functional to comfortable without switching every fixture on at full output. That can reduce the temptation to buy excess ceiling fixtures to solve a control problem.
Group lights according to how the room changes through the day. Counter work, dining, circulation and media viewing often need different settings. Compatible dimming can make one layer more flexible, but it cannot correct a fixture aimed at the wrong place. The LED dimmer compatibility guide explains the product and wiring questions to resolve before specifying controls.
Work through three room types
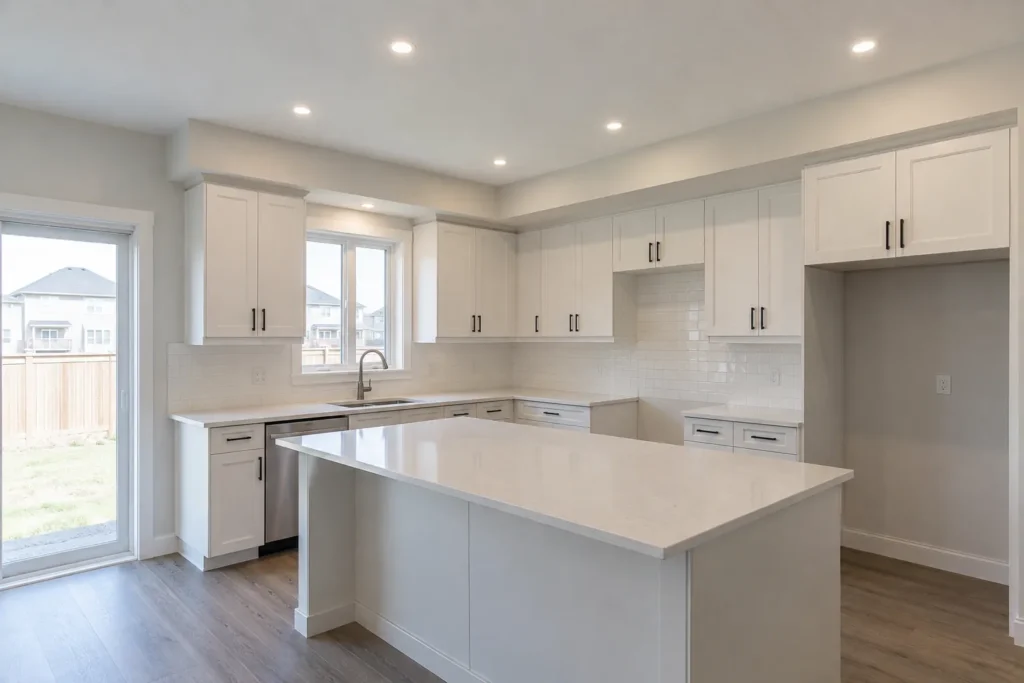
In a kitchen, identify uninterrupted counter runs, sink and island first. Under-cabinet lighting may supply direct task light where wall cabinets exist, while pendants handle some island needs. Pot lights can then support circulation and areas without other layers. A fixture count based on the kitchen footprint alone would ignore where people stand and the shadows cabinetry creates. The kitchen lighting layers guide provides a fuller sequence.
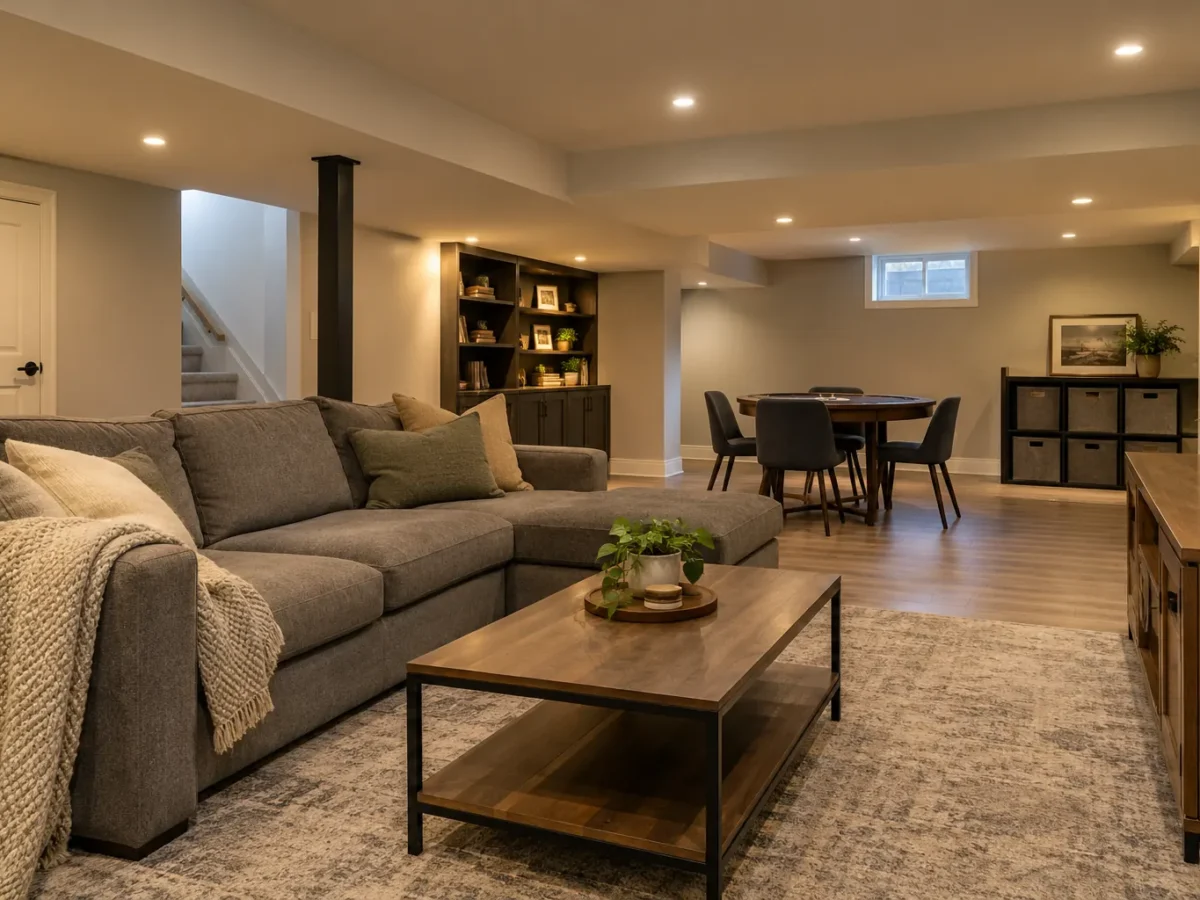
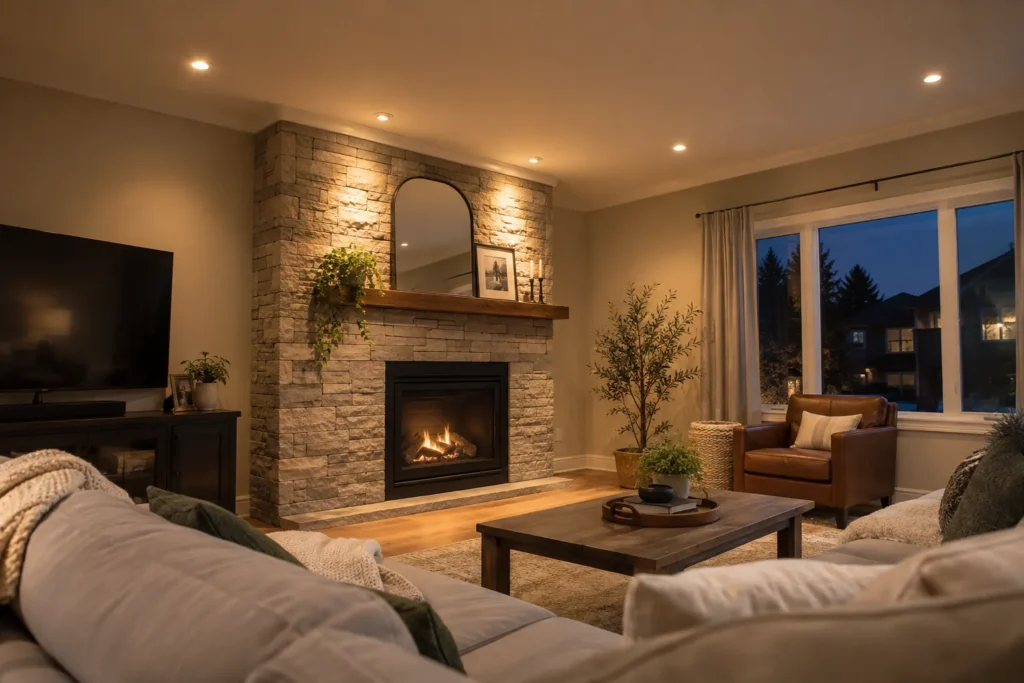
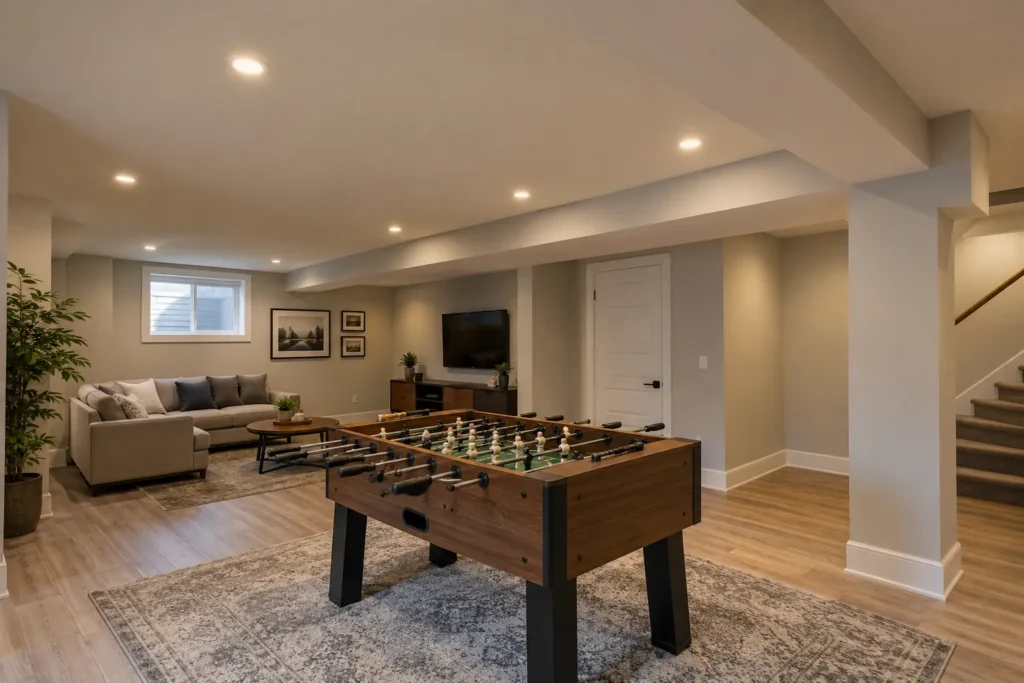
In a living room, draw seating and a television before the ceiling layout. A bright fixture reflected in the screen or directly over a seat can make the room less pleasant. Wall illumination, a reading light and independently controlled general lighting often matter more than a symmetric array. In a basement, low ceilings, bulkheads and smaller windows may push the design toward restrained glare, consistent colour and careful switching between activity zones. These room cases illustrate a method, not fixture-count recipes.
A practical way to settle the count
First draw the furniture and task surfaces. Mark the lighting supplied by windows, pendants, lamps and cabinet fixtures. Select an approved recessed fixture suitable for the ceiling and the desired appearance; note its output and beam rather than assuming all 4-inch or 6-inch lights are equal. Position proposed lights to serve those surfaces and check beam overlap, shadows and glare. Review switching zones and revise the number only after seeing how each proposed fixture contributes.
Finally, have the actual installation conditions assessed. Joists, ducts, plumbing, insulation and available routes may move or remove a ceiling point. A plan that works on paper should be adjusted to the building, not forced through an obstruction. Ask for a written description of the chosen fixture and control strategy when obtaining a Milton installation estimate. For broader planning, see the pot light installation service.
Frequently asked questions
Should I use one pot light every few feet?
Treat any spacing rule as a rough visual starting point, not a quantity formula. Beam, height, output, tasks and reflective surfaces change the result. Equal gaps can still create a shadow on the very counter you need to see.
Do dark rooms automatically need more fixtures?
They may need more usable light, but that can come from a different fixture, beam, aiming, wall lighting or an added task layer. Merely multiplying bright downlights can increase glare without improving the desired surface.
Can dimming compensate if I install too many?
Dimming can make a well-positioned layer flexible. It cannot make excess openings disappear or turn an awkward distribution into effective task light. Plan the lighting result before the holes.