
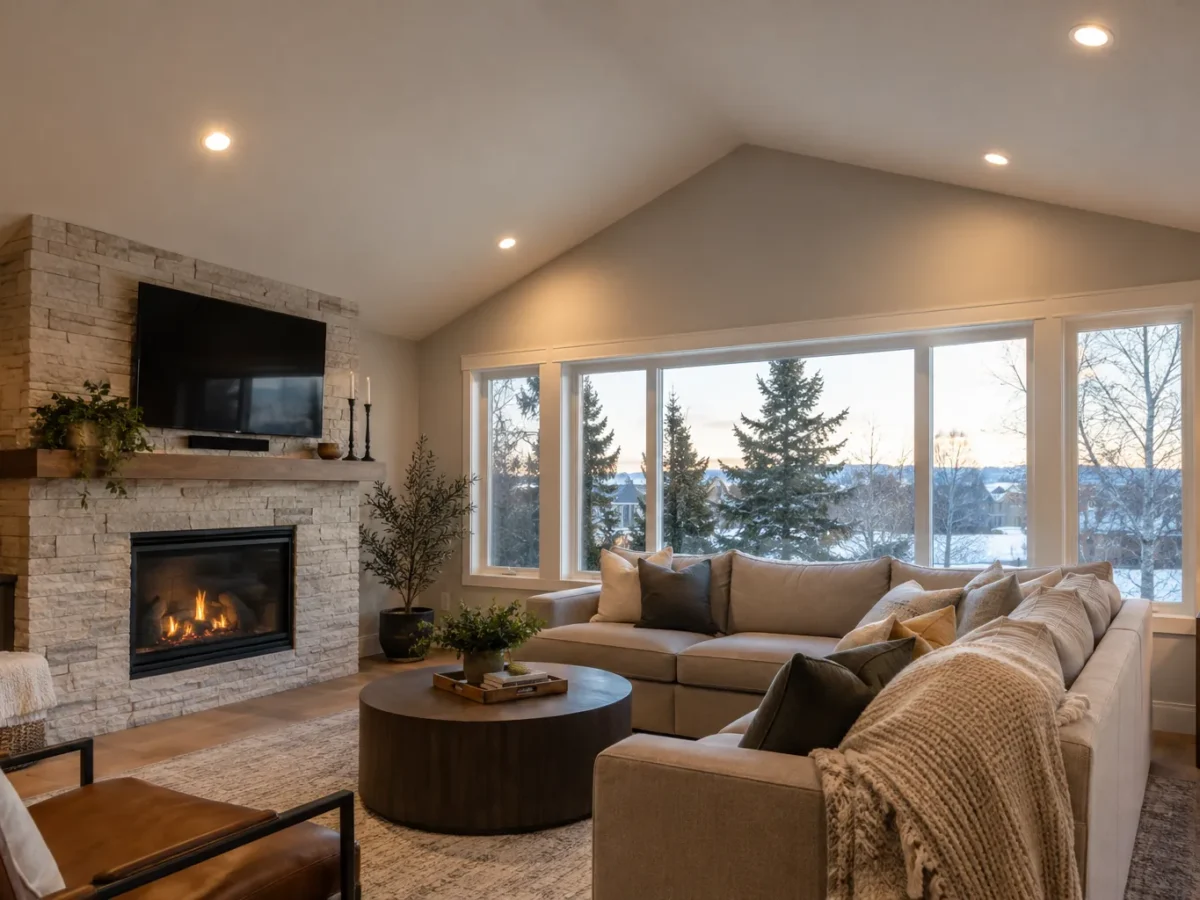
Equal spacing is not automatically good lighting. A ceiling grid may look tidy in a drawing while leaving a kitchen counter in shadow, reflecting in a television or washing out a fireplace. Spacing is a relationship among the fixture, its beam, the ceiling height and the surfaces to be lit. The goal is visual balance in the occupied room. Use the following guide to discuss a layout before making openings in a finished ceiling.
Draw the occupied room first
Start with walls, windows, doors, built-ins and fixed cabinetry, then add the likely furniture. Mark where a person stands at a counter, sits on a sofa, moves through a hall or looks toward a screen. These positions reveal where a downlight could throw a working shadow or shine directly into someone’s eyes. A room with the same dimensions may need a different layout after a kitchen island is added or the sofa is reoriented. The quantity guide is a companion; first decide what needs light, then decide how many fittings contribute.
Ceiling obstacles belong on this plan too. A beam, bulkhead, coffer, fan or skylight changes the visual rhythm. Existing wiring and hidden structure may further constrain where a fixture can go. Mark the ideal lighting intent separately from confirmed viable openings so you can revise responsibly after an on-site assessment. An installer should not promise that every pencil mark is possible without examining the assembly.
Use walls as part of the lighting plan
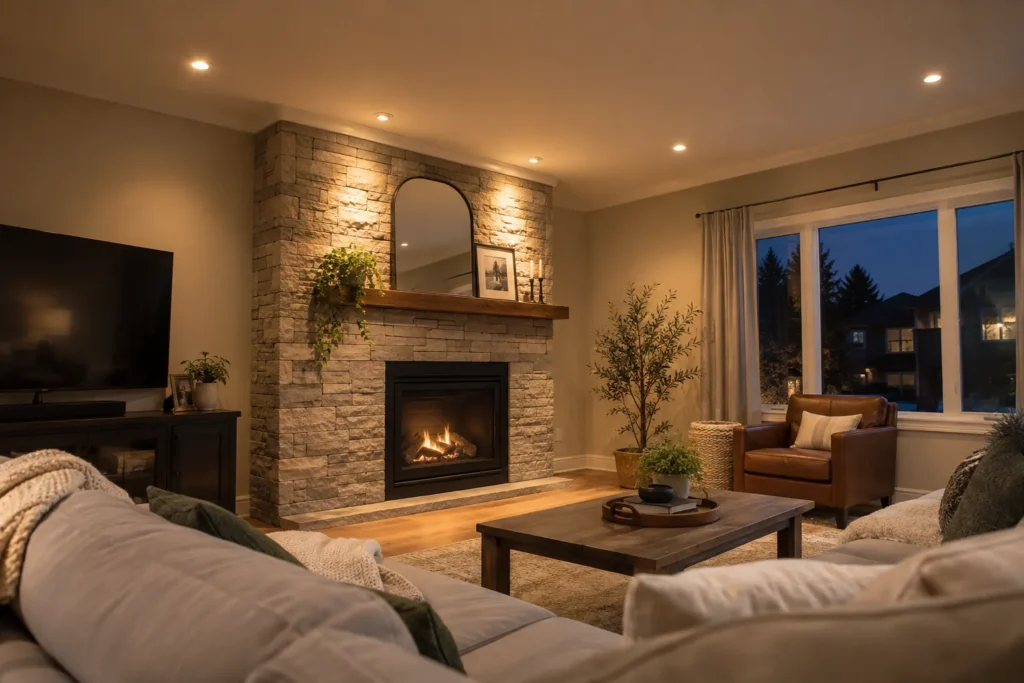
A lit vertical surface can make a room feel open and legible. Positioning every light toward the centre of the floor often leaves the perimeter dull even if measured output seems generous. A series near a feature wall might reveal its texture, but beam, distance and finish influence whether the effect is even or scalloped. The correct location depends on the chosen luminaire and wall height; a universal wall offset would be misleading.
Look carefully at artwork, shelving and fireplaces. A downlight directly over the centre of a fireplace may create harsh reflection from stone or glass. A narrow beam aimed at artwork can produce a stronger highlight than broad general illumination, while a washed wall asks for a different distribution. If the family changes the artwork frequently, flexible aiming or another lighting layer may be more useful than a fixed ceiling hole. For accent options, explore LED accent lighting.
Counters, cabinets and islands
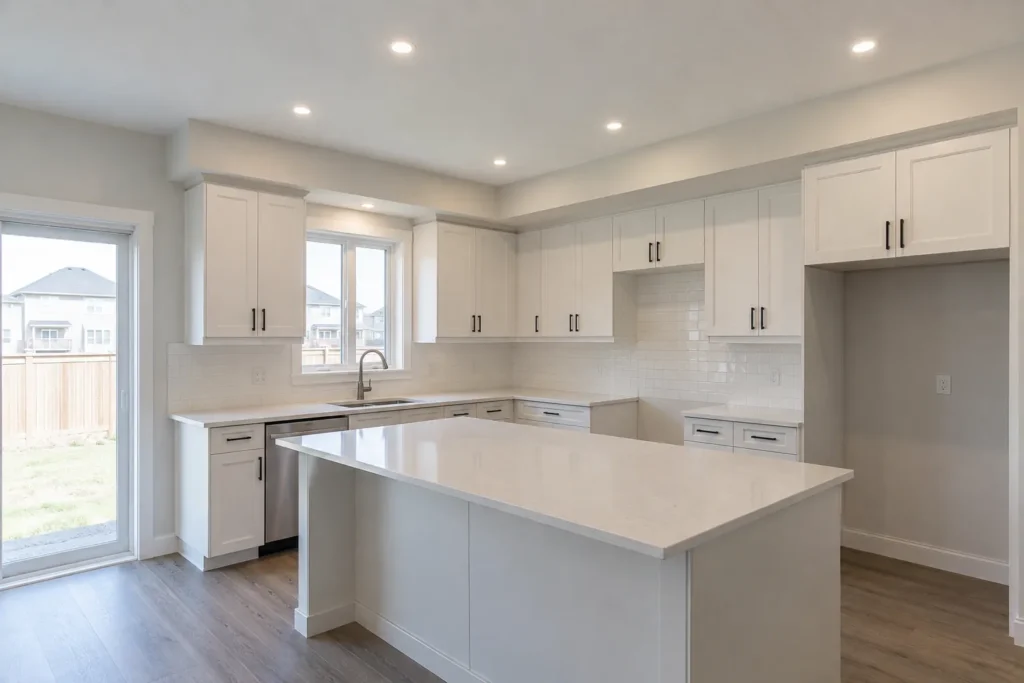
Kitchen cabinets can block ceiling light before it reaches the back of a counter. Placing all recessed lights on a central ceiling line may illuminate the cook’s shoulders rather than the chopping surface. Draw the full cabinet depth and the standing position. Then assess whether under-cabinet lighting should provide the primary work light, with pot lights supporting the adjacent circulation zone. This can yield better visibility than trying to force one ceiling row to do both jobs.
An island has its own relationship to pendants, ceiling lights and sight lines. Pendants may already provide a visual centre and part of the work light. Pot lights can fill gaps at the ends or support movement around the island without competing for attention. Include a dining table that might move or extend; avoid a rigid layout that only works at one furniture position. The kitchen lighting layers guide joins these choices together.
Seating, screens and reflective surfaces
The view from a sofa is different from the view shown on a reflected ceiling plan. Place a person at each key seat and check whether a fixture would be visible at an uncomfortable angle. A recessed product with a deeper aperture or controlled beam may help, but its position remains important. For television viewing, consider both direct glare and reflections in the screen. A separate control for general ceiling lighting can help switch the room into a softer evening setting.
Glossy countertops, polished tile, framed art and glass cabinet doors deserve the same check. Light aimed at a surface at one angle can return as a bright reflection in the normal field of view. Do not mistake symmetry for comfort. Sometimes shifting a row, using a different optical distribution or adding a wall or furniture light resolves the problem with fewer ceiling fixtures.
Hallways, stairs and room edges
A hall needs a legible route and visual continuity into connected rooms. Even spacing along its centre can be a useful starting rhythm, but entry doors, artwork, a turn and stair transitions may change the emphasis. A dark threshold between two bright areas can feel awkward; overlapping the useful beams can smooth that transition. In a narrow passage, too many bright points can look like a runway. Choose the output and control together rather than using spacing alone to address both concerns.
At room edges, remember that a recessed fixture projects a volume of light, not a circle drawn on the ceiling. A point very near an edge may throw much of its beam against a wall; this can be intentional or wasteful depending on the goal. Fixtures at transitions between open-plan zones can help define a dining or living area, but the controls should reinforce those zones. Discuss sight lines from adjacent spaces so a beautiful pattern in one room does not appear random from the next.
Beam overlap and ceiling height
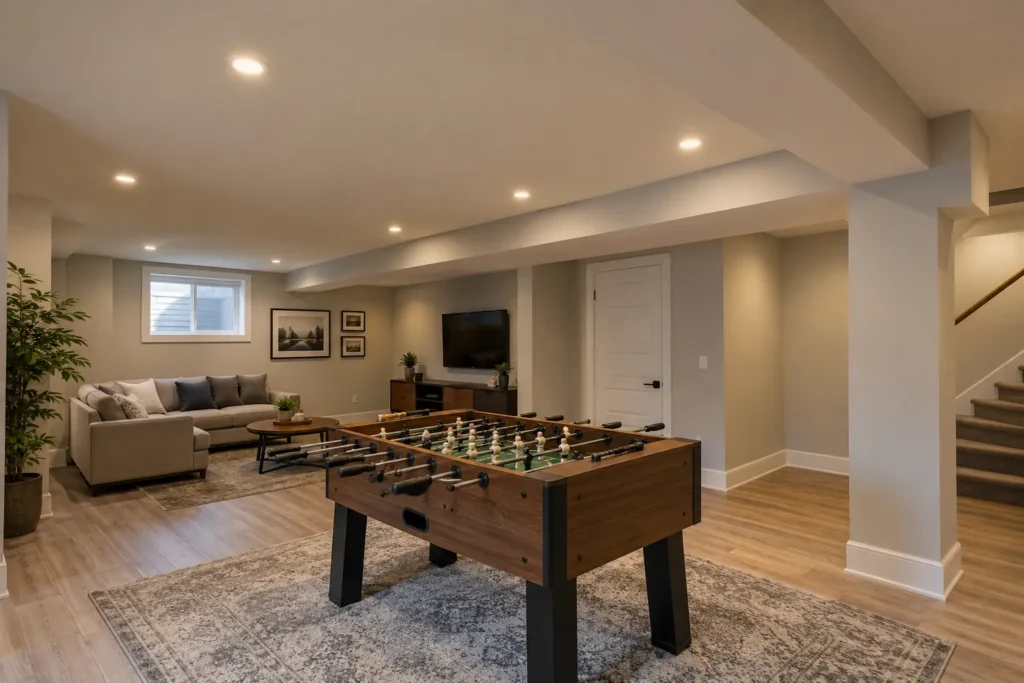
Beam angle, output and mounting height determine how fixtures interact. Broad beams may overlap smoothly, while tight beams can leave alternating pools unless placed for that effect. The manufacturer’s data is more useful than a fixed spacing multiplier because products differ. Taller ceilings change both beam spread at the surface and the amount of useful light that reaches it. The result might call for a different luminaire or position, not just a denser row.
A useful review checks the floor, work planes and walls at the same time. A sketch that only shows circles on the floor misses shadows at vertical cabinets or excessive brightness in the centre. In more demanding spaces, a professional lighting calculation can examine illuminance and uniformity. For ordinary residential work, detailed room photos and a fixture-specific site discussion still substantially improve the plan.
Build the control plan into the layout
Ask which fixtures should be on together for the tasks that happen at the same time. A kitchen perimeter and island might benefit from separate zones; a living room often needs a lower setting for screens. A single switch for every recessed fixture removes flexibility, but unnecessarily complicated controls can frustrate daily use. Plan locations and switching while the layout is still editable. Verify that the proposed LED fixtures and dimmers are compatible; the compatibility guide provides questions to ask.
The ceiling layout also needs to respect what lies above it: joists, insulation, pipes, ducts and cable routes. A revised position should be reviewed for its lighting effect, not accepted solely because it is easy to cut. Approved products and electrical work requirements matter even though this guide focuses on appearance. See the ESA requirements guide for the Ontario process.
Review checklist before installation
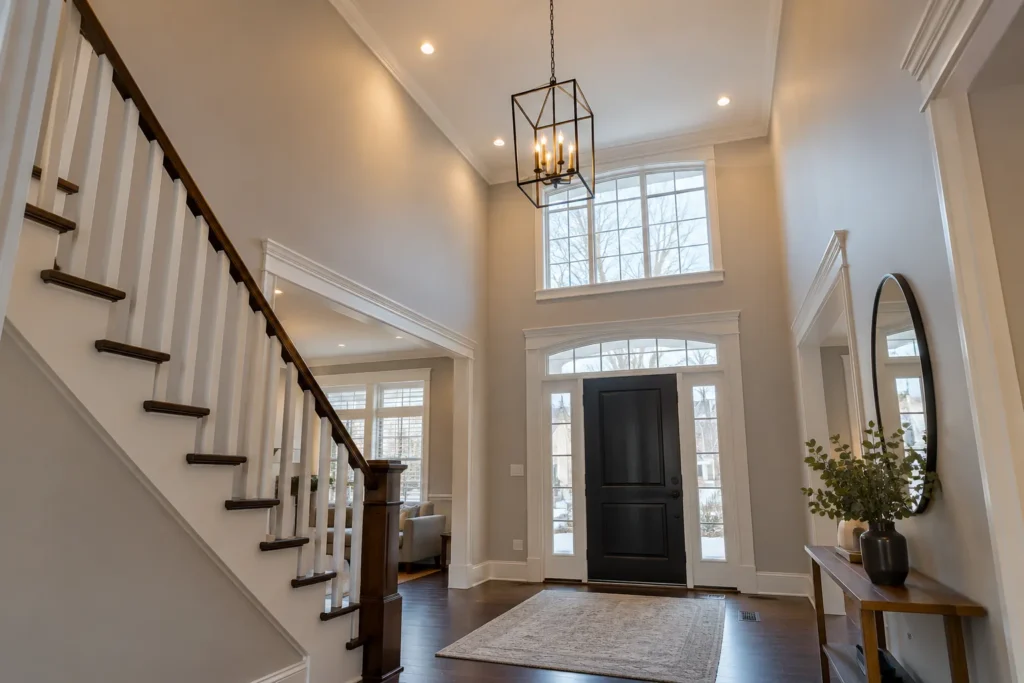
Stand in each work and seating position. Ask where the fixture beam lands, what it reflects from, which wall or task remains dim, and whether the switch grouping supports the room’s evening use. Confirm the exact product rather than approving generic dots on a plan. Agree on how hidden obstructions will be handled and whether ceiling repair is included. This is especially valuable for finished ceilings without attic access.
Is there one correct distance between pot lights?
No. The suitable distance depends on fixture output, beam, ceiling height, surfaces and desired effect. A fixed number can be a rough drawing aid but cannot replace fixture-specific planning.
Should every row line up with every other row?
Visual alignment can be attractive, but it should support light on the room’s useful surfaces. A perfectly aligned row that misses the kitchen counter is a poor trade. Start with the task and test the appearance from normal viewpoints.
Describe your rooms and planned fixtures when you request a Milton lighting consultation. A layout worth installing should make sense both on the ceiling and in daily use.