
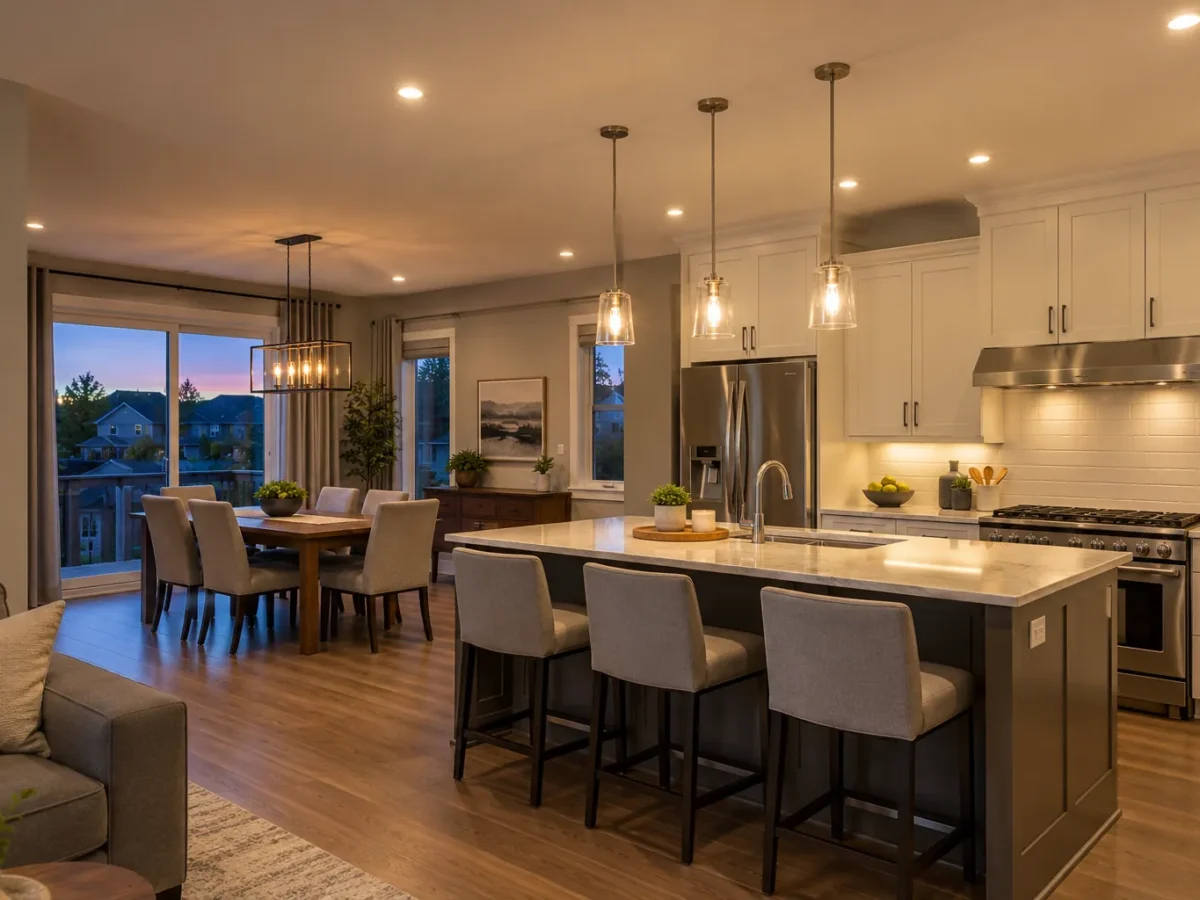
Pot light installation begins with a question that a ceiling grid cannot answer: what do you need to see and do in this room? Recessed fixtures can make a kitchen counter useful, bring comfortable general light to a basement, define circulation through an open main floor or pick up the texture of a feature wall. Their positions should follow those purposes. A neat pattern of holes is only useful if the light reaches the places that matter.
Milton homes present different starting points, from newer open-plan main floors to finished basements and rooms with layered ceilings. We look at the floor plan, work surfaces, seating, daylight, ceiling height and existing lighting before discussing fixture count. Then the ceiling and electrical conditions determine how that plan can be installed. Whether you call them pot lights, recessed lights or LED downlights, the right result comes from planning the light before planning the holes.
Start with the room, not a fixture count
Walk through what each part of the room does. A kitchen island may already have pendants, while the adjacent prep counter needs direct task light. A living area may need softer ambient light and a separate accent for art. A hallway needs comfortable passage, and a basement may need brighter zones around a desk or game table. These are different jobs even when the rooms share one ceiling.
Furniture and cabinetry give the layout its reference points. Note where a tall cabinet interrupts light, where a screen could catch a reflection and where a person stands at the sink or worktop. We can then decide whether a downlight, adjustable accent fixture, under-cabinet light, wall light or existing decorative fixture best serves each purpose. Our layout and design service explores these decisions in more detail.
Choose light quality before choosing the opening
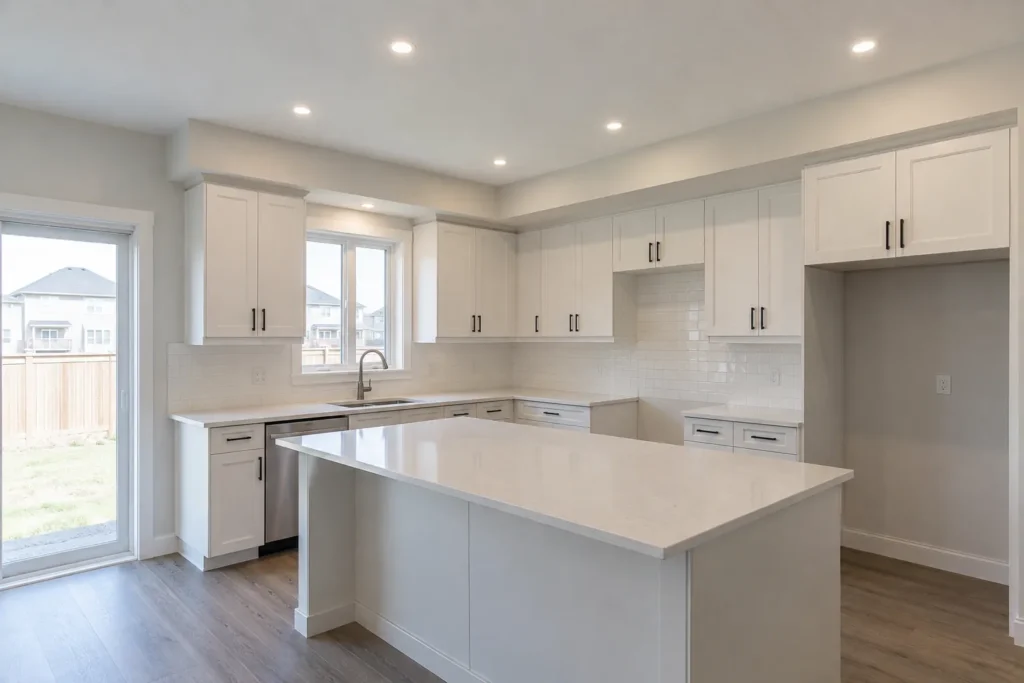
Two recessed products of the same nominal size can perform differently. Light output, beam spread, colour temperature, colour consistency, trim shape, glare control and dimming behaviour all affect the room. A narrow beam can emphasize a specific feature but leave a broad work surface patchy. A wider beam may soften general coverage, yet its distribution must still suit ceiling height and nearby walls. The visible trim is only part of the selection.
We consider how a fixture will look when lit and unlit, whether a fixed or adjustable beam makes sense, and how it relates to pendants, lamps or other layers. Product suitability matters in the intended location, including insulated ceilings and moisture-prone areas. A qualified installer should confirm compatibility, product approvals and installation requirements for the selected assembly rather than assuming that all LED downlights are interchangeable.
New ceilings and finished ceilings require different plans
During a renovation with framing exposed, there is usually more opportunity to coordinate fixture positions, cable routes and switching before the surface is closed. A finished ceiling calls for a more careful survey of joists, ducts, plumbing, insulation, existing wiring and access points. The desired position may have to move if there is an obstruction above it. A small change in position can sometimes improve the beam on a wall or counter as well.
Neither situation warrants promising invisible installation. Access openings, patching or painting may be needed, especially when circuits or controls change. The scope should say whether drywall repair and finish painting are included, excluded or to be coordinated separately. Where attic access is unavailable, a feasible routing plan still depends on actual framing and electrical conditions; see pot lights without attic access.
Plan the switching alongside the lighting
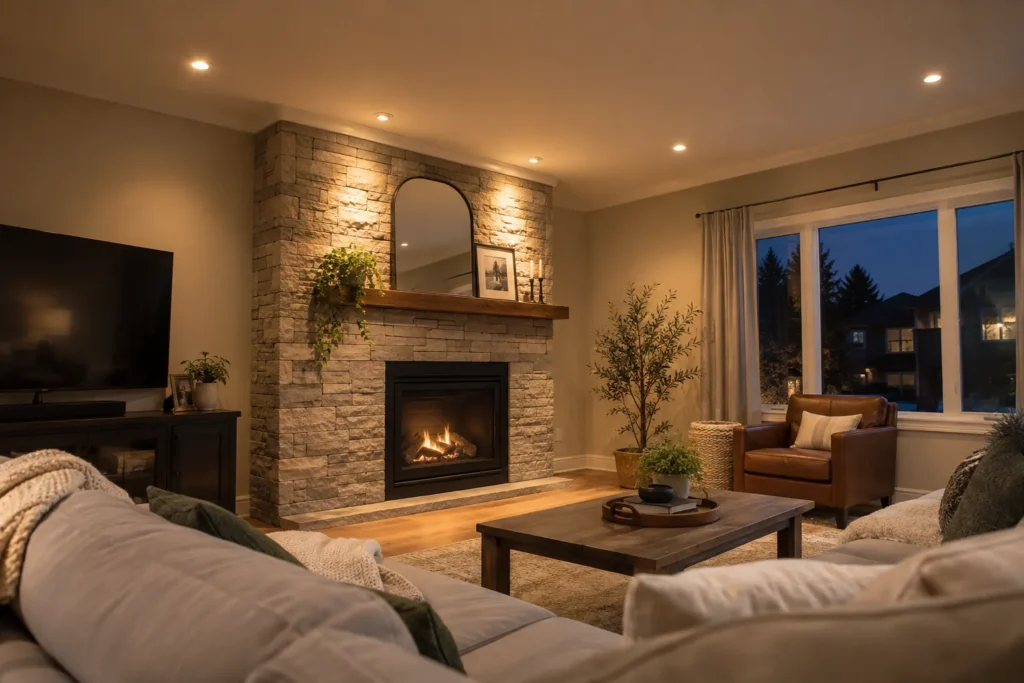
A room with several useful functions is easier to live with when those functions have distinct controls. Kitchen general light, counter lighting and island pendants can be operated as separate layers. In an open plan, dining and family zones need not always be at the same intensity. Dimmers can make bright task lighting comfortable after dinner, but the LED fixtures, drivers and dimmer must work together. Flicker, buzzing or an abrupt low-end cut-off often indicate a compatibility or installation problem.
We discuss daily habits before deciding on controls: which lights come on first, what should be bright for cleaning, what is used in the evening and where controls should be convenient. Smart controls can add schedules and scenes, but a clear basic switching plan remains useful. See dimmer installation and smart lighting for the separate choices.
Ceiling height changes output and beam decisions
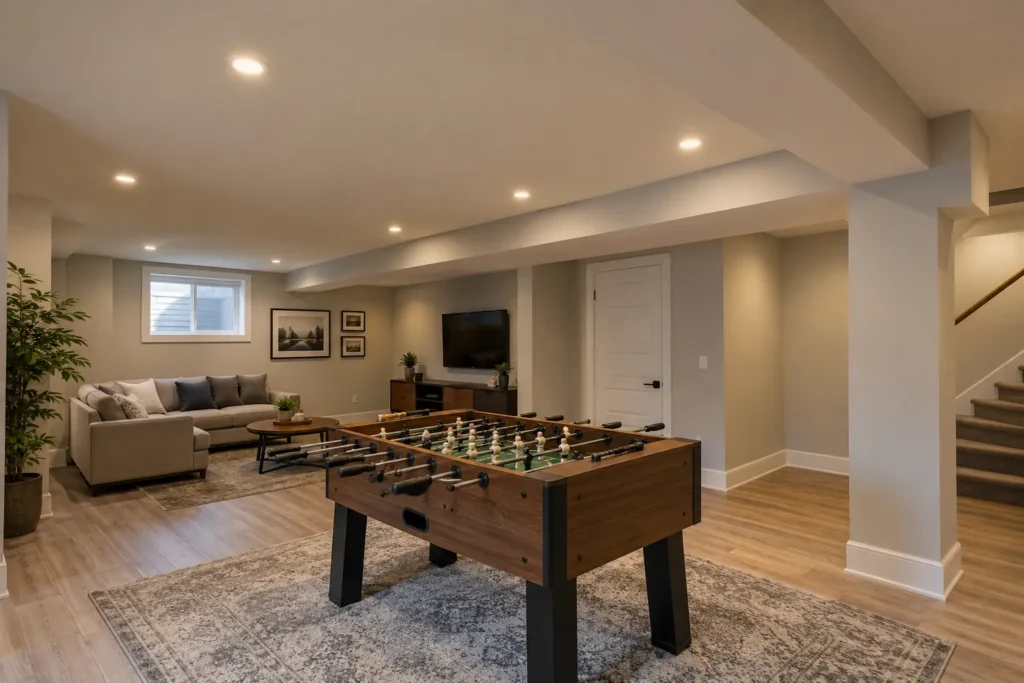
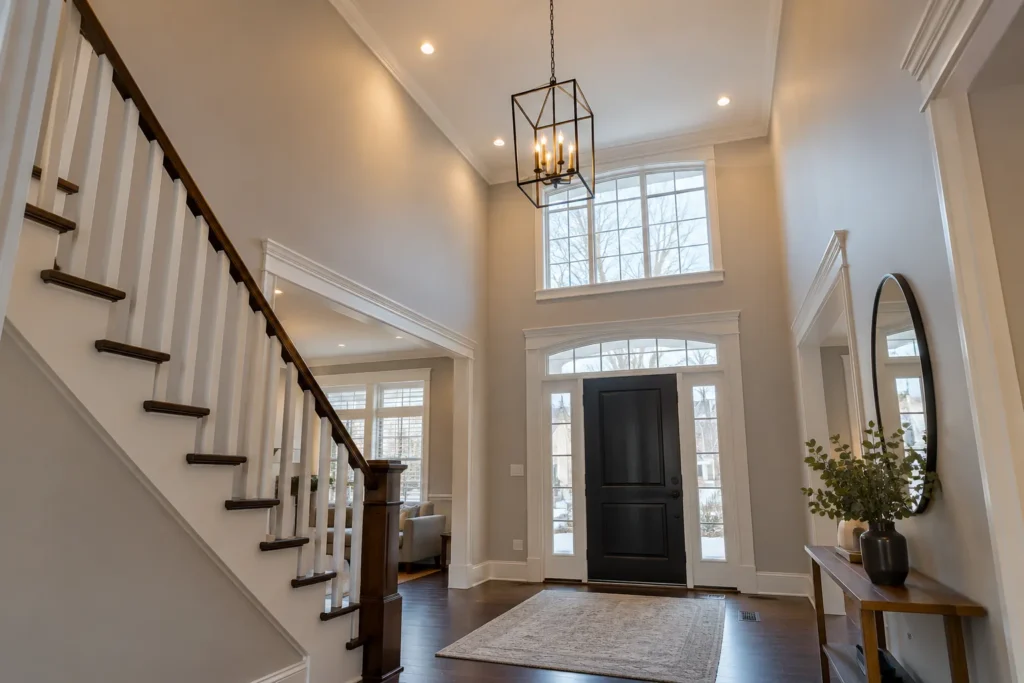
A fixture farther from the work surface generally needs a different approach from a fixture in a low ceiling. In tall foyers or vaulted family rooms, output and beam spread are especially important, and a light aimed straight down may fail to illuminate a wall or seating zone. Directional options can help where the surface to be lit is off axis. In lower basements, glare from a bright exposed source becomes more noticeable, particularly from a sofa or bed.
Ceiling angle, finish and reflectance also change how the room feels. A dark floor or dark cabinets absorb more light than pale surfaces; highly polished materials may reflect it back toward the viewer. Our high-ceiling pot light page and basement lighting page address those conditions separately.
Electrical and product review is part of the scope
Existing circuit capacity, switch locations, previous alterations, the selected product and routing conditions need review before installation. In Ontario, the Electrical Safety Authority explains that almost all electrical work requires a notification before work begins; the person doing the work is responsible for filing it, and a hired Licensed Electrical Contractor files the notification for its work. ESA reviews or inspects as applicable and issues a Certificate of Acceptance when the work passes its process. The precise requirements and documentation should be confirmed against the current scope.
Electrical products must be approved for use in Ontario, with recognized certification or evaluation marks. The product also has to suit the actual environment and installation method. These are reasons to select lighting and installation together, not after ordering an arbitrary number of fixtures. Read our Ontario electrical requirements guide and approved product guide.
What happens during installation and finishing
A practical project begins by confirming the intended fixture locations against room dimensions and real ceiling constraints. The installation plan then accounts for routing, controls, safe access and protection of the occupied space. Openings and fixtures are installed according to the product and electrical requirements, with connections, switching and dimming handled as part of the electrical work. The finish is checked both with the lights on and off so that trim alignment and lighting effect can be assessed.
Final testing should include each lighting zone and control, consistent operation across the selected dimming range and a visual review of the completed room. If an unexpected obstruction or prior electrical issue changes the scope, it should be explained before proceeding. Good coordination also identifies any outstanding drywall or paint work, rather than allowing the homeowner to discover it at the end.
What changes the cost of pot light installation?
The number of fixtures is only one cost factor. A finished ceiling, difficult cable routes, tall or vaulted areas, access equipment, new switching zones, dimmer selection, product quality and the extent of repair work all affect the job. An open ceiling in a renovation may be simpler to route than a completed main floor, but coordination with other trades and the finished layout still matter. Replacing existing fixtures can be different from adding new positions and may allow use of a suitable existing housing.
An estimate should distinguish fixture supply, installation, controls, any required electrical notification, access work and finish repairs. This makes options comparable without treating every room as an identical per-light price. Our Milton pot light cost guide explains the main variables, and a project-specific review establishes what applies to your home.
Choose a layout that can grow with the room
Plan for the furniture you have now while recognizing that dining tables, desks and sofas may move. Even general coverage can support change, while focused task and accent layers serve current priorities. Separate zones let one room change character without asking every fixture to do everything. A single row across a combined room might look orderly on a drawing yet leave the island, seating and wall art at conflicting brightness levels.
For a more precise conversation, gather room dimensions, photographs from several corners, ceiling height, fixture locations you wish to keep and the areas that feel dark or harsh today. Mark the likely furniture plan and say whether a renovation is underway. This context helps us discuss layout, installation conditions and controls together instead of presenting a fixture count detached from the room.
Questions about pot light installation
How many pot lights do I need in a room?
There is no reliable count from floor area alone. Ceiling height, output, beam spread, daylight, room use, other lighting and the surfaces needing light all change the answer. A quantity planning guide can help you prepare, but the final layout should be checked against the actual room.
Can pot lights be added to a finished ceiling?
Often, yes, subject to framing, obstructions, circuit and route feasibility. Finished-ceiling access can require openings and repair work. A site review is needed before promising a particular position or a no-patch installation.
Should every pot light be on one dimmer?
Usually it is more useful to divide different activities into zones. Compatible dimmers can then set the intensity of each layer. The number and location of controls depend on existing wiring and the intended use.
What if the existing fixture is outdated?
An upgrade may involve a compatible trim or module, a new recessed product, a driver issue or a dimmer change. The existing housing and wiring should be examined before assuming complete replacement; see LED pot light upgrades.
Plan your lighting
Tell us which rooms you want to light, how they are used and whether the ceiling is open or finished. Photos of the room and existing switches help frame the conversation. We can discuss a layout that puts light on the right surfaces and identify the conditions that shape a meaningful quote for pot light installation in Milton.