
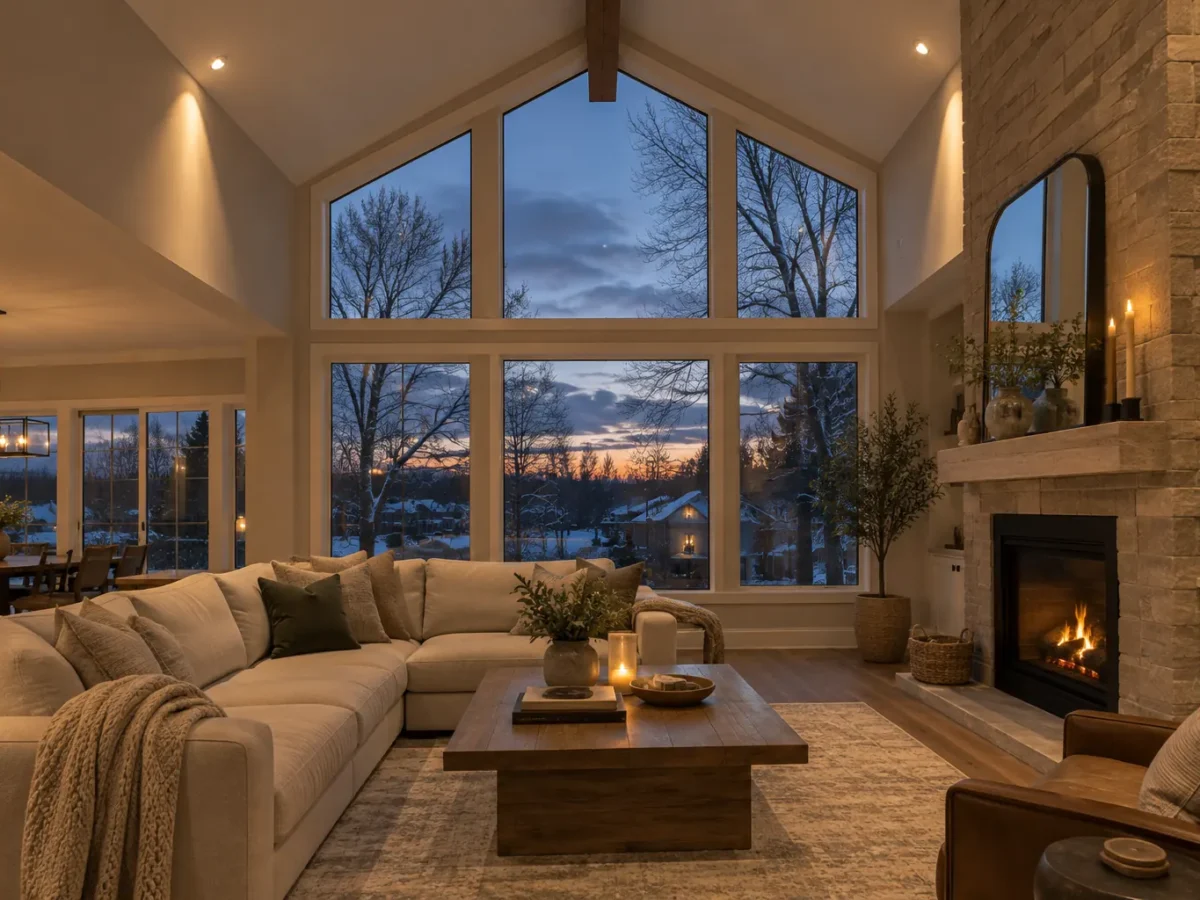
A useful pot light layout is a map of what you want to see, not a geometric exercise on the ceiling. A room can have evenly spaced openings and still leave the kitchen counter shaded, throw glare toward a television or make a seating area feel flat. There is no universal spacing formula that produces the correct layout in every room. Fixture output and beam, ceiling height, wall positions, furniture and daylight all change the answer.
The design process starts by identifying task surfaces, paths, focal points and the other lighting already present. We then choose fixture types, positions and controls that support those uses. The final ceiling pattern should look considered, but it follows the lighting effect. This approach is particularly important in Milton’s connected main floors and finished lower levels, where one continuous ceiling may conceal several different activities.
Draw a use plan before a ceiling plan
Mark where people cook, read, watch a screen, enter the room and move between furniture. Identify counters, a dining table, island, desk, seating and art. Take note of cabinet fronts and walls that need vertical light. A general room label such as “living room” is too broad if one corner functions as an office and another holds a television.
Photographs at normal eye level make these purposes easier to explain than a ceiling photo alone. If the furniture may move, identify which tasks are permanent and which need flexible ambient coverage. Once the targets are clear, recessed lighting can be assigned a role alongside pendants, lamps, under-cabinet and wall lighting.
Understand what spacing can and cannot tell you
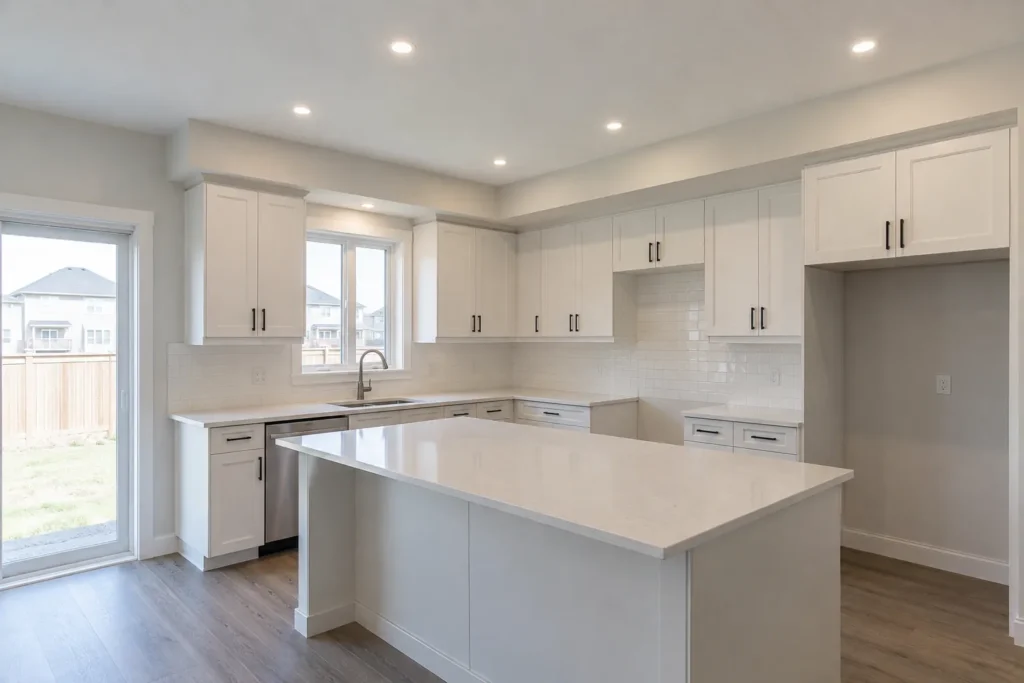
A rough spacing conversation can help sketch options, but a single feet-apart rule ignores fixture photometrics. Two products with different output and beam widths can create very different light patterns from the same openings. Raising the ceiling changes the area and intensity of each beam at the floor. A narrow room and a wide one also need different treatment even if their square footage matches.
Use spacing as an outcome of fixture choice and target coverage. Evaluate overlap where continuous light matters and separation where independent accents are wanted. Our spacing guide explains why common rules of thumb are only starting points, while the quantity guide frames a sensible count.
Place light for walls and surfaces
A counter is often more useful when light reaches its front working edge rather than the walkway behind the cook. Cabinet depth and where a person stands affect shadows. A wall with artwork may benefit from directional light, while a television wall may need less direct brightness. A fireplace may be a focal point yet produce awkward reflections if every nearby source points at glass or polished stone.
In a dining area, account for the table and any pendant. In a living area, plan for seating and circulation separately. The relationship between each opening and its target is the design decision. A row centred in the ceiling is only appropriate if it happens to serve the room.
Select a beam to fit the distance
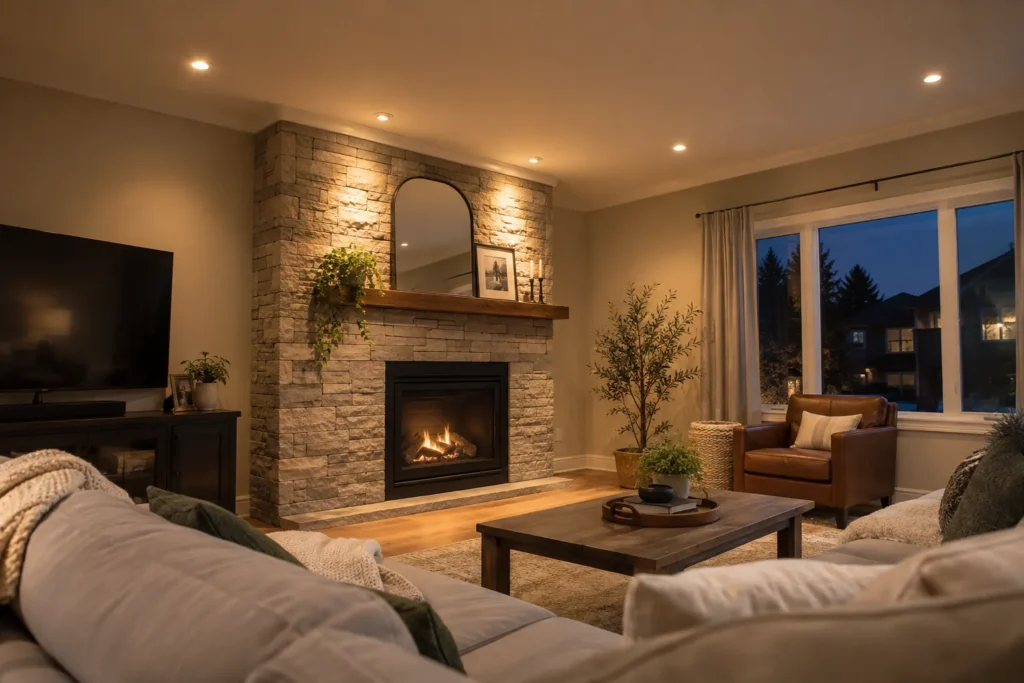
The same beam angle behaves differently from a low basement ceiling and a two-storey foyer. Broader distribution can create softer general coverage; tighter optics can address an object or tall wall. Neither is inherently superior. Output, beam and mounting height should be considered together, along with the trim design and how much glare it exposes to occupants.
Light-coloured surfaces can reflect illumination through a room, while dark cabinetry and floors absorb more. Glossy finishes and screens can introduce reflections. A product schedule that identifies output, colour and beam helps keep the installed result consistent and avoids treating aperture size as the only specification. See fixture size for another part of this choice.
Use decorative and task lighting deliberately
Recessed lights do not need to perform every lighting job. An island pendant can define the kitchen; under-cabinet strips can put light directly on the worktop; a reading lamp gives someone local control. Pot lights can then fill broad ambient needs or target selected zones without excessive ceiling clutter.
Layering also helps avoid overlighting. If every downlight must compensate for a missing counter light, the rest of the kitchen may become too bright. If a chandelier already lights the dining table, nearby recessed fixtures may be better used for circulation or a sideboard. Our kitchen lighting layers guide shows one practical approach.
Make open-plan zones independent
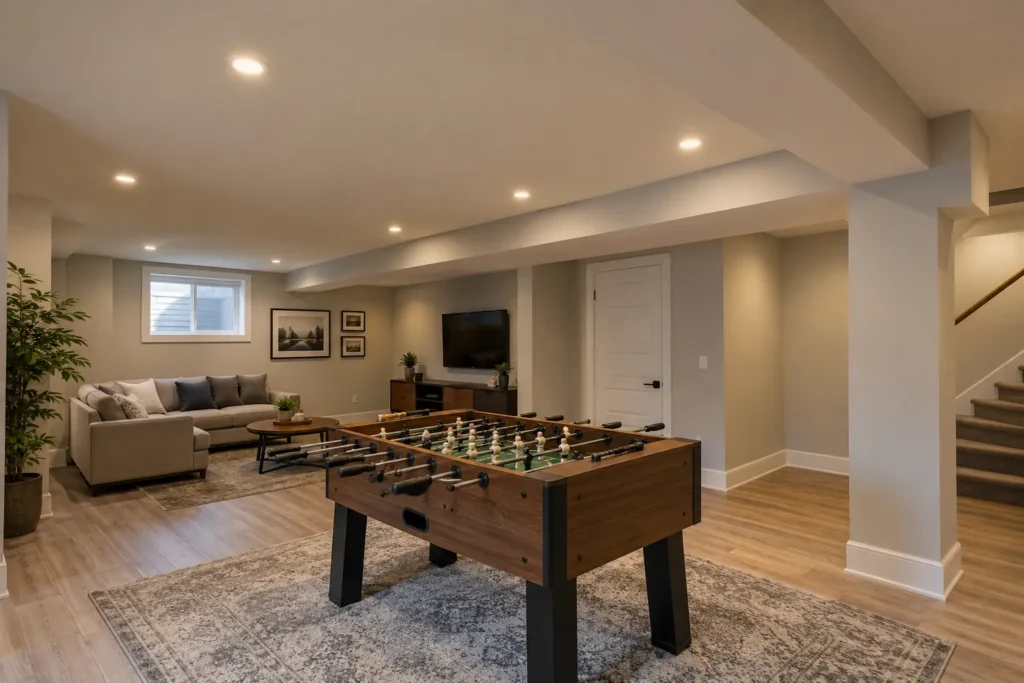
A connected main floor often has one visual ceiling and several distinct routines. Kitchen cleanup may continue while the family area is set for a movie. A desk needs enough light for work while the dining area is unused. Independent controls let each part of the plan operate at an appropriate level.
Draw zones around activities rather than arbitrary rows of fixtures. Discuss desired dimming early, since fixture and driver compatibility affects the control selection. Smart scenes may be useful but should rest on sensible underlying groups. Entry and exit routes matter too; a beautiful layout is inconvenient if the needed lights cannot be controlled where people naturally arrive.
Test the layout against the actual ceiling
A proposed position may encounter a joist, duct, insulation, plumbing or old wiring. The design should have a way to adapt without sacrificing its purpose. A small positional adjustment may preserve the beam on a counter; another obstruction may require a different fixture or a revised row. In a finished home, access and likely repair work also affect feasibility.
Ceiling details such as beams, bulkheads, sloped planes and pot-light housings must be mapped before the installation is finalized. For a renovation, coordinate the plan with cabinetry, HVAC and painting. The no-attic-access guide explains why a finished ceiling cannot be assessed from a flat drawing alone.
Review comfort in common viewpoints
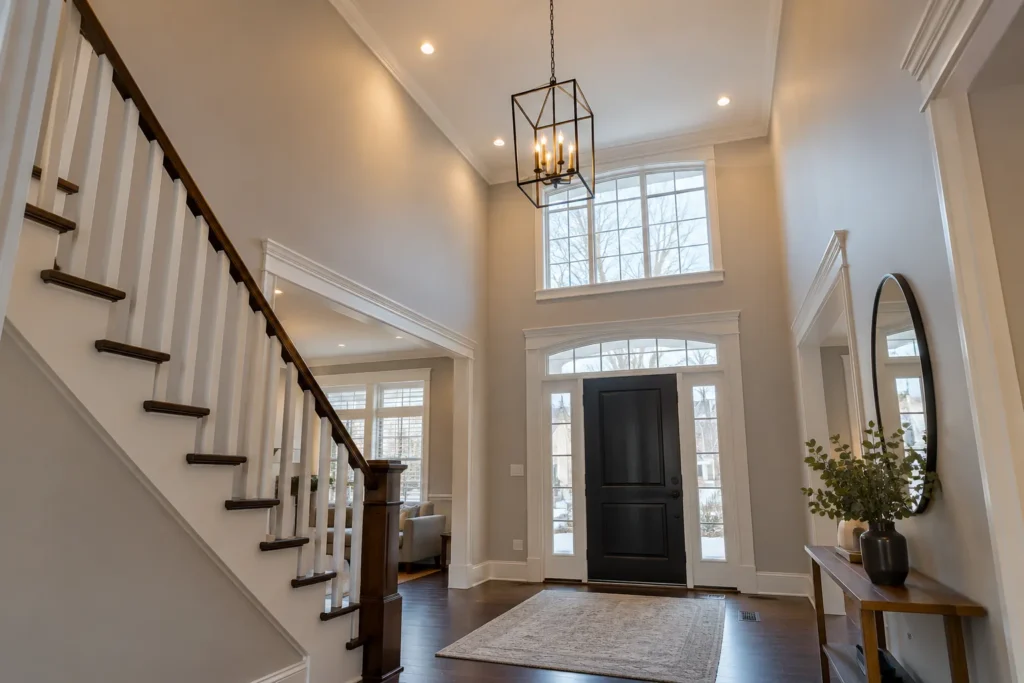
Imagine lying in bed, sitting on the sofa, standing at the sink and entering from a dark hall. These views reveal direct glare and sudden brightness changes that a plan view hides. A downlight over the sofa may be uncomfortable when reclining; a point aimed toward a monitor may reflect into the screen; an exterior-facing window may mirror bright interior fixtures at night.
Comfort also depends on controls and transition. A room that is excellent at full brightness for cleaning should be able to soften for ordinary evening use. Choose the product and zone with both conditions in mind. The desired effect should be discussed at human eye level, not judged only by the pattern on the ceiling.
Bring the plan into a grounded estimate
The final layout must account for fixture choice, existing circuits, new controls, routing, access, product approval and the applicable Ontario electrical process. ESA says almost all electrical work requires notification before it begins; the person doing the work files, and a hired Licensed Electrical Contractor files for its work. A lighting plan does not substitute for that electrical review.
An estimate should make the proposed fixture family, approximate zones and site assumptions understandable. It may need to identify drywall repair or paint work separately. This allows an option with fewer, better-directed fixtures to be compared fairly with an apparently cheaper count-based proposal. It also gives the household a clear basis for deciding which layers matter most.
Questions about pot light layout & design
What is the best spacing for pot lights?
There is no universal best spacing. It depends on output, beam, ceiling height, target surfaces and surrounding light. The spacing is resolved within the complete room layout rather than imposed first.
Should lights line up perfectly across connected rooms?
Visual alignment can make a plan feel orderly, but lighting use takes priority. Related lines can be adjusted around cabinetry, furniture and different zones without making a random-looking ceiling.
Can I keep my chandelier and add pot lights?
Yes, the layers can complement one another. Consider what the chandelier actually lights, then use recessed fixtures for remaining tasks, circulation or accents rather than doubling the same bright patch.
How can I prepare for a layout review?
Provide dimensions, ceiling height, photos, a furniture sketch and the activities that need better light. Existing switch locations and any planned renovation also help establish feasible options.
Plan your lighting
Describe the room as you use it during the day and evening. The strongest layout for your Milton home will connect fixture performance, real surfaces and workable controls with the installation conditions above the ceiling. For execution details, see pot light installation.