
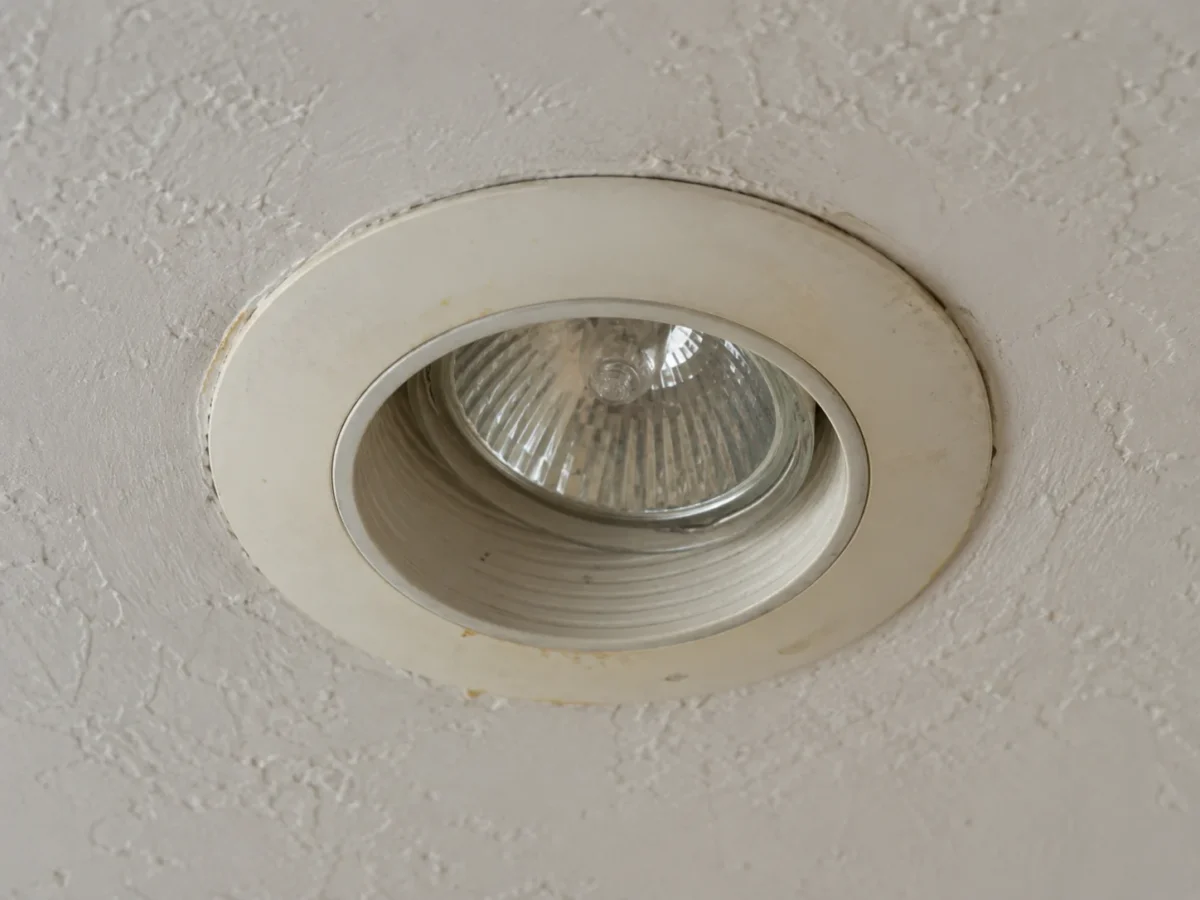
Older recessed lights can make an otherwise finished room feel uneven. One trim may be yellowed, another LED may have a different white, and a third may flicker as it dims. Halogen fixtures can also feel hot and costly to operate compared with suitable LED options. Upgrading the lighting is an opportunity to improve consistency, control and the way a room is actually illuminated.
The correct scope depends on what is already in the ceiling. Some existing housings can accept a compatible replacement product; other installations need more substantial changes. A failed LED may have a replaceable driver or module, or the issue may involve a dimmer or wiring condition. We begin with the fixture and control arrangement, then consider a consistent lighting plan for the whole room rather than replacing a single visible trim without checking its neighbours.
Identify what is actually failing
A lamp that does not turn on, an LED that pulses at low output and a row with different colour temperatures are three different problems. Record which fixtures are affected, whether they share a switch and whether symptoms change as the dimmer moves. An isolated failure might be a component issue; a group behaving badly may point toward a control or compatibility issue.
An assessment should examine the visible product, accessible housing, driver arrangement and existing controls. The age and markings of the products help identify suitable replacement paths. Avoid assuming that every dimming problem means the LED is defective or that every dark opening requires a full ceiling rebuild. Our flickering light guide explains what observations are worth reporting.
Review options for existing recessed housings
A traditional recessed can, a slim canless fixture and an integrated LED trim use different physical arrangements. A suitable approved retrofit product may work with an existing housing when the combination is listed and installed according to its instructions. In other cases, the condition or dimensions of the old housing make replacement more appropriate. The visible aperture alone is not enough to decide.
We look at opening size, mounting, wiring, insulation conditions and access before proposing a product. Removing a sound housing unnecessarily can increase disruption; retaining an unsuitable one can create other problems. Our slim versus traditional guide explains the tradeoffs without treating either as a universal answer.
Make colour and appearance consistent
LED upgrades can expose differences that older light sources concealed. A new bright white module beside a warm existing one produces an obvious patchwork, especially across an open ceiling. Different trims, reflector depths or beam shapes can also make a row appear uneven even when colour labels match.
Consider the visible group together. Sometimes replacing a set of fixtures offers a cleaner result than chasing an exact match to a discontinued model one at a time. Compare colour temperature, colour rendering, light output, beam and trim finish. In connected rooms, decide whether adjacent zones should share the same appearance or intentionally use distinct layers. Our colour guide helps frame that discussion.
Check dimmers and LED compatibility
A legacy dimmer may not provide smooth control with newer LED drivers. Symptoms can include flicker, buzzing, a high minimum brightness, a sudden cut-off or lights that remain faintly lit. Product compatibility information and the actual load matter; simply choosing a dimmer marked “LED” does not guarantee every combination behaves identically.
We consider the fixture and control as one system. Where new modules are selected, the dimmer can be chosen or evaluated accordingly. Where existing lights are retained, a control change may improve performance if the components are compatible and no other fault is present. See the LED dimmer compatibility guide and dimmer service.
Improve where the light goes
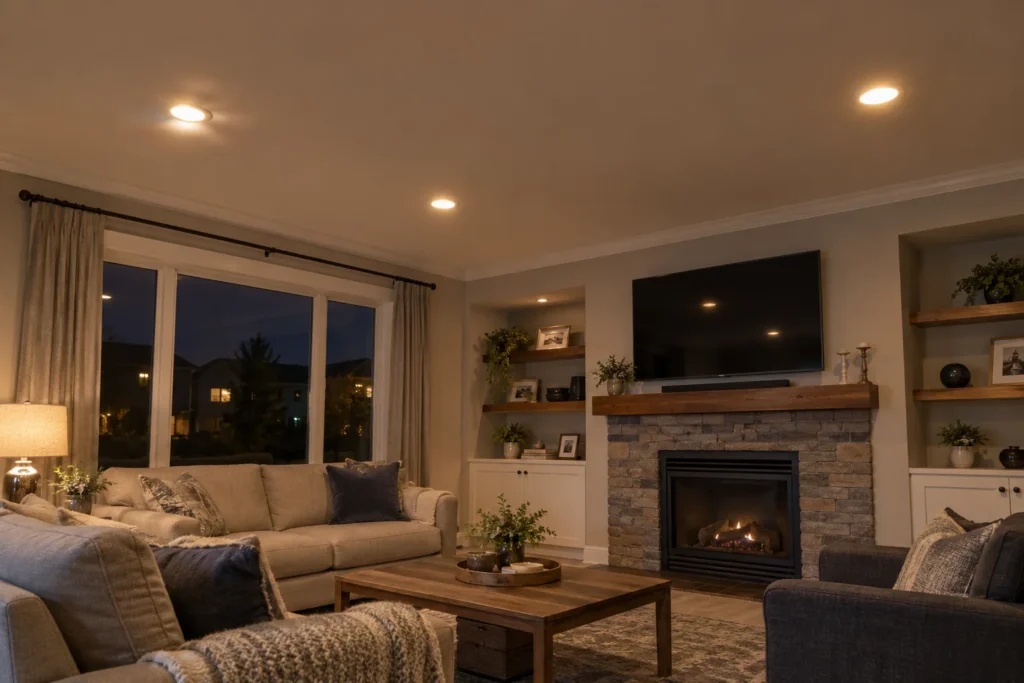
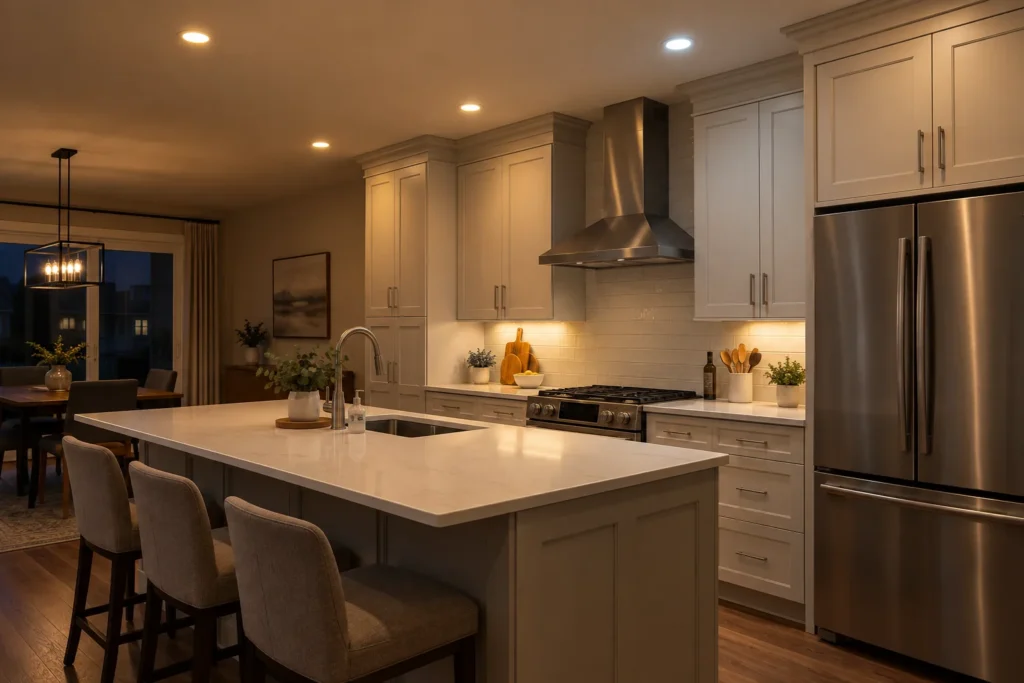
An upgrade is not limited to swapping hardware in the same positions. If the older row leaves kitchen worktops dark or produces glare above a sofa, evaluate the layout. A more suitable beam or adjustable fixture may improve a particular surface, while a separate task layer may be better than increasing every ceiling light’s output.
Some projects can use existing openings and still improve the room substantially; others need selective new positions. The best choice depends on ceiling access, finish work and the room’s use. An upgrade estimate should distinguish straightforward replacements from new locations and switching changes, because those are materially different scopes.
Consider drivers and future replacement
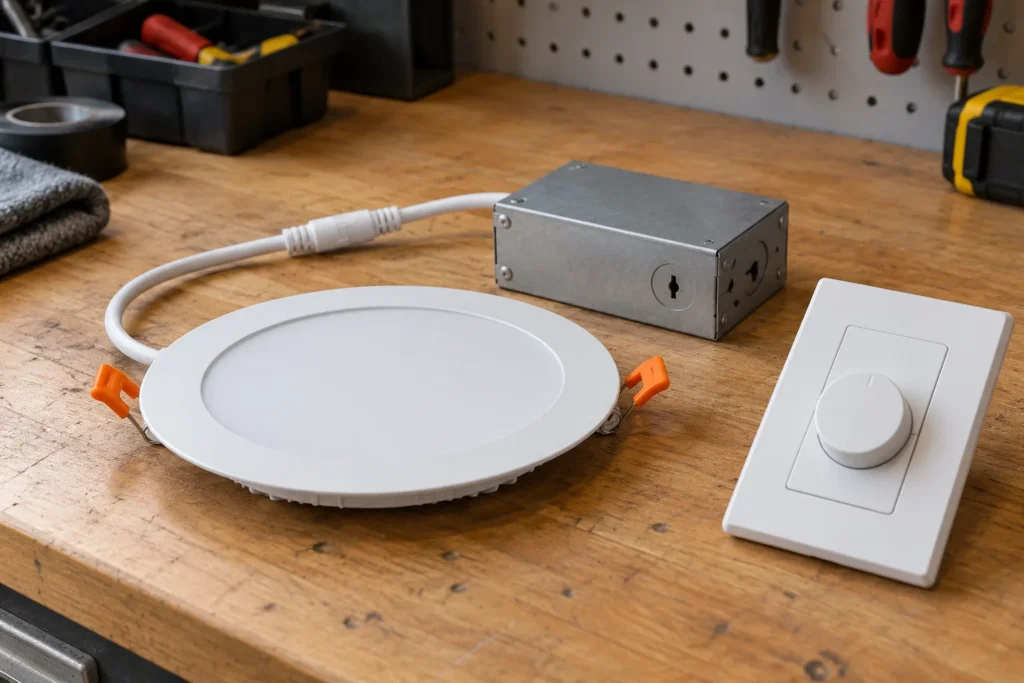
Integrated fixtures can have separate drivers or other serviceable components, depending on the model. Their placement and access matter for troubleshooting later. Product availability matters too: a very distinctive trim or colour may be hard to match if only one fails in the future. That does not require avoiding modern lighting, but it supports selecting a coherent product family and retaining documentation.
Look beyond the headline lifespan claim. Consider manufacturer instructions, operating environment, thermal requirements and the ease of replacing a failed component. The chosen fixture has to suit the ceiling and carry an approval mark recognized for use in Ontario. A neat-looking trim is not sufficient evidence of suitability.
Account for ceiling and electrical conditions
Existing wiring may reflect several renovations, and the accessible ceiling can contain insulation, ducts and framing near older openings. An upgrade can reveal limitations that were not visible from the room. The installation plan needs to address the actual product, housing and circuit rather than treating every old pot light as an identical connection.
ESA explains that almost all electrical work requires notification before work begins; the person doing the work files, and a hired Licensed Electrical Contractor files for its work. The process applicable to a particular replacement or alteration should be confirmed for its real scope. An estimate can identify what is included for product supply, controls, any notification and finish repair.
Decide whether a partial or complete refresh fits
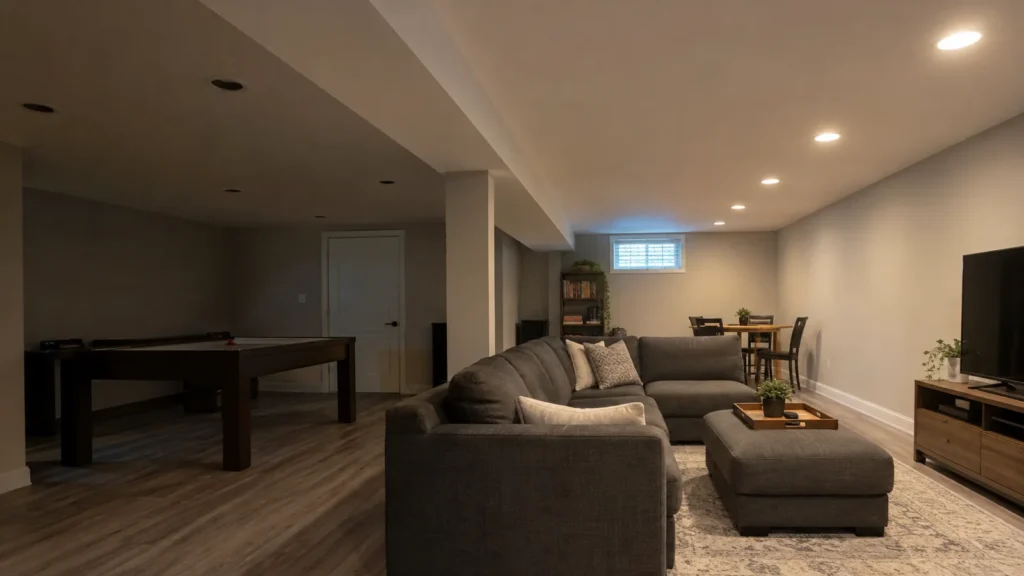
A single replacement can be sensible when a matching component exists and the rest of the room works well. A full visible-zone refresh may make more sense when several old products are failing, colour varies or dimming is inconsistent. In an open plan, note how the renovated group will look beside adjacent fixtures; a clean transition can be planned rather than discovered afterward.
Photos of all lit fixtures, close views of one trim and a short video of the dimming symptom can help frame the first conversation. If packaging or product numbers remain available, keep them handy. This information supports a more useful assessment than a bare request for an LED swap.
Record the current effect before changing it
Turn on each existing group separately and photograph the room from the places where you sit or work. Note the colours that differ, whether one fixture is brighter, and where the old layout leaves shadows. Test dimming through its range and write down the point at which flicker or buzzing begins. These observations help separate a control problem from a product mismatch or a poor layout.
Keep one close photograph of a trim and any model information you can access without disturbing electrical components. If a renovation is planned, identify fixtures likely to be removed so the upgrade can be coordinated with cabinetry or painting. The aim is a consistent room after completion, not a series of unrelated one-off replacements.
Questions about led pot light upgrades
Do all old recessed housings need to be removed?
No. A suitable compatible retrofit may be possible in some existing housings. The product listing, housing condition, opening, wiring and installation instructions determine the option.
Why do my new LEDs flicker on the old dimmer?
The LED driver and dimmer may be incompatible, though another electrical or product fault is possible. Record when flicker happens and have the system assessed instead of guessing from the trim alone.
Can different LED pot lights be mixed in one room?
They can be, but mismatched beam, output, colour and trim appearance may be obvious. A consistent visible group usually produces a calmer result.
Is an upgrade the same as installing new positions?
No. Replacing suitable existing components can involve a different scope from adding openings, routing cables and changing controls. Both should be discussed explicitly in the estimate.
Plan your lighting
Tell us what the older lights do today and what you want improved: brightness, colour, reliability, dimming or layout. Photos of the entire lit room and close views of the fixtures help us discuss an LED upgrade suited to your Milton home.