
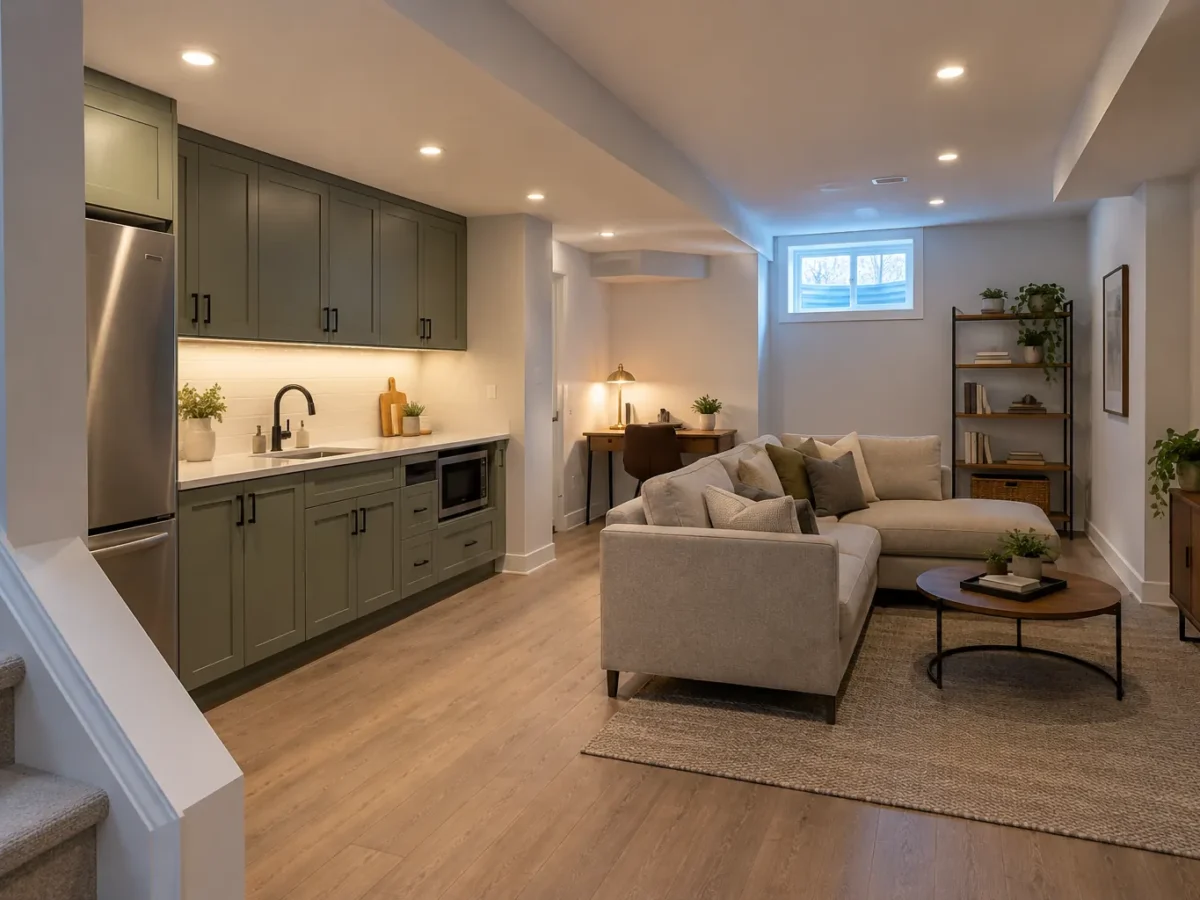
If you came looking for one fixture count per square foot, the most useful answer is that no such number can consistently light a real room well. A 20-by-20-foot room might be a bright open family area with pendants and large windows, or a dark basement containing a desk, play area and media corner. The same floor area cannot settle the count. Start with surfaces and use, choose a fixture with known output and beam, and arrange the lighting so those surfaces receive comfortable illumination. Only then count the proposed fixtures.
Try a five-step room exercise
First sketch walls, doors and windows. Second add fixed cabinetry and large furniture. Third mark tasks such as food preparation, reading, circulation and viewing a screen. Fourth identify existing layers: daylight, lamps, pendants, sconces and cabinet lighting. Fifth place candidate recessed fixtures where they can help an uncovered task or balance the room. This method may sound slower than dividing the floor area, but it prevents the costly mistake of cutting openings that add brightness in the wrong place.
You do not need a professional drawing to begin. A hand sketch with photographs is enough for a first conversation. Label uncertain furniture positions, especially if a renovation will move an island or change the sofa. An installer can then test the initial plan against the real ceiling conditions. The fuller how-many-pot-lights guide explains the variables in more detail; this article walks through how a homeowner might use them.
A kitchen that already has two useful layers
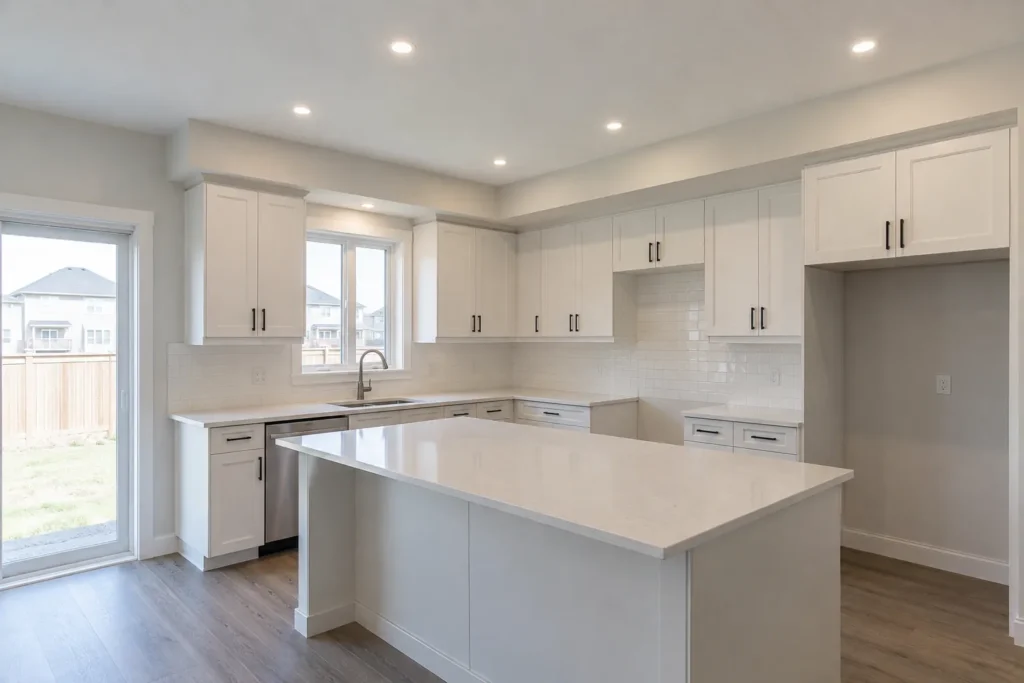
Suppose a kitchen has pendants above an island and plans for under-cabinet lighting on the perimeter. The pendants might define the island and provide some work light. The cabinet layer could illuminate counters directly, avoiding the shadow cast when a cook stands between the ceiling row and worktop. Pot lights can then support circulation, sink and any zones the first two layers do not cover. The resulting count may differ sharply from a grid based on kitchen dimensions alone.
Now imagine the same floor plan with no upper cabinets and no pendants. More of the work may fall to ceiling fixtures or another dedicated task layer. Even then, the goal is not simply “more downlights.” Select positions for the actual work surfaces and check whether the chosen beam reaches them without glare. In both cases, controls should let the kitchen move from bright preparation to a softer evening setting. The kitchen lighting layers guide connects those decisions.
A living room with a television
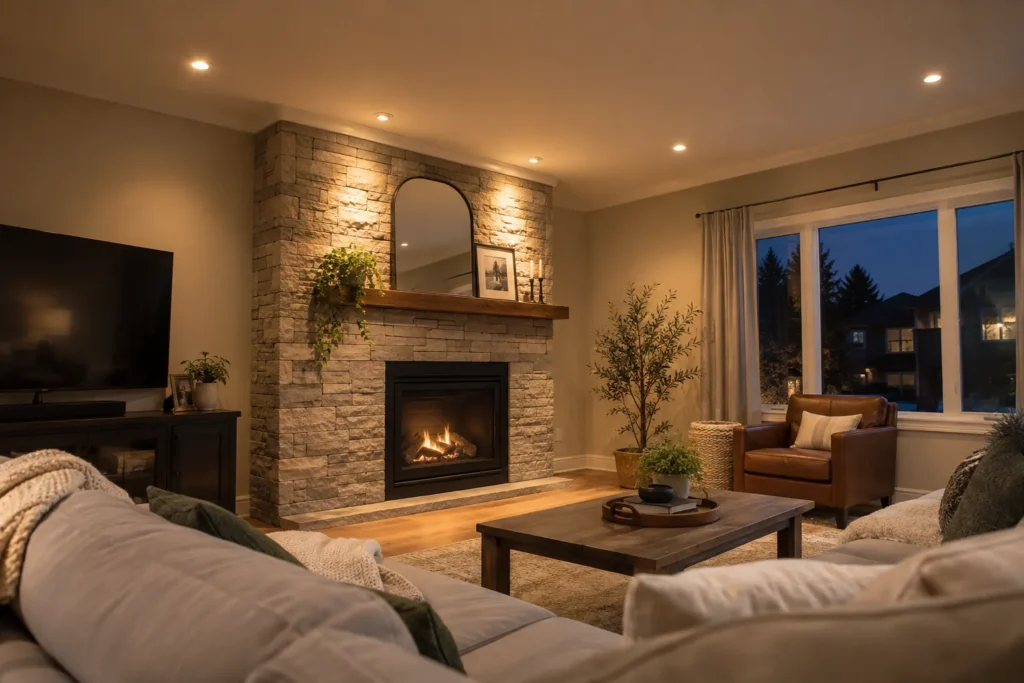
In a living room, the sofa and screen determine several bad positions immediately. A bright downlight directly above a seat can be uncomfortable; another reflected in the television may make viewing difficult. Yet the room might need light on a bookshelf, a reading chair and a route to the hall. Count the useful locations after those views are considered. A floor lamp or wall light may be more effective in the reading corner than another central ceiling point.
Check how the room appears when only part of it is used. Do you want every pot light on during a film? Probably not. A separate dimmed or switched zone can make a modest number of fixtures more flexible. Dimming does not repair a poor position, however. If glare is in the direct line of sight, lowering output only reduces the symptom. Read living-room lighting and pot-light spacing for the placement side of the problem.
A basement with several activities
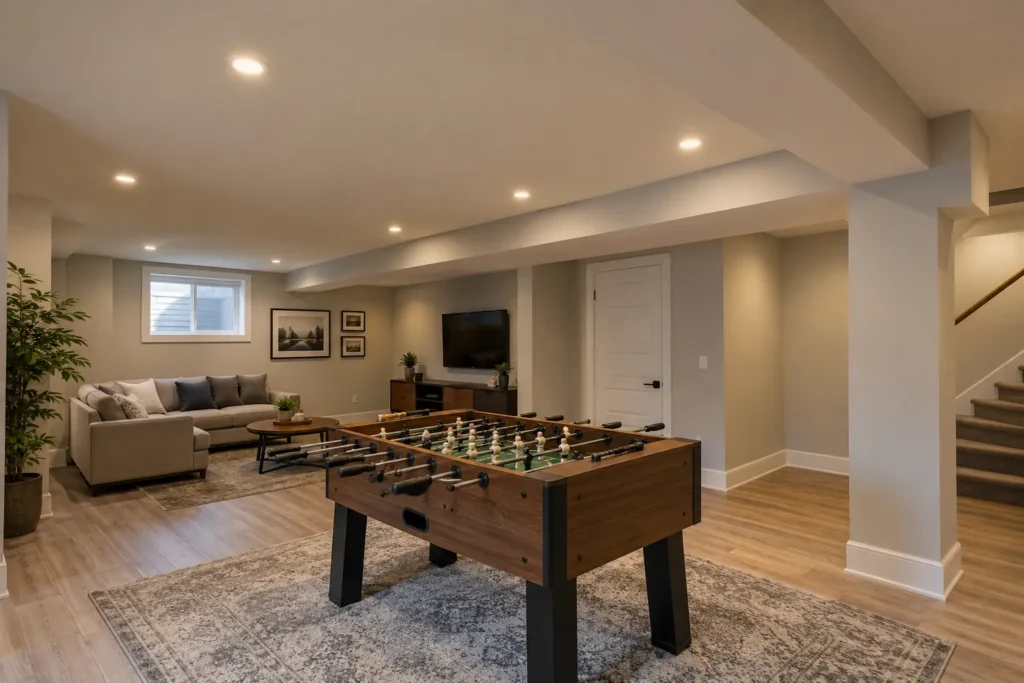
A basement may have low ceilings, bulkheads and limited daylight. Those conditions tempt a dense array of bright discs, yet an exposed luminous surface in a low ceiling can feel harsh. A basement with a play table, sofa and storage area needs the right light at each area. Choose a product whose beam and glare control work at the available height. Consider whether task lights can reduce the burden on general ceiling lighting.
Bulkheads and ducts may limit positions. A nominally perfect grid can be impossible or visually awkward once mechanical systems are considered. Sketch activity zones and beam coverage, then refine the count after checking viable ceiling cavities. Separate controls can keep a media area calm while a desk remains bright. The basement lighting service covers the room as a whole.
Hallways and stairs are about a route
A hallway does not need to be treated as a small rectangular room. It is a route with doors, turns, a possible gallery wall and transition into other spaces. Light should help a person see the path comfortably, without a row of glaring points. A long hall might benefit from a restrained rhythm, but the beam spread and mounting height determine whether the pools overlap or leave dark gaps. A stair needs careful attention to changes of level and control locations.
The count along a hallway can also be influenced by adjoining rooms. If bright kitchen light spills into one end and another light source supports the entrance, adding the same fixture density along the entire route may be unnecessary. Test the route after dark. Do not infer the count simply from linear feet without considering the product and what people see as they walk.
Lumens matter, but where they land matters more
Product lumens indicate output, not a guaranteed level on the work surface. A narrow beam can concentrate light in one area while a broad beam spreads it. Ceiling height affects both the size of the lit area and the amount of useful light arriving at a table or floor. Two fixtures with equal lumen ratings can feel quite different because of trim and optical design. Ask for a specific product or family before fixing spacing and count. The 4-inch versus 6-inch guide explains why diameter is another poor shortcut.
If the room is complex, a lighting calculation based on the selected product can be helpful. For an ordinary home project, a thoughtful layout sketch and review of manufacturer data still beats a universal formula. Look at vertical surfaces, not just floor circles. A lit wall often makes a space feel more open, while intense light on an empty centre may leave cabinets and faces dull. Count each point by its contribution to the scene.
Finishes and daylight alter perception
Dark paint, cabinetry and matte finishes absorb more light than light-coloured surfaces. Polished floors and stone can reflect bright points at uncomfortable angles. A new finish can change the apparent balance even if the electrical installation stays the same. Bring finish swatches or photographs of the planned finishes to a design review. Adding fixtures automatically may be less effective than changing beam, position or the balance between ceiling and vertical light.
Daylight also varies with season and time. A south-facing room may look bright in the afternoon and flat after sunset. Plan the electrical scene for evening use, then provide controls to reduce output when daylight is available. Avoid treating the presence of a window as proof that one specific pot light can be removed; look at the surface and the actual time it is used.
What controls can and cannot change
A dimmer can expand the range of a well-designed group. It cannot move a beam from the centre of the floor onto a kitchen counter. Separate zones can let a connected living area perform different functions without energizing all fixtures at full output. Sketch which lights should operate together for cooking, dining, watching television and cleaning. An LED driver and dimmer must be compatible, so specify controls alongside the selected fixtures. Our dimmer compatibility guide helps you ask the right questions.
Smart scenes may make complex zones easier to use, but the household still needs an intuitive way to operate the lights. If a design requires an app every time someone enters the kitchen, reassess the control plan. More fixtures are not a substitute for a usable lighting system. Think of count, position, product and switching as one decision.
Hidden ceiling conditions can change the answer
The first drawing shows ideal locations. The real ceiling can contain joists, pipes, ductwork, insulation and inaccessible cavities. A move of a few inches may be harmless for one fixture and detrimental for another aimed at a precise counter. Ask the installer to explain how a proposed change affects the lighting goal before accepting a substitute position. In a finished ceiling, access and drywall repair may also influence the final plan; see pot lights without attic access.
Electrical work and products must be handled appropriately. Ontario’s ESA says almost all electrical work requires a Notification of Work and that a hired Licensed Electrical Contractor files it. The complete fixtures should have recognized approval marks and suit their locations. This does not determine the count, but it belongs in the same project plan. The ESA guide explains homeowner questions about credentials, filing and documentation.
A useful final question for every proposed point
Ask, “What does this light improve?” If the answer is merely “it completes the grid,” consider removing or moving it. If it lights a counter, wall, circulation route or flexible zone, test whether its output and beam do that comfortably. Review all locations from normal positions after dusk. Count again after adding the other lighting layers and controls. That is a defensible quantity, even if it differs from a neighbour’s room.
Can a room be too bright with pot lights?
Yes. Too many exposed bright points can create glare or an overlit ceiling, and they may still leave task shadows. Controls help with intensity but cannot undo poor placement or unnecessary openings.
Are more lights needed in a dark-coloured room?
The room may need more useful light, but a different beam, output, wall illumination or task layer could be a better response. Test the selected product against the actual finishes.
Can I get a count before choosing the fixture?
You can sketch a preliminary layout, but final count and spacing depend on the product’s output and beam and the ceiling conditions. Send the room sketch and photos when you request a Milton lighting estimate.
Share the space, current lighting and the result you want.
Request a Lighting Quote