
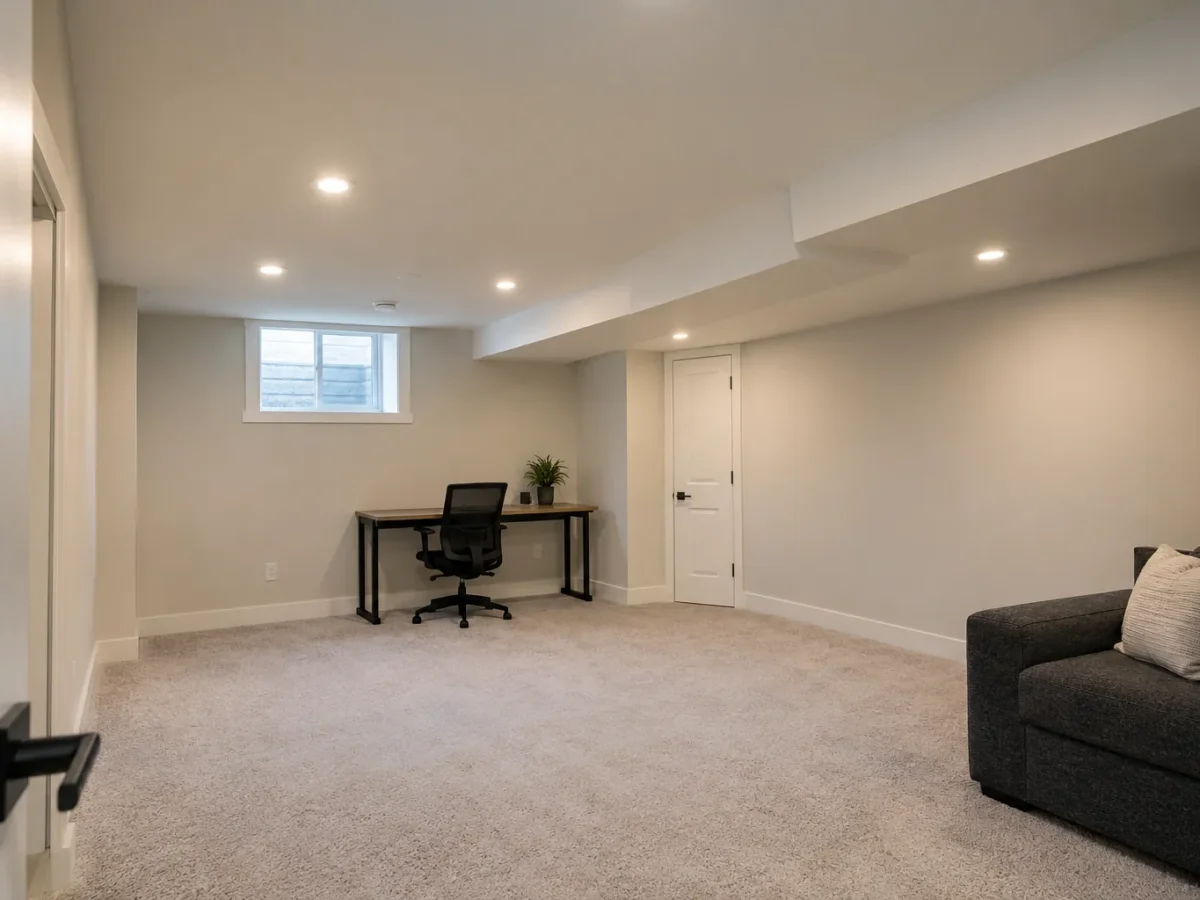
Pot lights can often be planned in a room with no usable attic access, but the absence of access changes the investigation and installation scope. The ceiling is a closed assembly that may contain joists, ducts, plumbing, insulation or blocking. The question is not only whether a shallow fixture fits; electrical wiring must reach it by a suitable route, and the proposed position has to work with the actual structure. No one should promise zero drywall disturbance in an uninspected ceiling. An informed site review should address layout, access and finish work before installation begins.
What “no attic access” can mean
A top-floor room may have an attic but no convenient access hatch over the work area. A main-floor room can have a finished bedroom above it. A basement may sit below a finished floor with mechanical services packed into a shallow cavity. These are different situations. Existing fixture openings, unfinished utility areas, adjacent rooms and renovation work may offer partial access, but each route must be confirmed. Explain the ceiling assembly when requesting an estimate rather than saying only “finished ceiling.”
Photos of both the room and nearby access points help. Include the ceiling height, bulkheads, existing fixtures, wall controls and any visible vents or plumbing. Mention known renovations because they may indicate rerouted services. An installer may use non-destructive clues and selective investigation, but concealed construction remains uncertain until it is properly assessed. The final layout should allow that reality instead of demanding a precise grid regardless of what the ceiling contains.
Joist direction affects the route
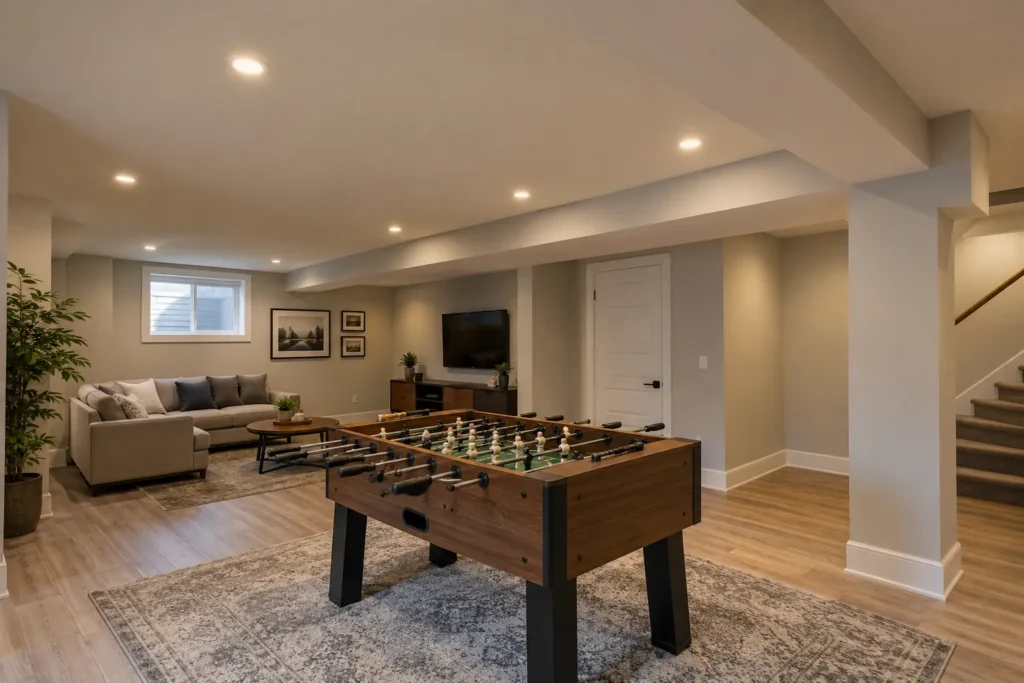
Joists divide a ceiling into cavities. Lights proposed along one cavity may present a different routing problem from a row crossing several cavities. Blocking, engineered structure and changes in direction can complicate a plan that looks simple from the room. An initial layout can be revised when the direction is confirmed. Sometimes fewer fixtures with a different beam or a combination of ceiling and wall lighting achieves the goal with less disruption. The quantity guide explains why more holes are not inherently better lighting.
The electrical professional must determine a compliant wiring method and route. This is not a task to solve by guessing from a stud finder or by treating structural members as disposable obstacles. If a proposed row cannot be achieved reasonably, discuss changes to placement, lighting zones and optics before cutting extra openings. The spacing and layout guide gives a way to protect the lighting result when positions must move.
Ducts, pipes and other concealed conditions
A ceiling cavity may contain supply or return ducts, plumbing, sprinkler components, insulation, low-voltage wiring or other services. A shallow light module does not make those disappear; its driver and wiring also need an appropriate location. A bathroom or kitchen above the room can increase the likelihood of plumbing. Bulkheads often signal mechanical routing but do not map everything behind the drywall. Allow time for the contractor to verify viable positions before ordering a ceiling pattern and product.
If a pipe or duct occupies a chosen location, the response should protect both the building service and the lighting design. A nearby position might create an awkward pool of light or conflict with furniture. Different beam control, a wall light or another lighting layer may be the better solution. Ask how discoveries are documented and priced so a change can be approved before it happens. An estimate based on stated assumptions makes this conversation much easier.
Insulation, air control and product choice
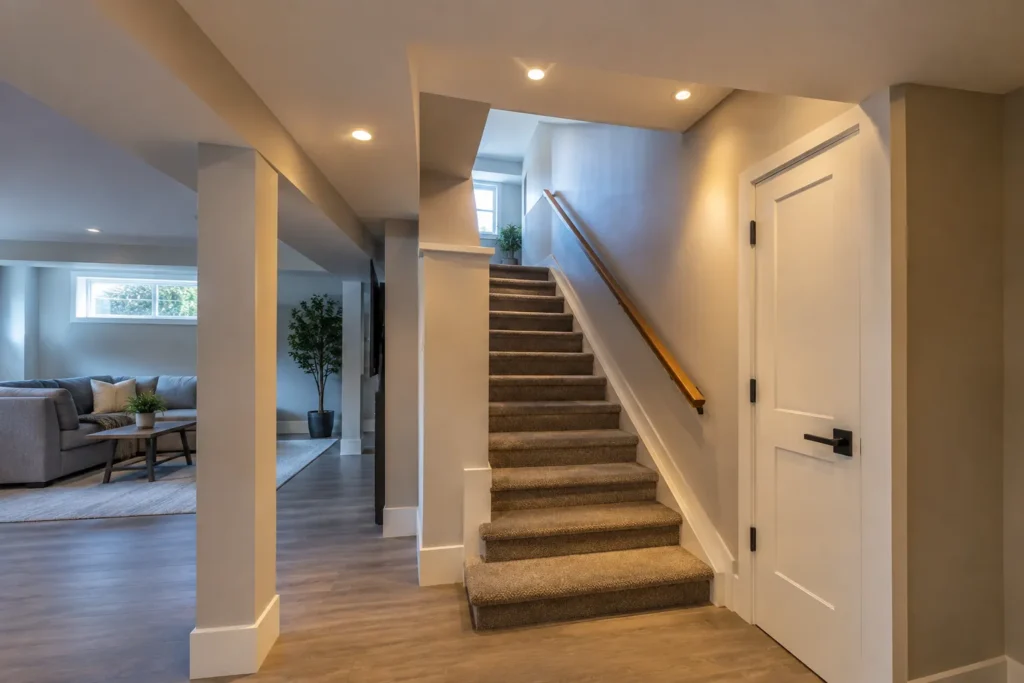
An insulated ceiling has conditions beyond fitting a trim through drywall. The complete fixture and driver assembly must be appropriate for the setting and installed according to its instructions. Penetrating an air or vapour-control layer can affect the building envelope. Products differ in their clearances, temperature suitability, approved applications and component placement. The slim versus traditional guide compares fixture forms without suggesting that slim automatically means compatible with every insulated assembly.
An approved product for indoor dry use is not automatically suitable for a bathroom shower location or exterior soffit. Check the exact model and its intended use. ESA’s recognized approval marks provide the Ontario product-approval reference; the manufacturer supplies location and installation information for its product. These two checks are complementary. Our approved LED guide gives a fuller checklist.
Openings and finish repair
A recessed fixture requires an opening, but additional access points may be needed to assess or route wiring. The number and placement cannot always be known from photographs. Existing fixture openings can sometimes help, though that must be evaluated rather than assumed. Ask whether exploratory openings, drywall patching, texture matching and painting are included. A patched spot can remain visible on a painted ceiling unless a larger area is finished. Specify the finish standard you expect.
Protecting furniture and managing dust are also practical project considerations in an occupied home. If the room is about to be repainted or renovated, coordinate the lighting work with that schedule. If the finish is decorative or difficult to match, weigh alternative lighting strategies. A clear proposal should describe what happens if the first planned route is obstructed and whether changes require a new price.
Layout that remains useful after adjustment
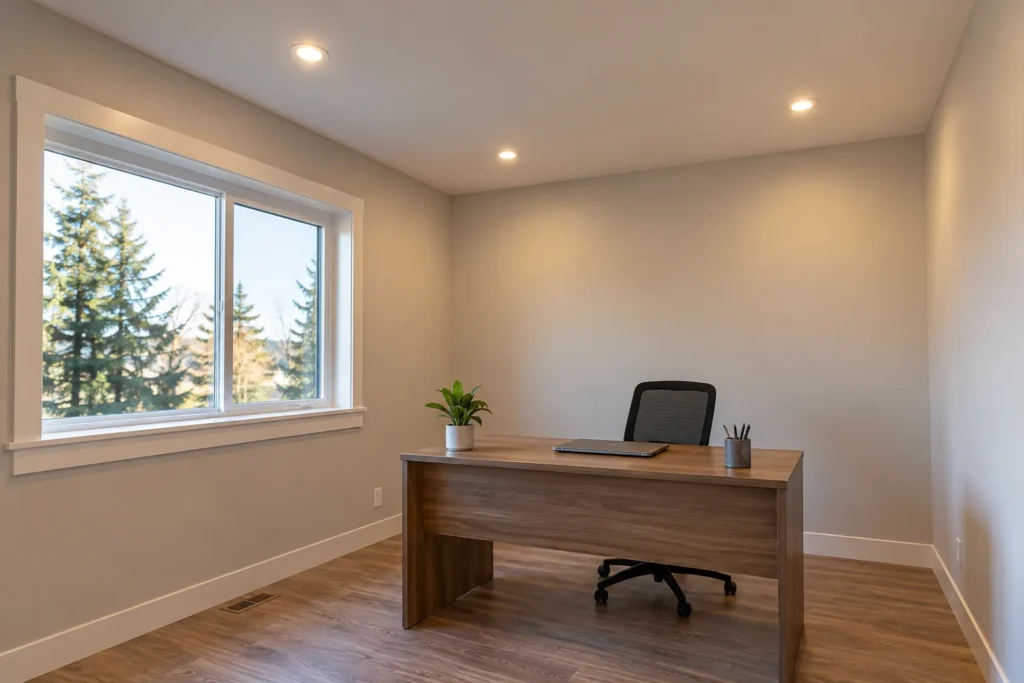
Draw tasks and furniture before drawing a perfect rectangle of ceiling points. If one fixture must shift due to a joist, ask what surface it was intended to illuminate. A controlled-beam product, a different position or a separate task light may retain the result. A kitchen counter may benefit more from under-cabinet lighting than from forcing another ceiling opening across a blocked cavity. In a TV room, avoiding screen glare can be more important than achieving identical spacing.
Lighting zones and switches need similar flexibility. An existing switch location may be usable for one plan but not another. Discuss how the room should function in daytime and at night, and whether dimming or separate zones are included. The proposed controls must be suitable for the chosen LEDs and existing electrical conditions. Product substitution should trigger another compatibility check, not merely an adjustment to the invoice.
Electrical process and scope
Where electrical work is involved, confirm the licensed professional who will perform it and how the applicable ESA notification and review are handled. ESA says almost all electrical work requires a Notification of Work and explains that a hired Licensed Electrical Contractor files it. The official notifications page and our Milton ESA guide cover the process. Do not call that notification a Town of Milton pot-light building permit; municipal building permits and ESA electrical review are distinct.
Ask the installer to identify the proposed fixture and control, access assumptions, planned locations, expected finish repairs, exclusions and handling of hidden conditions in writing. That is a better basis for comparing cost than a promise of a fixed price per hole. The pot-light cost guide lists the elements that can change a finished-ceiling estimate.
Prepare for a site assessment
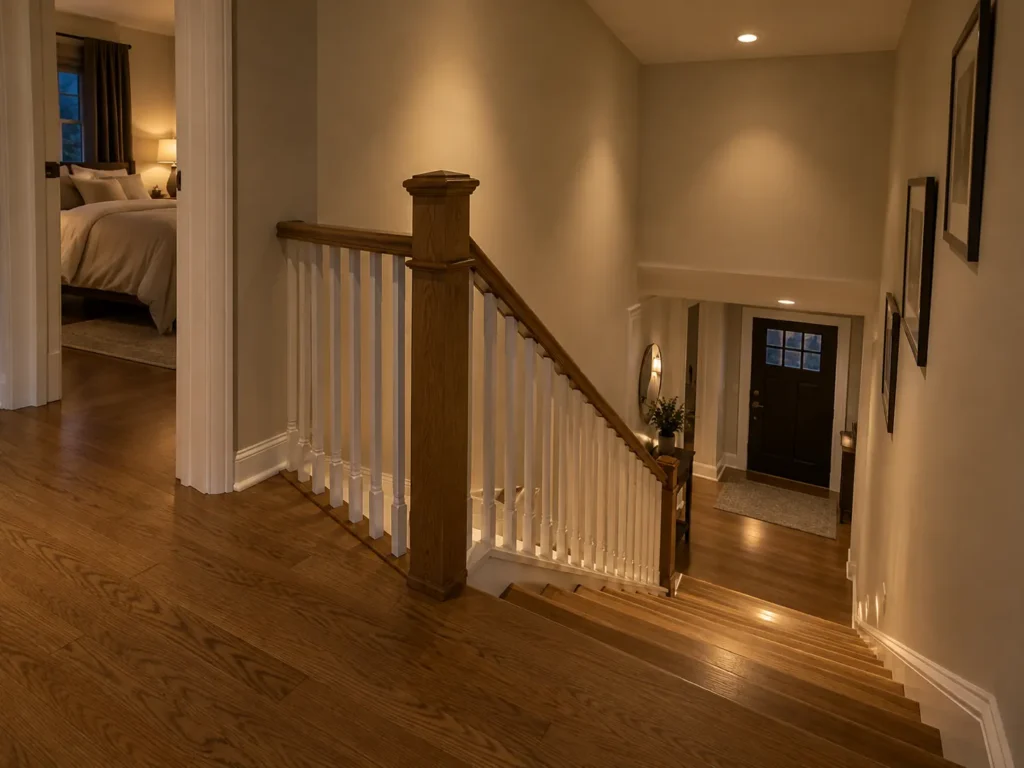
Measure the room and note ceiling height. Photograph the entire ceiling, controls, neighbouring unfinished areas and the surfaces you want lit. Sketch joists only if known from reliable plans; label uncertain information as uncertain. Note which furnishings must remain in place and whether ceiling painting is already planned. Describe the lighting goal, whether that is counter work, circulation, a softer evening scene or a brighter basement. The contractor can then discuss viable routes and products against a real brief.
Can it be done with no drywall repair?
Possibly in some conditions, but no responsible blanket promise can be made before the assembly and wiring route are assessed. Existing access may help, while hidden obstructions may require openings and repairs.
Will ultra-thin pot lights avoid joists?
A low-profile module addresses depth at the opening. It does not remove the need for an appropriate driver, wiring route, insulation suitability and compliance with product instructions.
Should I wait until a renovation?
Coordinating with an upcoming ceiling or room renovation may reduce duplicated finish work and make routing easier. If the lighting is needed now, a site review can compare the disruption and value of current options. Request an estimate with ceiling photos and your renovation timeline.