
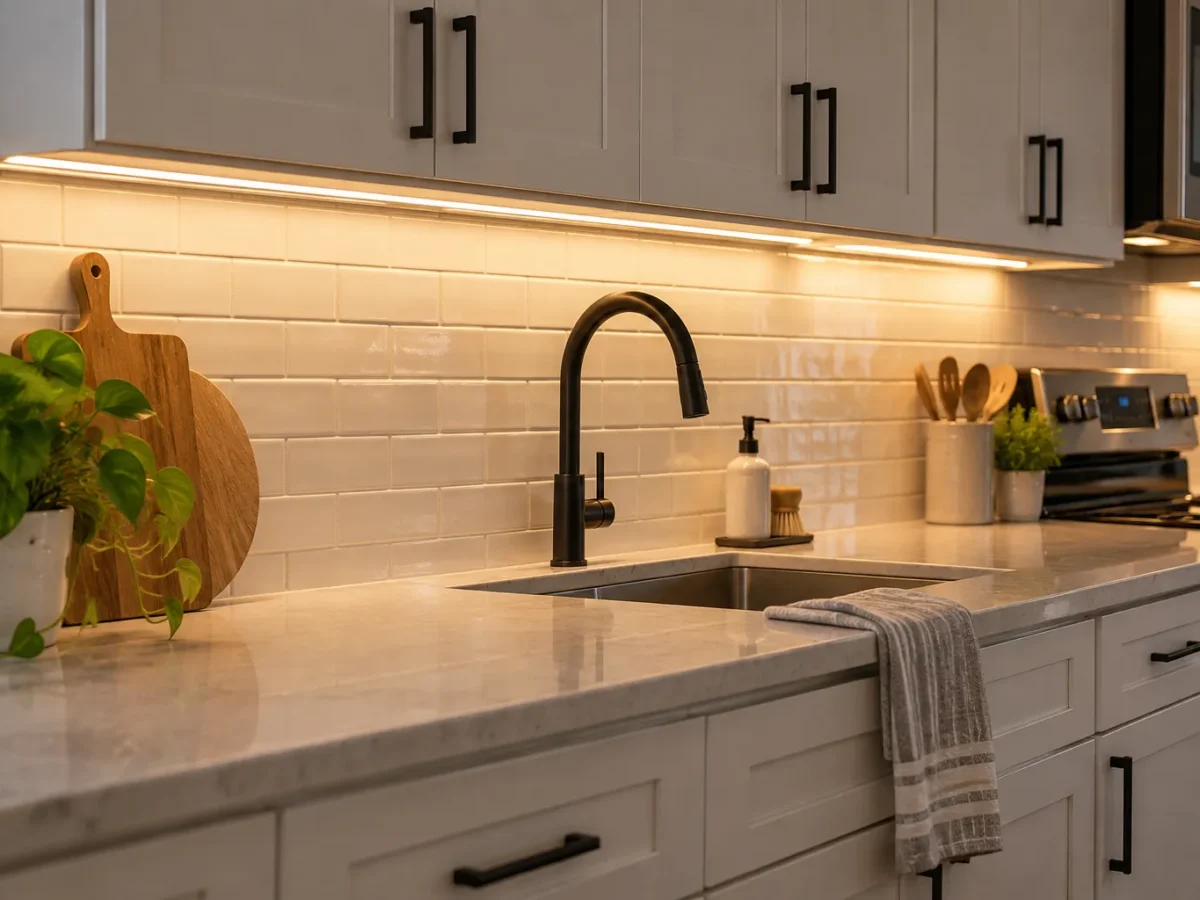
Under-cabinet lighting puts light where a kitchen actually works. Ceiling fixtures often sit behind the person preparing food, allowing the body and wall cabinets to cast shadows across the counter. A well-planned linear layer can make chopping, reading labels and cleaning easier while giving the kitchen a calm evening glow. The result depends on cabinet geometry, light distribution, driver placement, finish reflections and controls. A row of bright dots stuck under a cabinet is not the same as an even working surface. For a Milton kitchen, plan the entire run before choosing strips, bars or puck-style products.
Map the counters and cabinet runs
Measure the usable counter stretches and note where cabinets stop, change height or meet a range hood, window or open shelf. A long uninterrupted run can often support a continuous visual line, while short separate cupboards may require discreet transitions. Identify the prep surface, sink, coffee station and any appliance garage. Not every section needs identical output, but visible adjacent runs should look coherent. The end of a cabinet should not leave an awkward dark patch in the middle of a frequently used work area. Consider how the kitchen connects to an island, where pendants or pot lights may already provide some task illumination.
Place light on the work surface
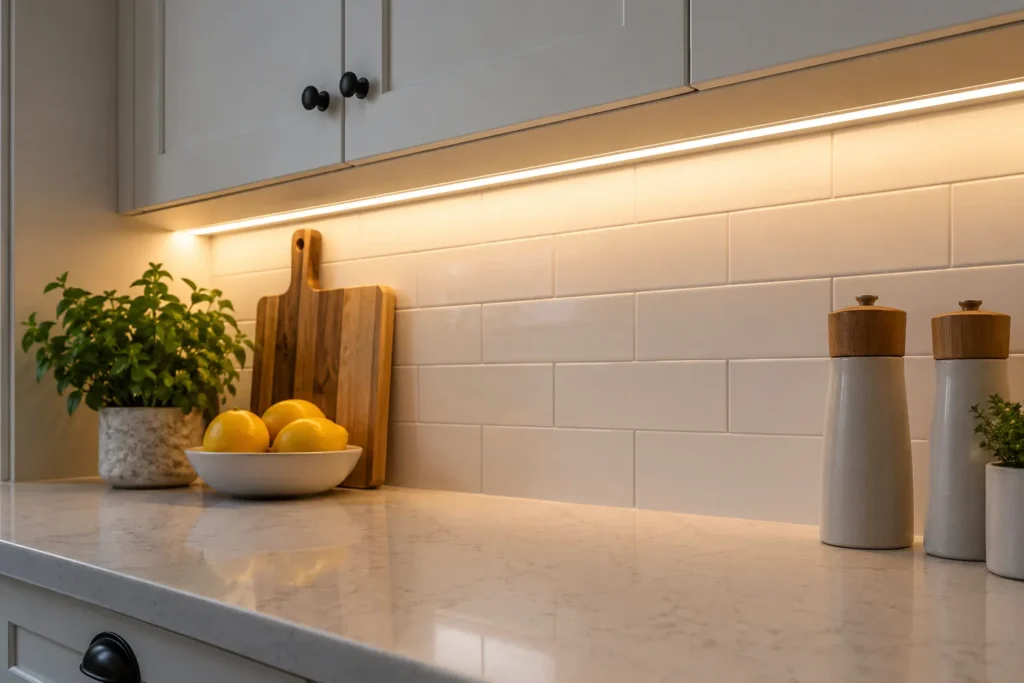
The underside of a cabinet offers several possible mounting positions. A source tucked far to the rear may overlight the backsplash while leaving the front counter edge darker; a source too close to the front lip may be visible from nearby seats. Cabinet depth, lip, backsplash finish and the user’s normal working position influence the choice. The goal is useful light across the counter without a visible row of harsh points. Mocking up the intended position in one cabinet run can reveal reflections or shadows before every cabinet is fitted. Read kitchen lighting layers for how this task layer works with ceiling fixtures and pendants.
Linear LED, bars and profiles
Linear LED can provide a clean continuous line when the product, profile and diffuser are selected together. Rigid bars may suit some cabinets and can offer simpler service access; tape systems allow different lengths and concealment but require appropriate channels, power supplies and connections. Compare actual output, colour, dot visibility and serviceability rather than buying on a headline wattage. A high-output strip installed without a diffuser can create scallops and reflections on polished counters or glossy backsplash tile. A diffuser softens visible points but can reduce some output, so product selection and mounting position should be considered together. Choose approved components as a compatible system.
Concealed wiring in a finished kitchen
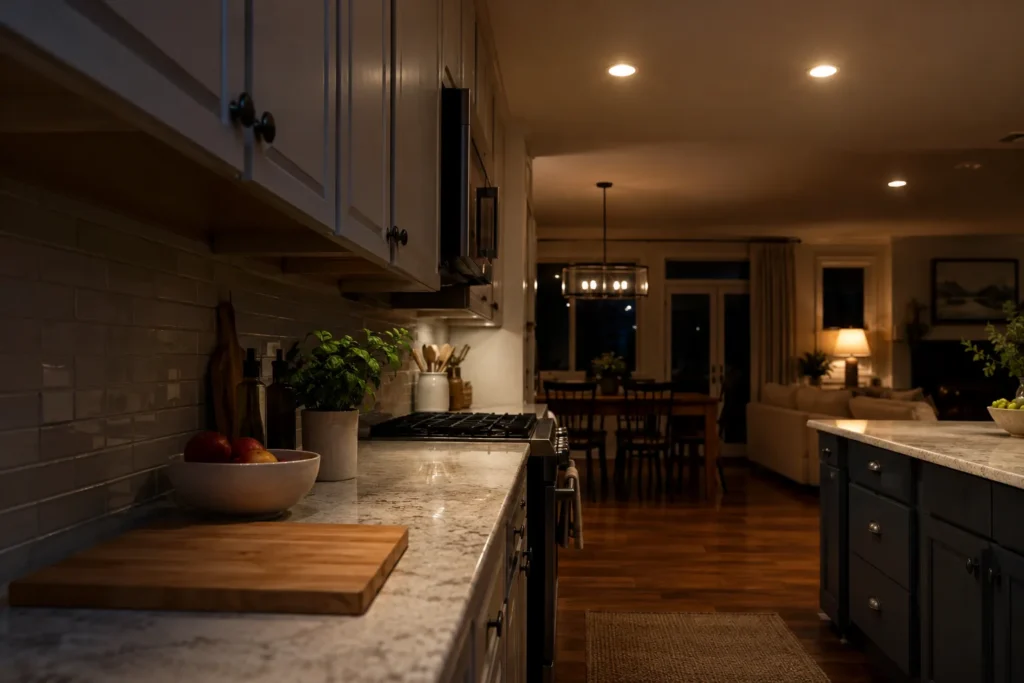
A renovation with walls and cabinets open offers more options for hidden routes than an existing finished kitchen. In a completed space, the cabinet backs, wall construction, tile and available adjacent electrical points influence what can be concealed. A visible cord across a backsplash is rarely the intended finished result. Plan how power reaches separate cabinet runs and how the work affects tile, drywall or cabinet interiors. Do not assume a line can be fished behind every cabinet without access. A useful quote should explain what will be visible, where any openings are expected and who restores affected surfaces. Coordinate before new tile or cabinetry closes the easiest wiring routes.
Driver placement and access
Many LED systems use a driver or power supply that needs to be suitable for the load and placed according to the manufacturer’s instructions. The driver should remain accessible for future service, while its location should not spoil the kitchen’s appearance or occupy a valuable drawer unexpectedly. Heat, ventilation, wiring length and the number of connected runs can affect the product arrangement. A hidden but inaccessible driver behind permanent cabinetry makes a future failure needlessly disruptive. Ask where it will be located and how it can be reached. Retain model and colour information so a replacement section or driver can match the rest of the kitchen later.
Diffusers and reflective finishes
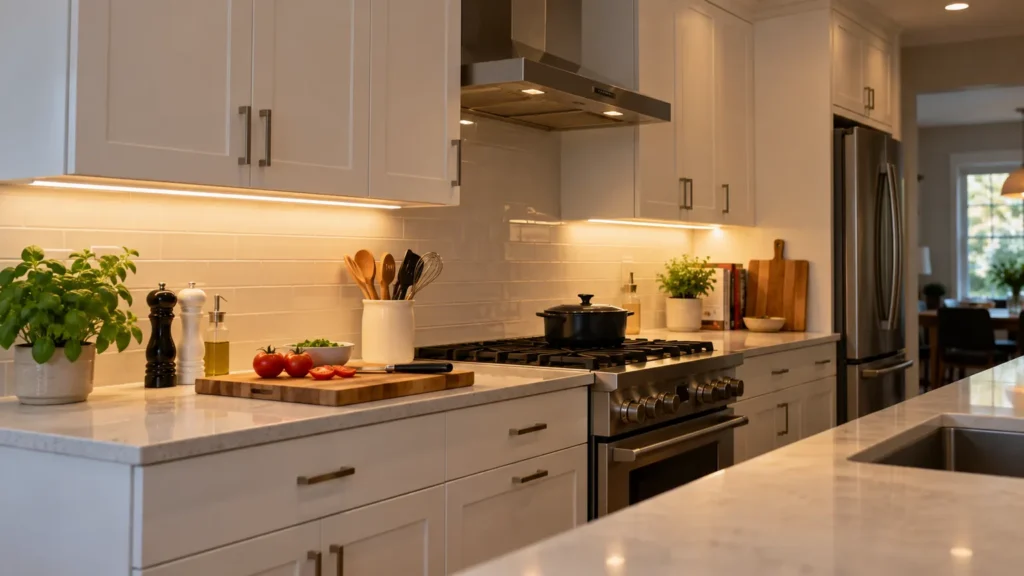
Polished stone, glossy tile and stainless surfaces can mirror individual LEDs even when the strip itself is hidden from a standing viewpoint. Look from seated positions across an island as well as from the counter. An opaque diffuser or deeper channel can reduce visible dots, but the chosen profile needs enough light for the task. A matte backsplash may tolerate a different arrangement from mirrored glass tile. Under-cabinet light also emphasizes surface imperfections and grout lines, so aim and distribution can change the perceived finish. Test the visual result on one cabinet where practical before repeating it around the room. Comfortable task lighting is judged on the counter and in the reflections, not just by an illuminated selected product.
Colour temperature and rendering
Kitchen lighting layers should relate to one another. A very cool under-cabinet strip beside warm pendants can make the same countertop look like two different materials. Choose a white appearance that supports food preparation and sits comfortably with the existing ceiling layer. Colour rendering influences how ingredients, finishes and hands appear. Product consistency matters when separate cabinet runs are illuminated at once; strips from different batches or models may be visibly mismatched. Dimming can let useful task lighting become a low evening layer, but it cannot correct a poor colour match. The colour temperature guide helps compare options in the room context.
Switching and dimming
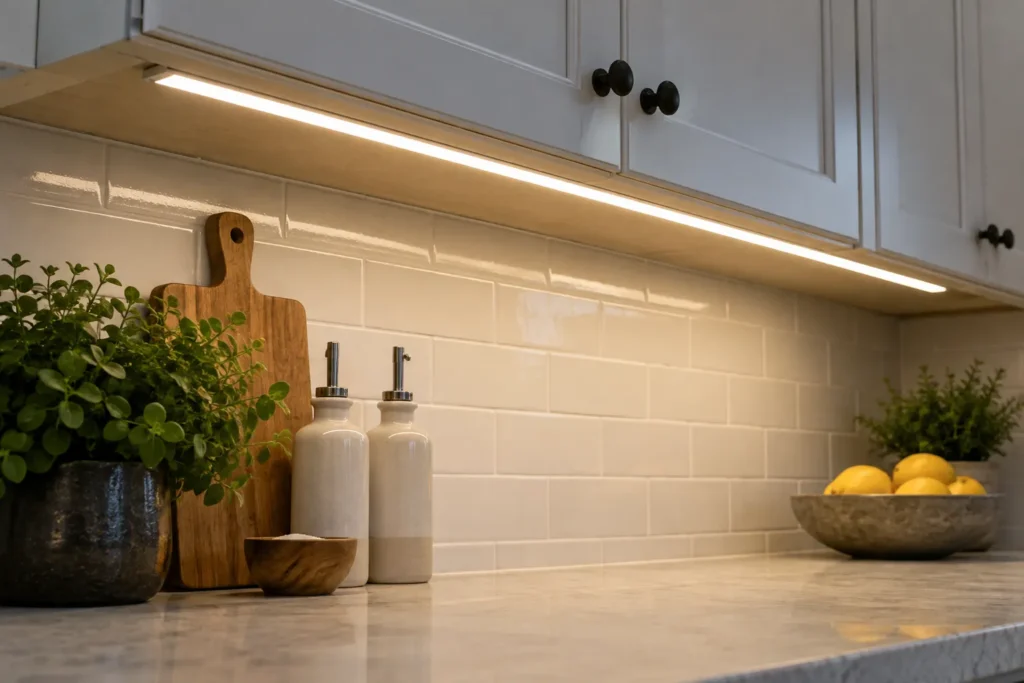
Under-cabinet lighting deserves a control that people will use. It can be separate from ceiling pot lights and island pendants, allowing a clear counter task mode and a gentler evening state. A wall switch is intuitive, while a compatible dimmer or smart scene may add flexibility. A touch sensor hidden under a cabinet can be convenient in a particular layout but harder for a visitor to find. Decide where the kitchen is entered and which controls should be available there. Ensure the selected driver and dimming equipment are compatible throughout the desired range. The smart lighting and dimmers page covers the wider control decisions.
Existing fixtures and partial upgrades
Some kitchens already have fluorescent bars, puck lights or mismatched LED products beneath cabinets. A replacement should assess the condition and position of the existing electrical points, the available mounting space and the appearance of the entire run. Swapping a bar in the same location may be simple but repeat poor coverage. Reusing an existing switch may be possible when the new system is suitable, while a new control strategy could make the kitchen easier to use. If only a few cabinets are upgraded, compare colour and brightness against the retained sections. A coordinated replacement can be more satisfying than isolated patches of new light beside ageing fittings.
Scope and cost considerations
The estimate depends on cabinet length and breaks, product and profile choice, driver arrangement, wiring access, controls, backsplash and cabinet finishes, and whether old equipment is removed. Send photos of the full kitchen and close views beneath each cabinet run, dimensions if available, and details of current switching. Mention whether a remodel is planned, because timing can reduce disruption. Clarify whether the quote includes profiles, diffusers, approved drivers, cabling, controls, cabinet modifications and any tile or drywall restoration. Counting only linear feet misses the practical differences between an open-wall renovation and a fully finished kitchen.
Electrical products and Ontario process
Electrical work for hire in Ontario must be done by a Licensed Electrical Contractor. The person doing the work handles required ESA notification of work and applicable review. Low-voltage LED strips still form part of a system with electrical products, power supplies and installation instructions; use components approved for Ontario and suitable for their application. A generic online strip and an improvised supply should not be treated as equivalent to a considered lighting system. The approved electrical products guide and Ontario requirements guide provide broader context. The actual cabinet and wiring conditions determine the final design.
Frequently asked questions
Where should the lights sit under a wall cabinet?
The best position depends on cabinet depth, the front lip, counter use and reflective finishes. The aim is even useful light without seeing the source from ordinary positions. A rear mounting can leave the front work area dim; a front mounting can show dots or reflections. Review one cabinet run before repeating the position throughout the kitchen.
Can the wires be completely hidden in my finished kitchen?
Sometimes, but finished tile, cabinet backs and access to a suitable supply determine the route. An estimate should describe any visible elements, openings and restoration. If new cabinetry or backsplash work is coming, plan the lighting before those surfaces are closed. Do not assume every cabinet run can be reached through the same concealed path.
Do I need a diffuser?
A diffuser is often valuable for a continuous, comfortable appearance, particularly against glossy tile or stone. It may alter output, so profile, strip and diffuser should be selected as a system. Some rigid bars have integral diffusion. Judge the installed effect on both the countertop and nearby reflections, rather than the strip alone.
Can under-cabinet lights be dimmed separately?
Often, with compatible drivers and controls arranged for a separate zone. That allows bright counter work and a softer evening glow without changing the pot lights or pendants. Existing wiring and switching need review. Specify the desired use before products are purchased so the control design suits the chosen system.
For under-cabinet lighting in Milton, send kitchen photos and identify the counters that need better light. The best plan hides the equipment while making the work surface easy to see.