
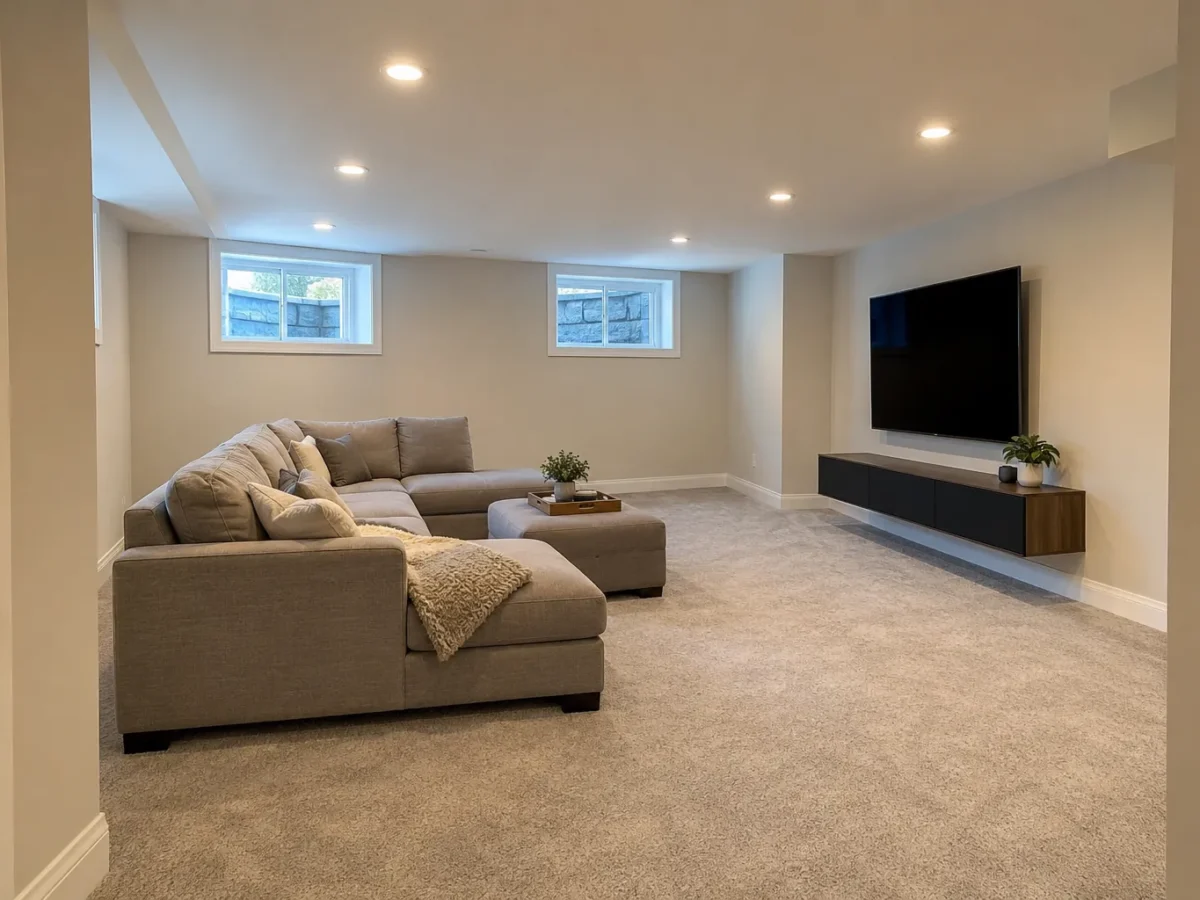
A basement often has to do many jobs beneath a complicated ceiling. Recreation space, a desk, a bedroom, a hallway and a utility corner can sit near bulkheads, ducts and beams that disrupt a simple lighting pattern. Pot lights can provide a clean profile where hanging fixtures would be in the way, but the layout has to work around those conditions rather than pretending the ceiling is an uninterrupted rectangle.
Lower ceilings also change comfort. A bright exposed downlight may be closer to people’s eyes when they relax on a sofa, while dark finishes absorb the limited light. A basement lighting plan should account for each use, available height, beam spread and independent controls. Whether you are finishing an open basement or updating an existing one, the first step is to identify what the room needs to do.
Divide the lower level by actual use
A basement family area needs comfortable general light and possibly a soft television scene. A craft table or office needs more direct task light. A game table may need broad, even visibility. Bedrooms benefit from a gentler atmosphere, while utility space prioritizes practical access. One continuous switch and identical fixture pattern cannot serve every activity well.
Draw a rough zone map showing furniture, doors and likely circulation. Some uses may change over time, so general coverage should retain flexibility. Other targets, such as a kitchenette counter or built-in desk, justify more focused light. The controls can then follow those zones, allowing one part of the level to stay bright while another becomes calm.
Work with bulkheads and beams
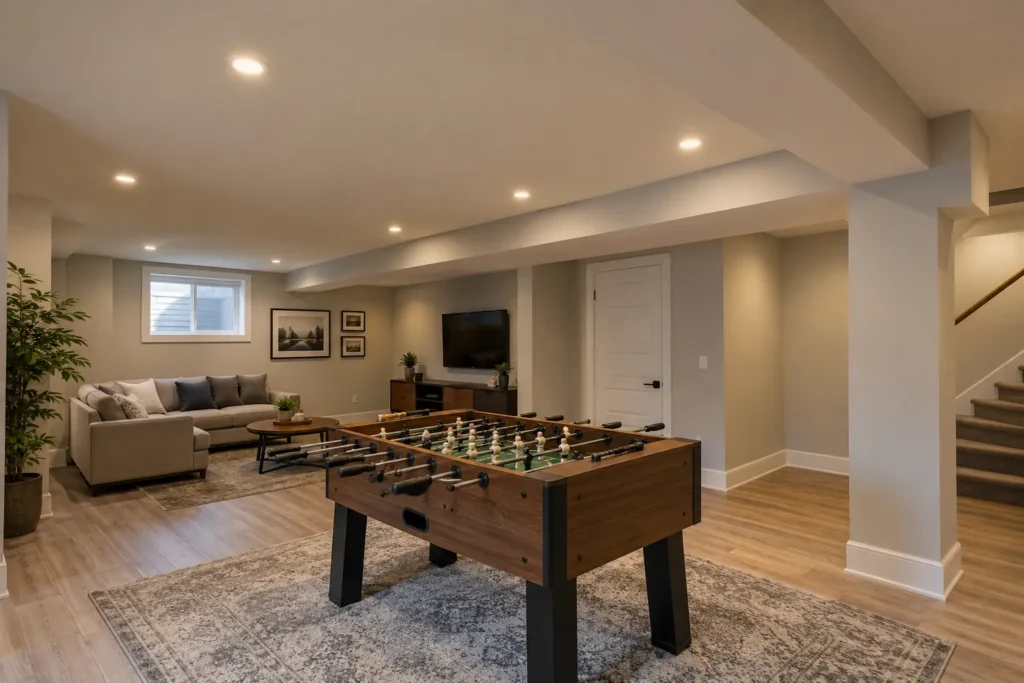
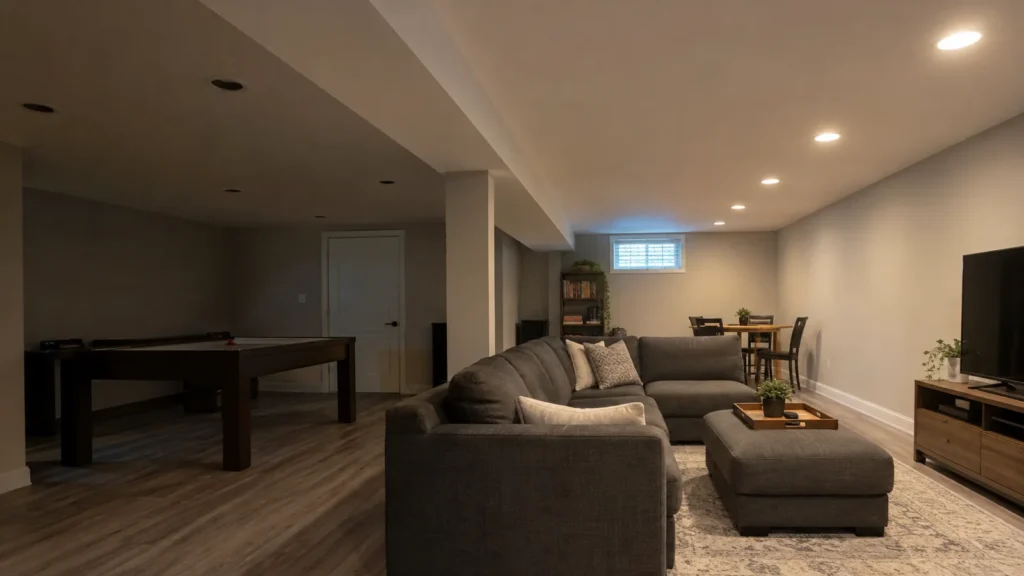
A bulkhead may run exactly through the area a neat ceiling grid would occupy. Rather than forcing symmetry across two ceiling heights, use the bulkhead as an organizing edge and position fixtures where their beams can reach the room. A lower plane may need different output or spacing from the taller section beside it. Exposed beams and structural posts similarly affect distribution and sightlines.
The apparent rhythm of the lights should feel intentional, but a pattern that looks orderly on paper is not useful if a duct blocks installation or a beam casts a shadow over the seating. Photos and measurements of all ceiling planes help establish a workable arrangement before openings are cut.
Choose fixtures for limited clearance
Slim recessed products may fit some shallow ceiling conditions, but “slim” does not mean suitable for every cavity. Framing, insulation, ducts, wiring and manufacturer installation instructions determine what can be used. Traditional recessed housings may be appropriate in other conditions. Aperture size alone does not establish usable output or glare comfort.
Product approval for Ontario and suitability for the actual ceiling are essential. Discuss the visible trim and the light distribution together. A low ceiling can make a high-output source uncomfortable, particularly above a sofa or bed. The slim versus traditional guide helps compare the physical approaches.
Reduce glare near seating and screens
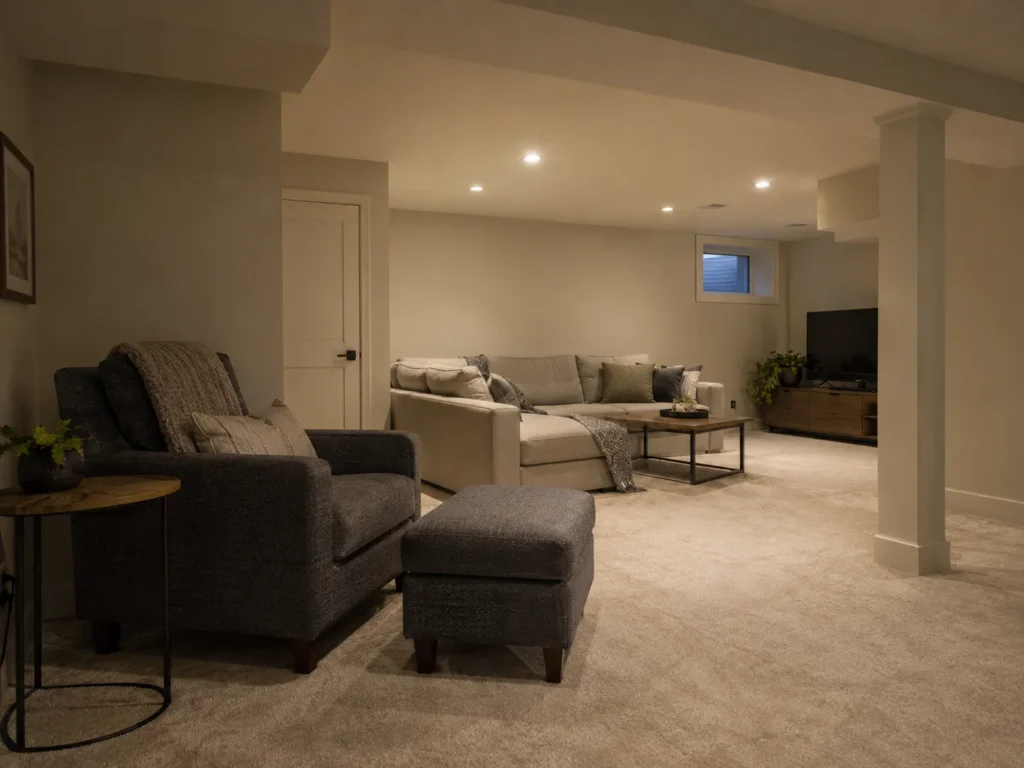
In a basement, people may recline close beneath the fixtures. A poorly shielded LED can become the brightest thing in the field of view. The television may also reflect a row of lights or compete with a bright wall behind it. Position, beam and independent dimming can help create a useful room that does not feel overlit.
We consider the sofa and screen before finalizing the ceiling pattern. A side wall or feature may benefit from gentle illumination while the direct area above the viewer stays quieter. Lamps can provide reading light at a seat without requiring the entire basement at task intensity. Comfort is a real design requirement, not an optional finish detail.
Address offices, bedrooms and hallways separately
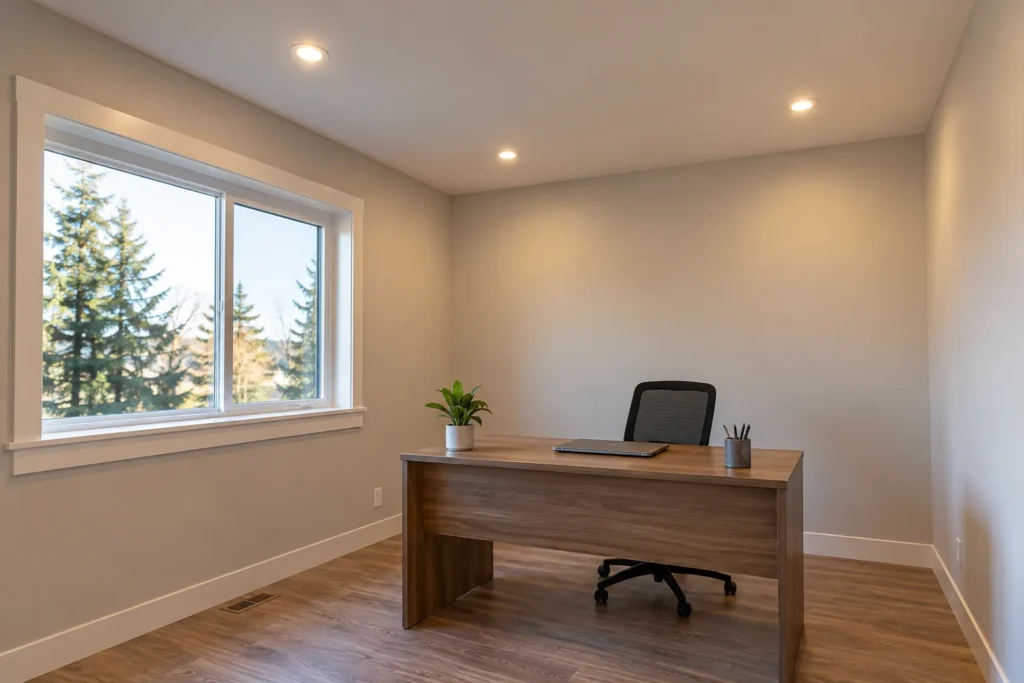
A basement office needs light on a desk without reflecting into monitors or creating unflattering video-call shadows. A bedroom needs warm, controllable light with attention to the view from the bed. Hallways and stairs need legible transitions and conveniently located switching. These areas may be small, but they are not identical lighting problems.
If the basement plan includes several rooms, give each a separate lighting brief. A shared colour appearance can hold the level together while the output, beam and control differ. Read the dedicated home office, bedroom and hallway and stair pages for each task.
Use renovation timing well
An unfinished or open ceiling allows coordination of fixture positions and electrical routes before drywall. This is the time to align lighting with the final room plan, storage, HVAC and any built-ins. It is still important to confirm the actual framing and service locations rather than drawing an idealized grid. A finished basement can often be updated, but access openings and repairs may be needed.
Where a bulkhead or existing fixture forces a compromise, another fixture type or task layer may solve the problem better than adding more downlights. The installation approach should be explained with assumptions about patching and painting, especially in a completed space.
Plan controls by activity and travel path
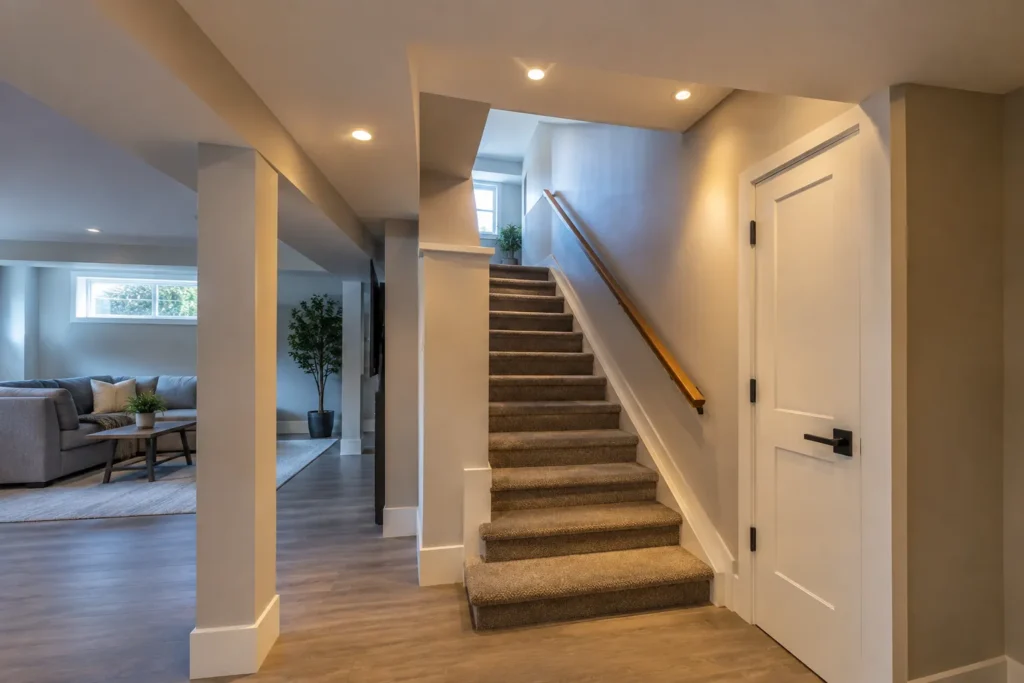
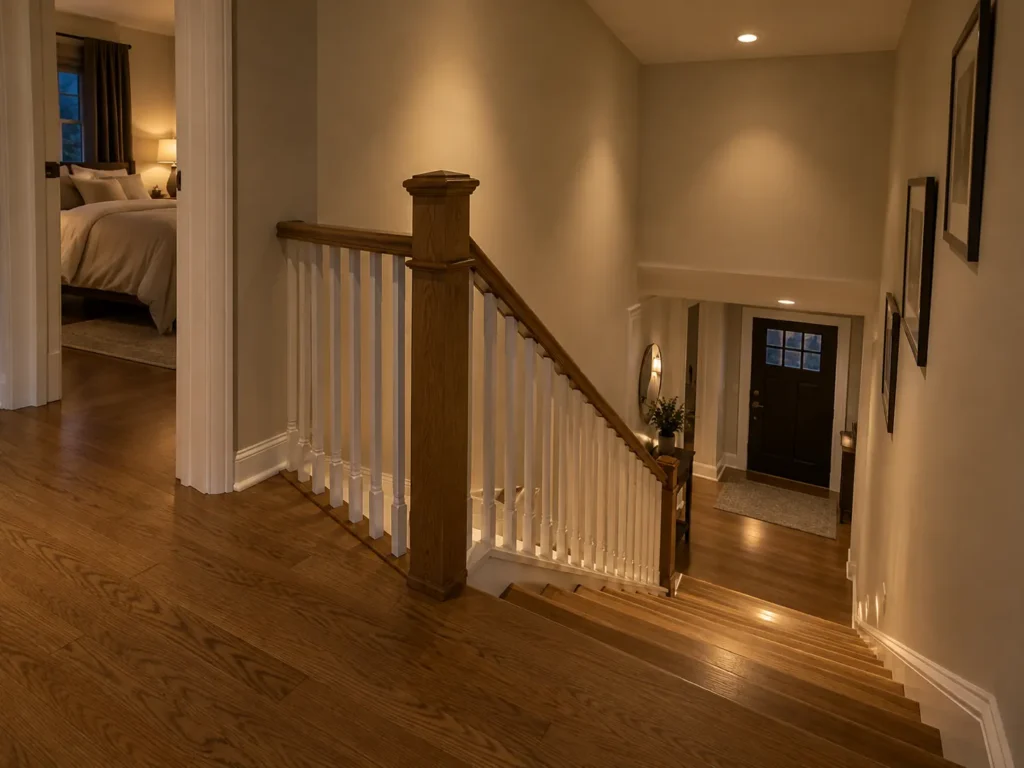
At the top of the stairs, people need an understandable way to light the route below. Once downstairs, a recreation zone, office and bedroom should not necessarily operate together. Multi-location controls, compatible dimmers or selected sensors may improve convenience depending on the actual wiring and room use.
An evening scene can leave circulation visible without flooding the seating area. A work zone can remain bright while a nearby screen is in use. Consider how household members move between the stair, hallway and rooms, then design controls around those habits. Smart systems can add scenes, but they should not obscure a clear basic switching plan.
Coordinate colour and other light layers
Basements may receive little daylight and often have darker floors or smaller windows. Warm, dimmable ambient light can make a living zone inviting, while task areas may need a different level of clarity. Colour consistency across a long visible ceiling matters; mismatched old and new modules can be especially obvious in one open basement.
Under-shelf or cabinet lighting can address a kitchenette; a task lamp can serve a desk; wall or accent light can give depth to a low room. Recessed lights are a valuable part of this mix, not a reason to omit the layers that put light nearer the task. Compare the selected products as a group rather than by wattage alone.
Confirm the electrical and finish scope
Existing circuits, wiring, fixture suitability and the layout of a finished ceiling should be reviewed before an estimate is treated as final. Electrical products need approval for use in Ontario. ESA says almost all electrical work requires notification before work begins; the person doing the work files, and a hired Licensed Electrical Contractor files for its work. The actual process and review depend on the specific work.
An estimate should identify fixtures, zones, controls, access, notification as applicable and any ceiling repairs. Basement conditions vary too widely for a meaningful price based solely on the number of lights. Clear scope helps prevent a polished lighting proposal from leaving unresolved drywall or control questions.
Photograph the ceiling before it is closed
If the basement is under renovation, record the framing, ducts, plumbing, wiring routes and insulation before drywall goes up. Those images can help explain why a fixture row bends around a bulkhead and can support future service. It is also a good moment to confirm the locations of a planned sofa, screen, desk or kitchenette; changes later may shift the useful lighting target.
In an already finished basement, photographs of ceiling transitions and current lights help identify likely access constraints. Measure the lowest bulkhead as well as the main ceiling. A plan built only from the tallest area may suggest a fixture or beam that feels too harsh below the lower sections. Treat the entire lower level as connected but distinct zones.
Questions about basement pot lights
Are slim pot lights best for every basement?
No. They help in some shallow cavities, but product instructions, insulation, framing and wiring conditions determine suitability. Beam, output and glare matter as much as profile.
Can I add pot lights to a finished basement?
Often, subject to electrical and ceiling access. Existing ducts, beams and framing may shift positions, and openings or repairs may be required.
Should every basement room use the same fixture?
A consistent appearance can help, but a bedroom, office, recreation area and utility room need different light levels and sometimes different beam or control strategies.
How do I avoid a low basement feeling harsh?
Plan for shielded or suitable optics, sensible output, wall illumination and dimming. Avoid putting the brightest sources directly in normal reclining viewpoints.
Plan your lighting
Send the basement plan, ceiling heights and photos of bulkheads, ducts and current fixtures. Tell us which spaces are being renovated and which are already finished. We can build a pot light plan around the level you actually have, with each room’s use in mind.