
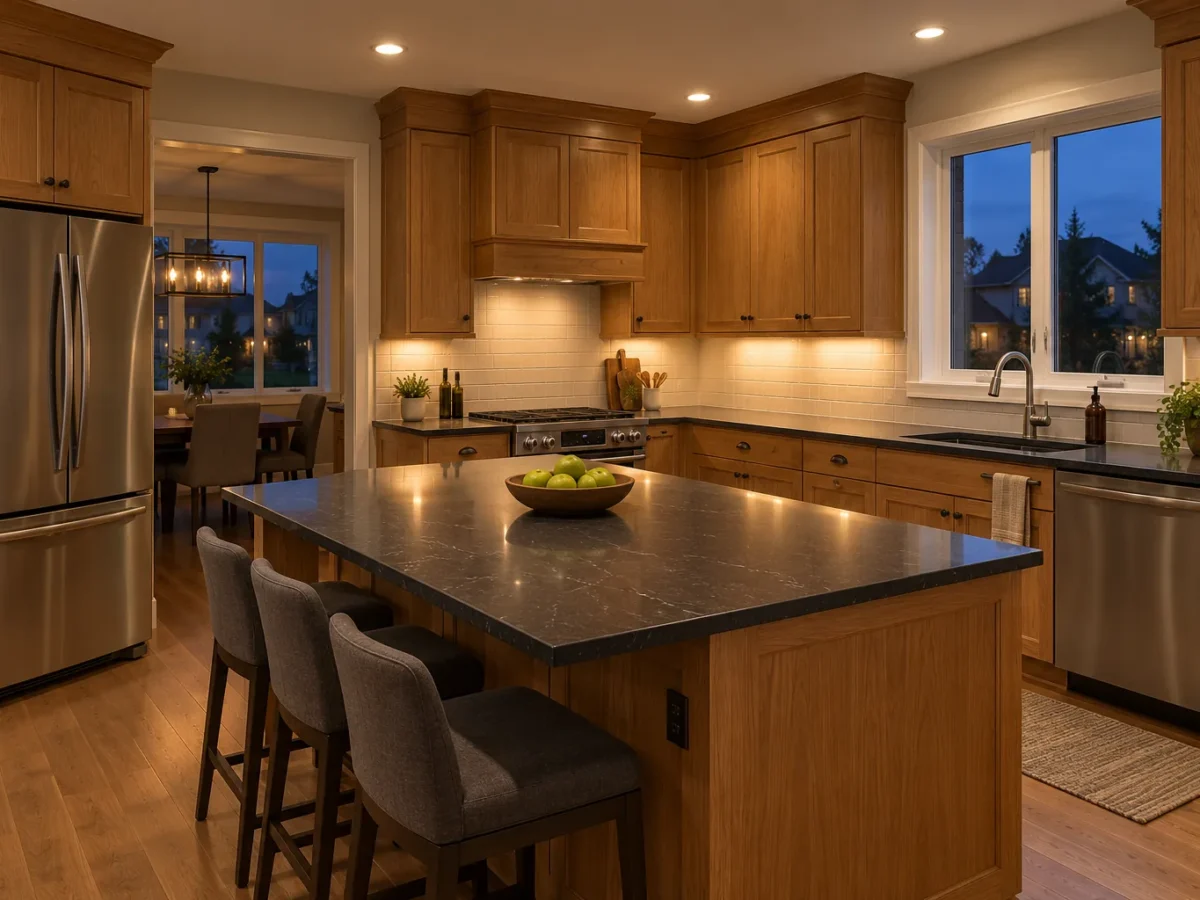
Milton Pot Lights approaches lighting from the room outward: first the tasks, surfaces and sightlines, then the fixture, position, output and controls. A ceiling plan is useful only when the space below it works better.
A room-first approach
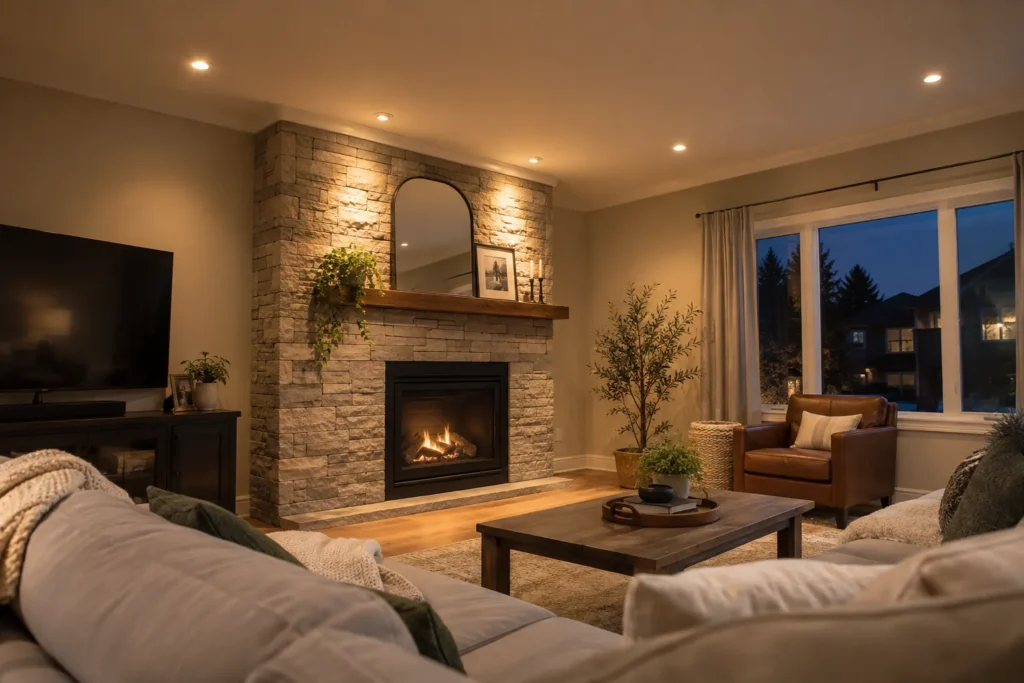
Pot lights can make a room feel open and organized, yet they are only one tool. A kitchen counter may need light beneath cabinets; a family room needs comfort around seating and television; a dining table might benefit from a visible pendant or chandelier. We start by discussing how people use the space, what the existing lighting fails to do and which details cannot move, such as cabinets, stairs and fireplaces. This gives each proposed fixture a purpose.
The room’s shape and dimensions are important, but equal spacing alone cannot determine a good layout. Beam angle, output, ceiling height, wall finish and daylight all affect what a fixture actually illuminates. A narrow beam may make a tall room feel spotty; a very bright downlight above a sofa can create glare even when a floor plan looks symmetrical. Separately controlled zones can make the same room useful for cooking, conversation, reading and evenings.
Pot lights and complementary layers
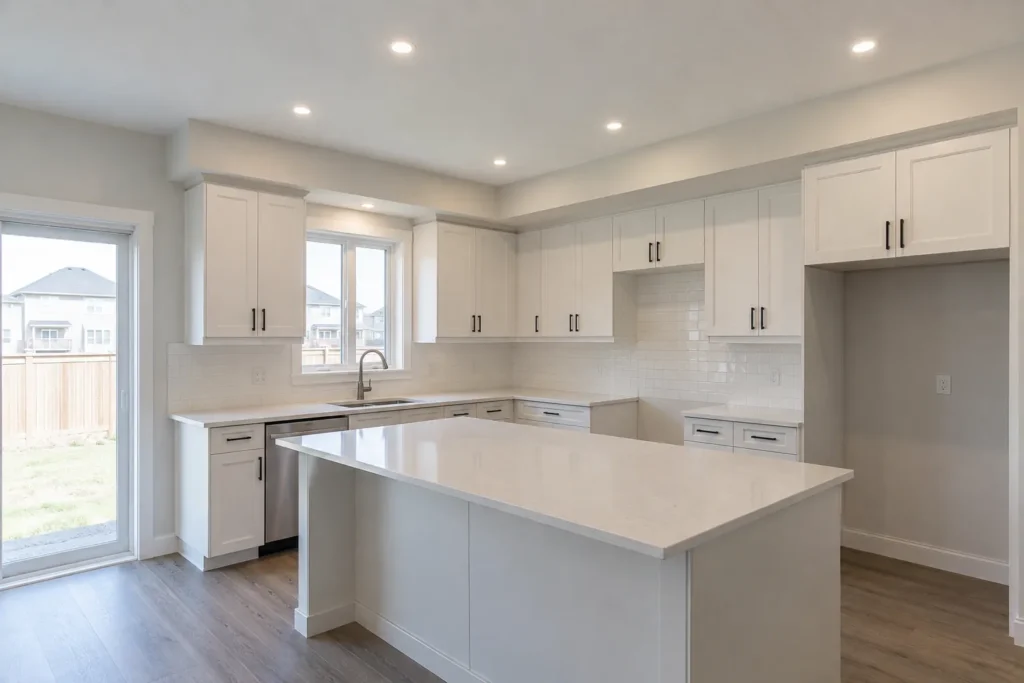
Interior pot lights provide discreet general or targeted light. Exterior and soffit lights can define an entrance or useful roofline without lighting the whole street. High ceilings require a separate look at beam, output, access and future servicing. Older recessed systems may present opportunities for LED upgrades, subject to the existing housing, driver and wiring condition. Explore the pot-light services for the distinct scopes.
We consider decorative and task fittings within the same plan. Flush and semi-flush fixtures, pendants, chandeliers, under-cabinet light and LED accents work best when their purpose is clear. The goal is not to cover every surface with every type of light. It is to give counters, paths, seating and focal points appropriate light and to keep the controls intuitive. A switch at the wall should still make sense even when smart features are included.
Existing buildings set real constraints
A finished ceiling may conceal joists, ducts, pipes and insulation that affect cable routes and fixture positions. Adding lights can require access holes and later finishing work. Open ceilings can simplify routing but still require product suitability, safe installation and the applicable electrical process. High foyers and vaulted rooms add access and support considerations; exterior locations add weather exposure. A meaningful quote describes these assumptions instead of promising an identical installation in every home.
If a light flickers, buzzes or fails, we treat the symptom as a starting point. Driver, fixture, dimmer, wiring, supply and product mismatch can produce similar behavior. Remote descriptions are useful for planning an assessment, but they cannot establish a confirmed cause. The lighting-problems library explains how to describe an issue and when the concern calls for prompt attention.
Electrical safety and approval
Electrical work in Ontario has specific requirements. The Electrical Safety Authority explains that almost all electrical work requires a Notification of Work before starting. When a homeowner hires a Licensed Electrical Contractor, that contractor files for its work. ESA review may involve an inspection or another review path, and an accepted installation results in a Certificate of Acceptance. An electrical notification is different from a municipal building permit. Products also need recognized approval for use in Ontario and suitability for the actual location. The ESA guide links the official sources and explains these distinctions without implying any unverified credential for this website.
We do not assume that an online listing proves a fixture will work with an existing dimmer or that an exterior label fits every exposed installation. Product instructions, approval marks, driver details and the installation context matter. This attention extends to repair and commercial work, where hours, access and occupied spaces may shape the plan.
Prepare for a useful conversation
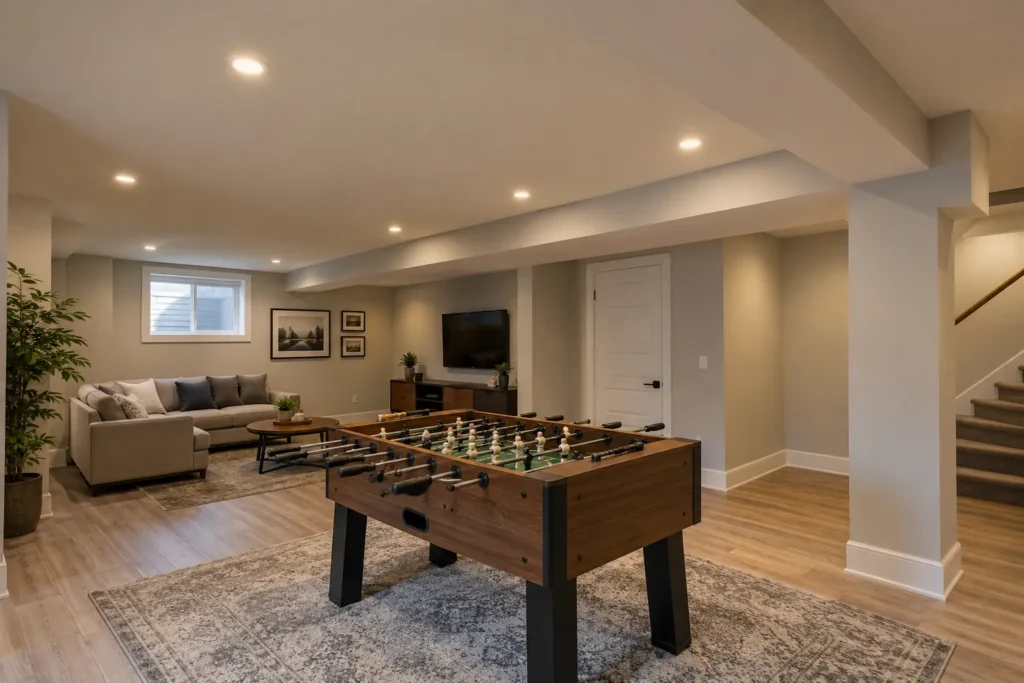
Share the Milton property location, room dimensions if known, ceiling height, photographs, current switches and the result you want. A sketch indicating counters, seating or artwork can be more useful than a proposed number of pot lights. If you already purchased fixtures, include product links and specifications. Tell us whether the ceiling is finished, under renovation or unusually high, and whether patching or painting will be coordinated separately.
You can explore lighting by room, compare fixtures, consult the cost factors and then request a lighting quote. The discussion can start with one room or a connected set of spaces; the important thing is describing the desired outcome and the conditions already present.
If a room is under renovation, share the planned cabinetry, wall colours, furniture placement and intended use even when they are not yet visible in photographs. That can prevent a ceiling location chosen for the current empty room from landing in the wrong place after the finishes are installed. If you have competing priorities, such as maximum task light and a soft evening setting, identify both. A lighting plan can use separate layers and controls to address them without treating one fixture as the answer to every need.
Frequently asked questions
What areas are the focus?
Milton is the primary service area. Describe the property and project through the contact page so the scope and location can be discussed.
Can I request a plan before choosing products?
Yes. Share the room use, existing lighting and preferred result first. Fixture specifications can then be considered against the layout and application.
Do all lighting projects require ceiling openings?
No. A like-for-like fixture change and a new recessed-light layout have different access needs. The existing wiring, box, ceiling and proposed work must be reviewed before any patching assumptions are made.