
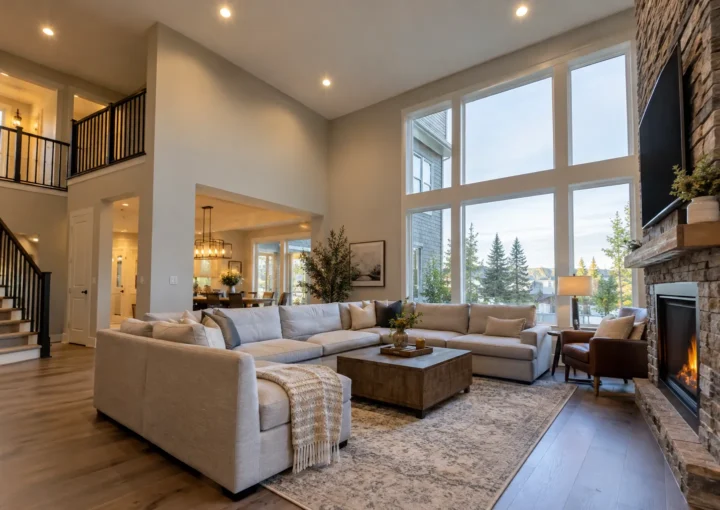
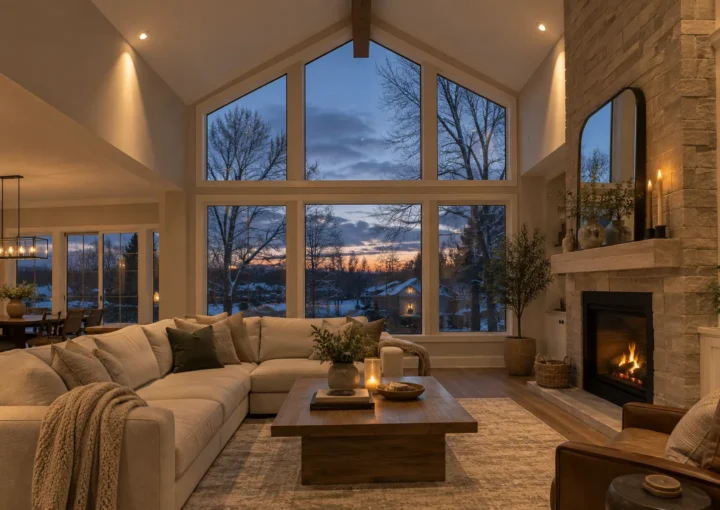
Choose recessed lighting by what the room needs to do. A well-planned pot-light layout gives useful light to counters, walls, seating, circulation or architecture without treating the ceiling as graph paper.
Begin with the room
Recessed lights have a discreet appearance, but their performance depends on much more than the visible trim. The fixture’s output, beam distribution, position and colour temperature need to work with daylight, finishes and the other light sources in the room. A kitchen counter deserves a different arrangement from a living-room television wall or a stair landing. We map the use of a space first and select fixtures and switching to suit it.
Existing homes add practical conditions. Joists, ducts, plumbing, insulation, ceiling depth and cable routes can change the feasible positions. A finished ceiling may require access points and a clear agreement about drywall repair. An open renovation ceiling offers more routing flexibility but is still subject to product instructions and electrical requirements. A useful plan balances the desired effect with the actual building.
Six distinct ways to use pot lights
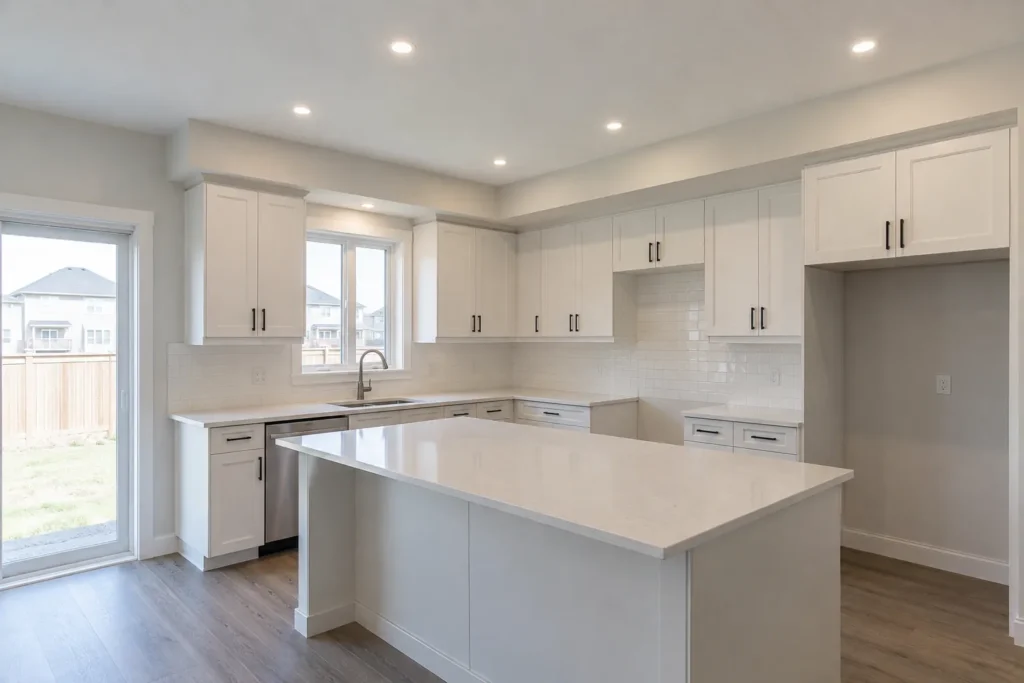
Pot light installation covers the full project from a room survey and layout through fixture choice, access, wiring conditions, controls and final testing. It is the starting page if you are introducing new recessed lights rather than replacing a single lamp.
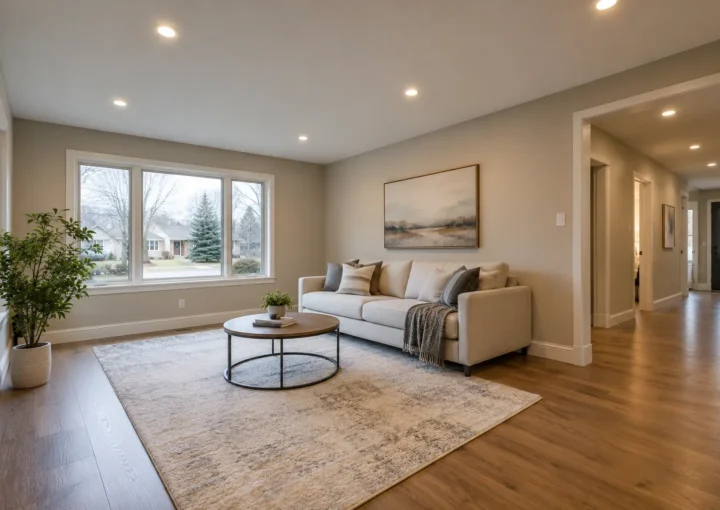
Interior pot lights considers adjoining rooms and the way daylight, furnishings, cabinets and screens affect lighting. It explains how ambient light can work with task and decorative sources instead of trying to make one row of ceiling lights do everything.
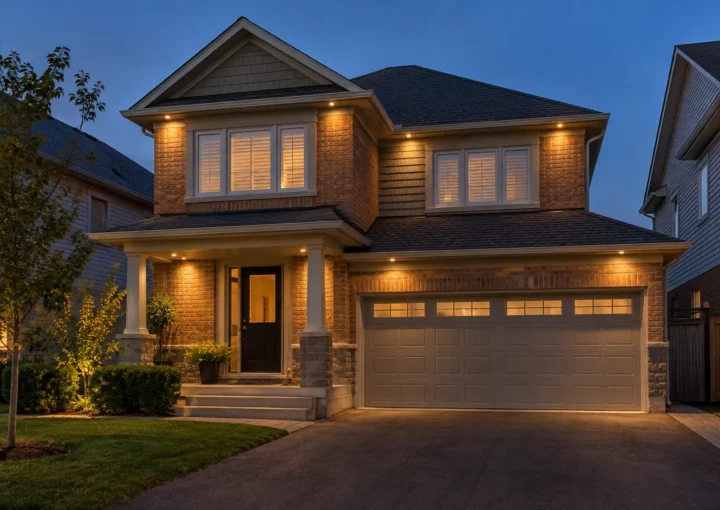
Exterior and soffit pot lights address entrances, garage faces, porches and rooflines. Weather exposure, beam control, glare and a sensible nighttime rhythm matter as much as the number of fixtures.
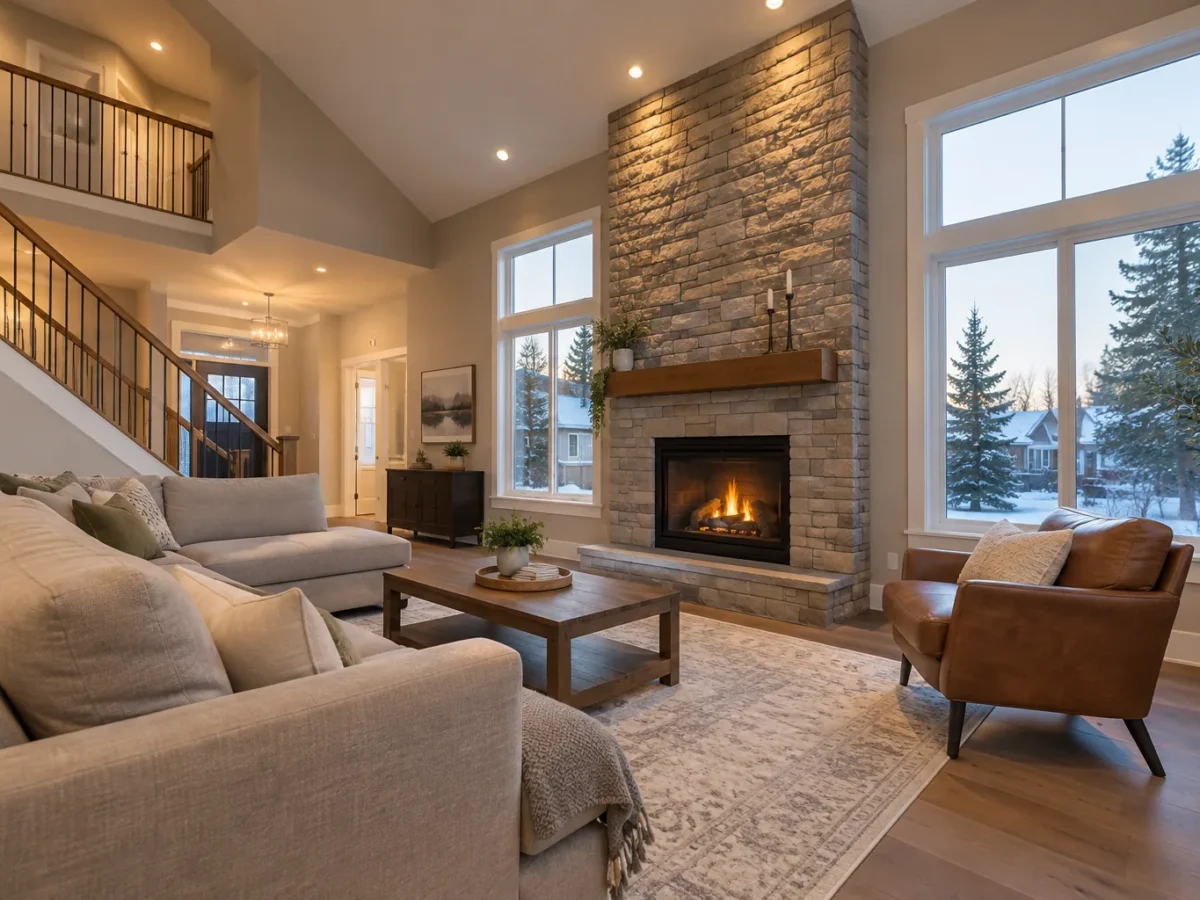
High-ceiling pot lights deal with tall or vaulted rooms, where output, beam angle and future service access differ from a standard-height ceiling. High-ceiling decorative fixtures are covered separately.
Layout and design explores task surfaces, wall placement, beam overlap and independently controlled zones. Equal spacing is a drawing convention, not a universal answer to good illumination.
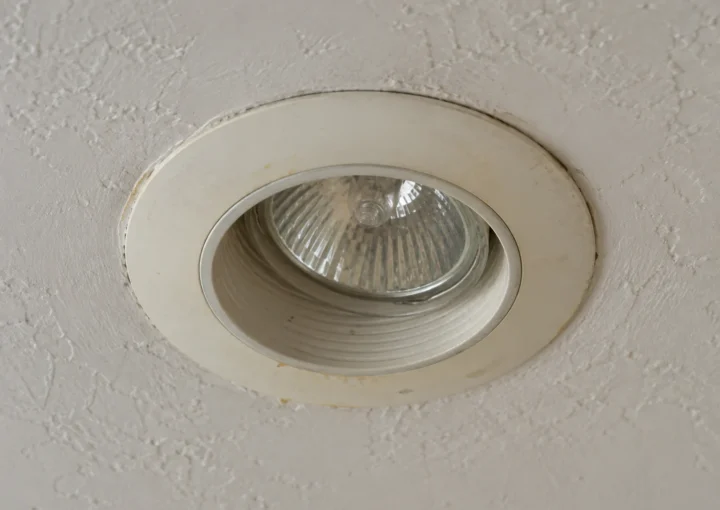
LED pot-light upgrades start with the existing housing, driver, wiring and dimmer. Some older systems can be updated without removing every housing; other conditions call for a different approach.
Practical questions before choosing a fixture
Bring approximate dimensions, ceiling height and photographs of the room and any existing fixtures. Mark counters, tables, seating, artwork and screens; explain whether the ceiling is open or finished. A product link is helpful if you already have a preferred light, but its approval, application rating and driver or dimmer compatibility still need review. Your desired light level matters more than committing prematurely to a quantity.
Ontario electrical work has a separate safety process. ESA says almost all electrical work requires a Notification of Work before it begins; the person doing the work files it, and a hired Licensed Electrical Contractor handles that step for the customer. A municipal building permit, where another part of a renovation needs one, is a different process. See our ESA guide for current official links.
Frequently asked questions
Are four-inch lights always better than six-inch lights?
No. Diameter describes the trim’s visible scale, while output, beam, optics and installation requirements vary by product. Compare fixture sizes in context.
Can one dimmer control every room?
A connected floor often benefits from separate zones so tasks, seating and transitions can be adjusted independently. The selected LED and dimmer must also be compatible.
Do soffit lights need different products?
The location and exposure determine the required product suitability. Exterior fittings must be evaluated for the actual damp or wet conditions and installed per their instructions.
Where to begin
If you are considering a single room, walk through it at the times you use it most. Note whether you need general illumination, a better task surface or a softer evening setting. In an open floor plan, identify the boundary between work and relaxation zones. This brief observation often reveals more than a proposed ceiling grid and gives the lighting conversation a clear starting point.
Output and beam are different decisions
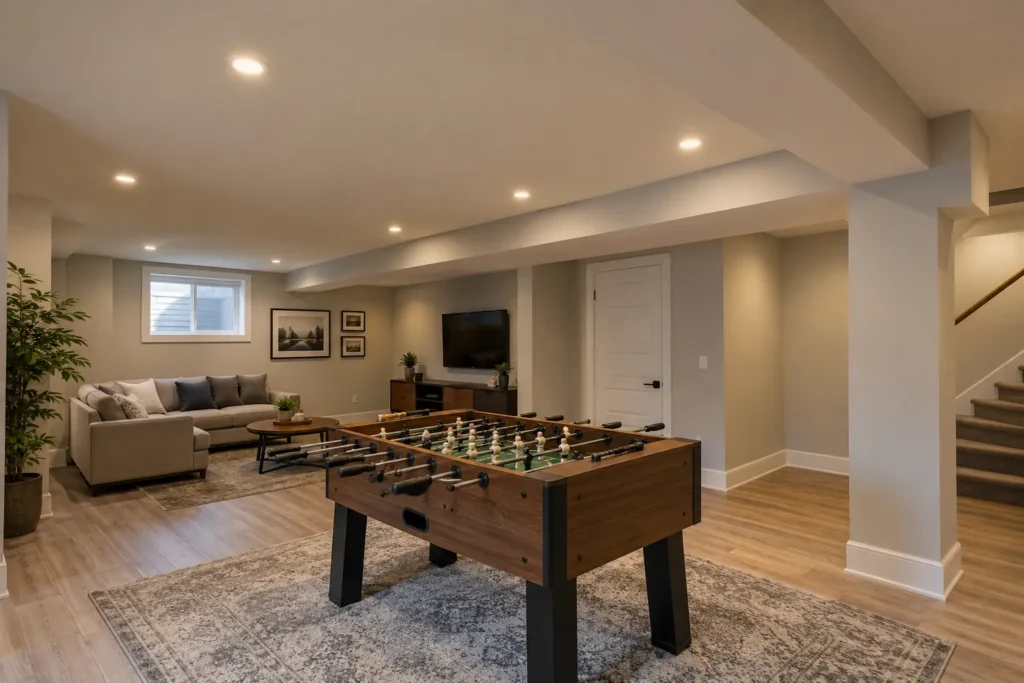
A wattage or fixture diameter does not tell the whole story. Compare the light actually delivered and where its beam goes. A broad beam can soften a low-ceiling room, whereas a selected narrower beam may be useful to bring light down from a taller ceiling or draw attention to a surface. The number of fittings follows from the chosen products and the surfaces to be lit. Two nominally four-inch products can behave differently. When the room has dark walls, a dark floor or a high ceiling, more of the visible brightness can be absorbed or dispersed before it reaches the intended task.
Walls and vertical surfaces
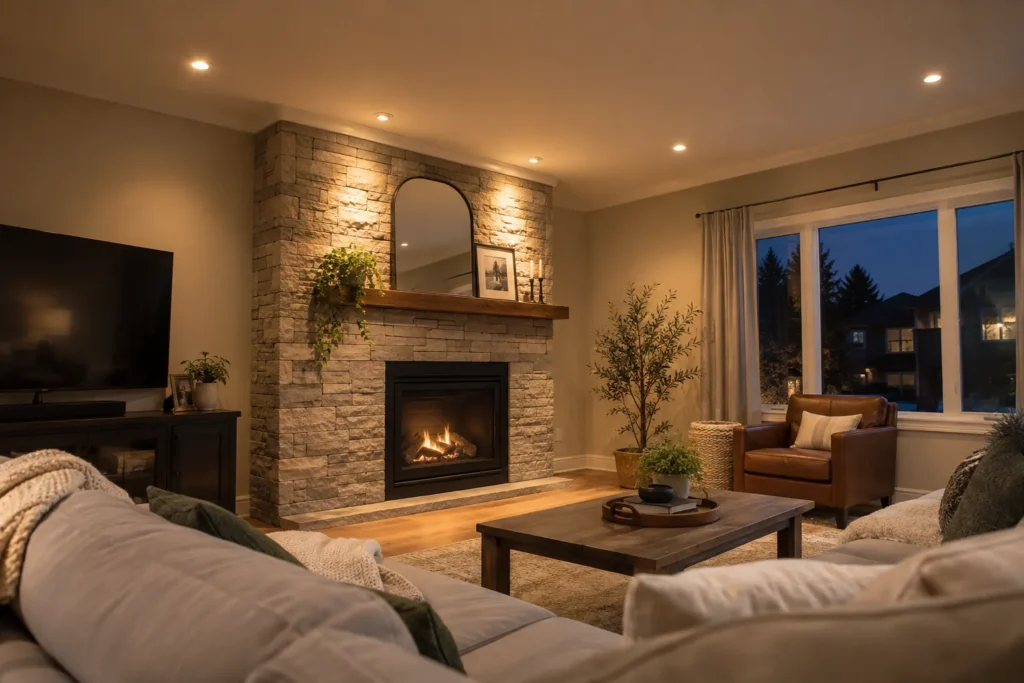
Ceiling grids often ignore the surfaces that make a room feel bright. Light on a wall, cabinet front, artwork or fireplace changes the impression of the entire space. Moving a fitting merely to preserve even ceiling spacing can leave a wall flat and place an unwanted bright spot over a sofa or television. Look at the room from the doorway and normal seated positions, not only from a reflected ceiling plan. Directional or wall-wash products can be useful in the right application, but their aim, beam and placement require a deliberate decision.
Zones and daily use
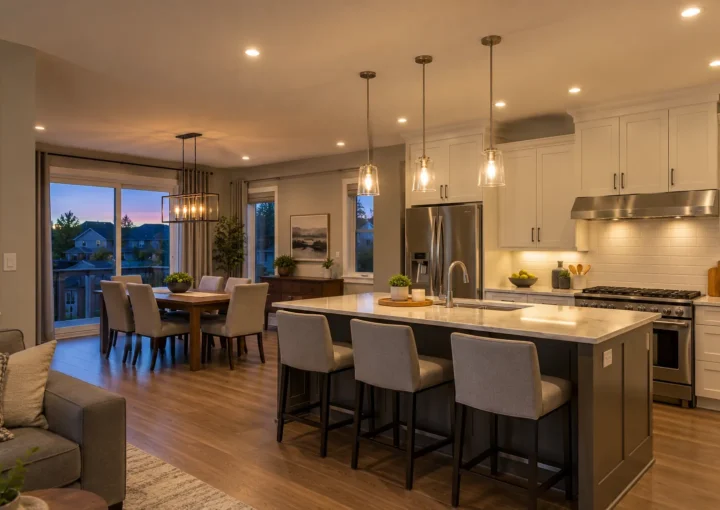
A large kitchen and family room may have several jobs: food preparation, island seating, circulation, television and a softer evening scene. One switch can make all of these areas too bright together or too dim for work. Separate zones and compatible dimming can provide flexibility. The wiring and control design should be considered before fixture holes are made, particularly when cabinets, pendants or under-cabinet lights will add their own layers. A simple, predictable wall control often matters more in daily life than an elaborate set of app scenes.
Finished ceilings and truthful scope
Existing drywall can hide framing changes, pipes, insulation, old wiring and obstructions. Photographs may help plan, but they do not prove a cable can travel through a proposed route. A ceiling opened during renovation provides information and access that a finished room does not. Discuss the likely access points and who will patch or paint before accepting an estimate. Where the location is damp, wet, insulated or near a rated assembly, the selected product and installation method must be suitable for those conditions. The goal is a finished result supported by a practical installation plan.
Old lights and continuity
Updating halogen or early LED recessed lighting is not automatically a remove-and-replace-everything project. Existing housings, trims, drivers, wiring and controls need to be identified first. A suitable conversion might preserve parts of the installation, while a failed or incompatible component may require a more involved change. Consider the colour temperature and appearance of adjacent spaces so a replacement run does not look visibly different from the rest of the floor. If existing lights flicker or buzz, diagnosis should precede product selection.
A quote that reflects the actual room
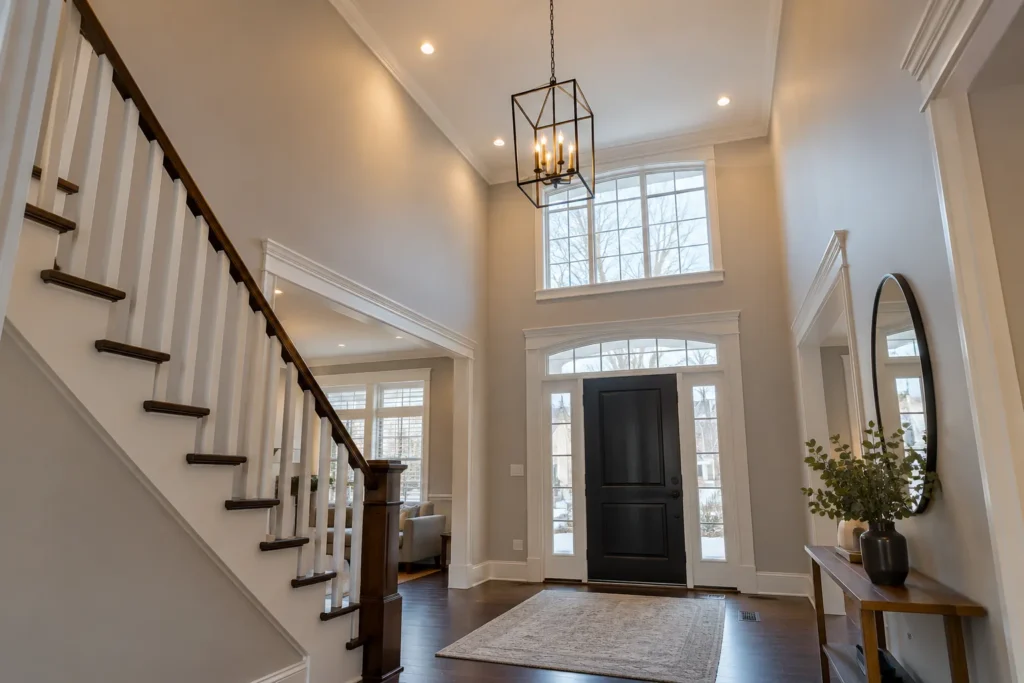
A meaningful scope names fixture type and approximate quantity, switching, dimming, access, ceiling work assumptions, product supply and the applicable ESA process. It should not turn a one-room reference price into a promise for a high foyer or finished basement. Share room measurements and photos, but also explain whether the ceiling is open, how you use the space, and which surfaces currently feel underlit. That information helps direct the first conversation toward an outcome rather than a generic fixture count.