
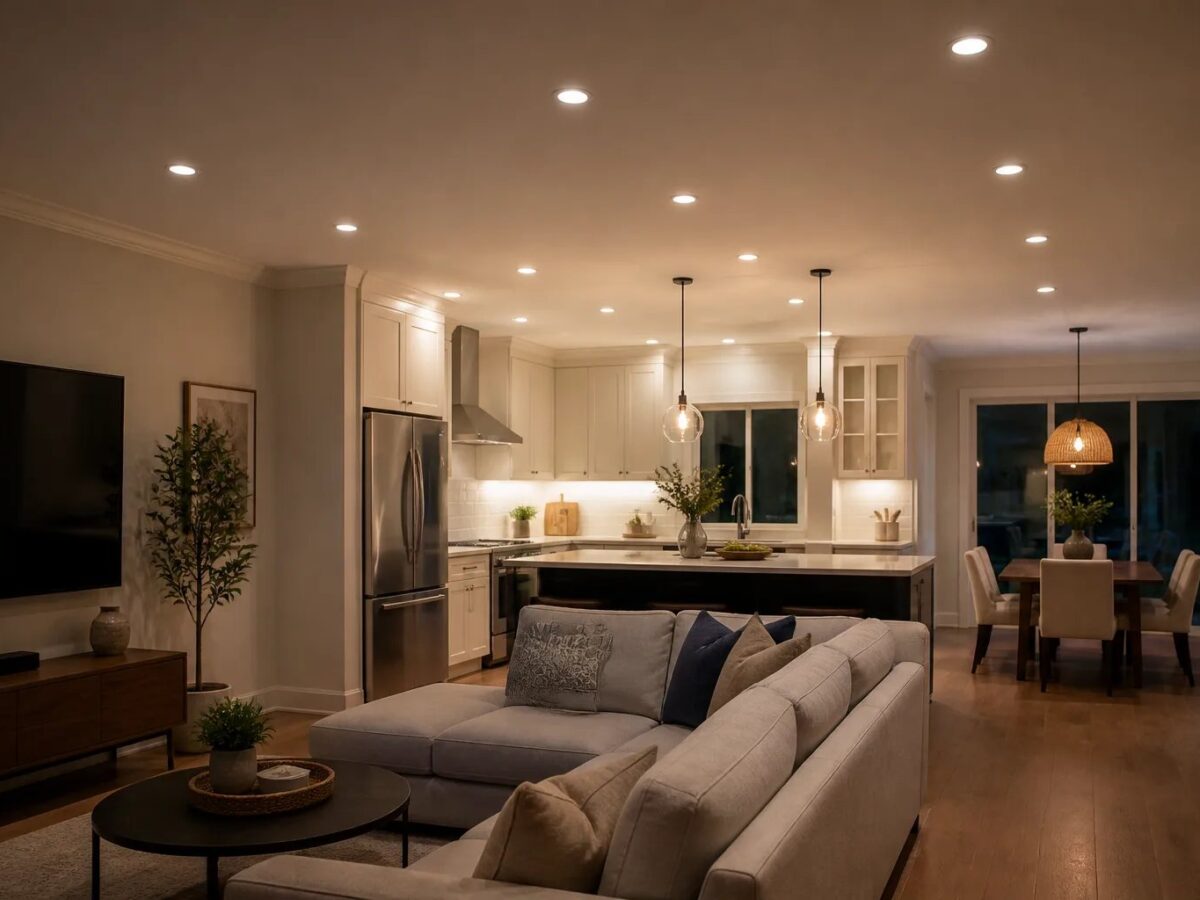
A thoughtful pot light layout for open-concept homes in Milton starts with the way you use each part of the main floor, not with a uniform grid of ceiling openings. Kitchens, dining areas and family rooms may share one ceiling, but they need different light levels at different times. The most useful plan gives each area a clear job, supports task surfaces, limits glare and lets you control zones independently.
At Milton Pot Lights, we plan and install interior pot lights as part of a broader lighting approach. Recessed lights can provide comfortable ambient coverage, but they work best alongside other layers such as pendants, under-cabinet lighting, lamps and accent lighting where those layers solve a specific problem.
Start with activities, not a ceiling grid
An open main floor can look orderly on a drawing while still feeling uncomfortable in daily life. A row centred in the room may light open floor well but leave a kitchen counter shadowed, create reflections on a television or make a dining table brighter than needed.
Before selecting positions, identify the activities and surfaces that need light:
- Kitchen: preparation counters, sink, island and circulation around cabinets.
- Dining area: the table, surrounding walkways and the visual relationship with a pendant or chandelier.
- Family area: seating, reading spots, pathways, a television wall, fireplace or artwork.
- Transitions: routes between the front hall, kitchen, stairs and adjacent rooms.
Furniture and cabinetry matter as much as room dimensions. A recessed light positioned directly behind someone standing at a counter can cast their shadow across the work surface. In a living room, a light that lands in front of the sofa may be more useful than one directly above a reclining seat. Our pot light layout and design service considers these everyday relationships before the ceiling pattern is finalized.
Give connected areas their own lighting zones
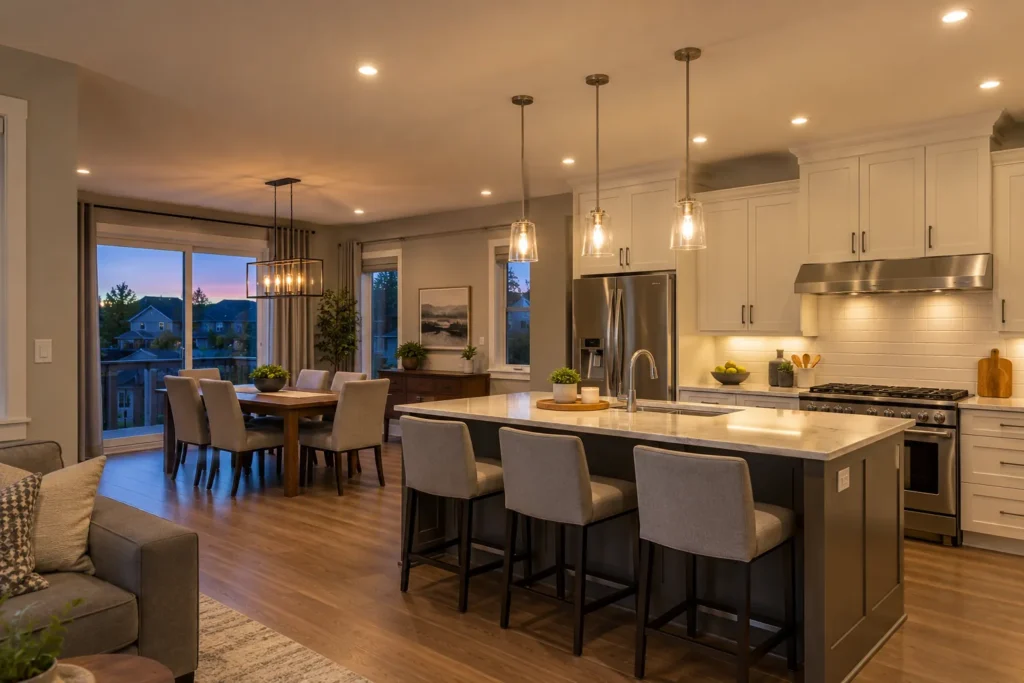
Shared ceilings do not require shared switching. A kitchen often needs brighter light for food preparation and cleanup, while the nearby seating area may need only a low, comfortable level for conversation or television viewing. Separate zones make both uses possible without forcing the whole main floor to one setting.
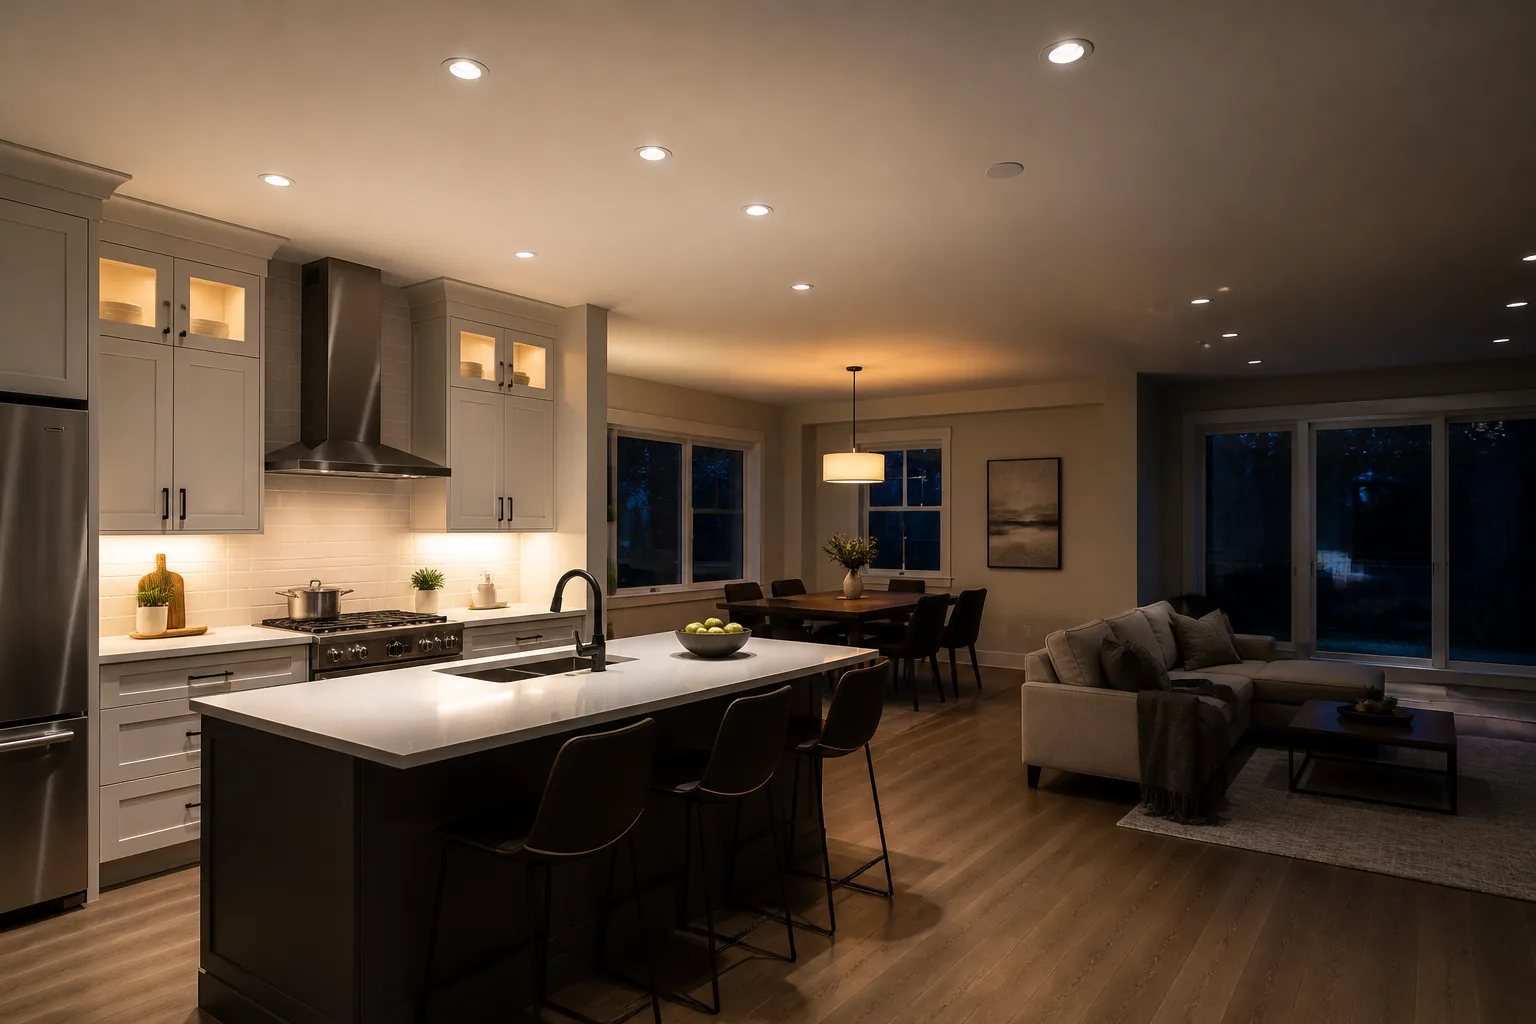
A practical zone plan often separates general recessed lighting from task and decorative layers. For example, kitchen pot lights, under-cabinet lighting and island pendants can each have a distinct purpose. In the family room, a circulation or ambient zone can remain on at a lower level while lamps or a feature accent handle the atmosphere.
Dimming adds flexibility, but it does not correct a poor layout. Fixture placement, beam spread and glare control should be resolved first. If dimmers or smart controls are part of the plan, the LED fixtures and controls need to be selected as a compatible system. We offer smart lighting and dimmer installation for lighting plans that call for updated controls.
Put useful light on counters and vertical surfaces
Ceiling light alone does not always reach the surfaces where you need it. Upper cabinets can block a downlight before it reaches the counter, and a tall pantry can create a dark pocket beside it. Raising the output of every recessed fixture is rarely the best answer because it can make the rest of the room uncomfortably bright.
In kitchens, the location of cabinets, sink, island and standing positions should guide the layout. Under-cabinet lighting places light close to the worktop and can reduce shadows that ceiling fixtures cannot solve efficiently. It can also provide a softer evening layer when the general recessed lighting is dimmed. Read our guide to kitchen lighting layers for a closer look at how ambient, task and decorative light can work together.
Vertical surfaces deserve attention too. A carefully placed recessed fixture can help reveal cabinetry, shelving, artwork or a textured wall, giving the room depth without making the floor excessively bright. However, lighting every wall evenly can create visual clutter. Select the surfaces that matter most, then consider viewing angles, glossy finishes and reflections from normal seating positions.
Plan around daylight, screens and nighttime glare
Open-concept rooms change dramatically between a sunny afternoon and a winter evening. A window wall may provide plenty of daylight while an interior counter remains dim. After dark, that same glass can reflect bright ceiling apertures toward a sofa or dining table.
Check the main floor at more than one time of day before settling on the plan. Notice where daylight reaches, which corners stay shaded, where reflections appear on screens and which rooms need independent evening light. Separate zones allow electric lighting to fill in the gaps rather than competing with daylight at full output.
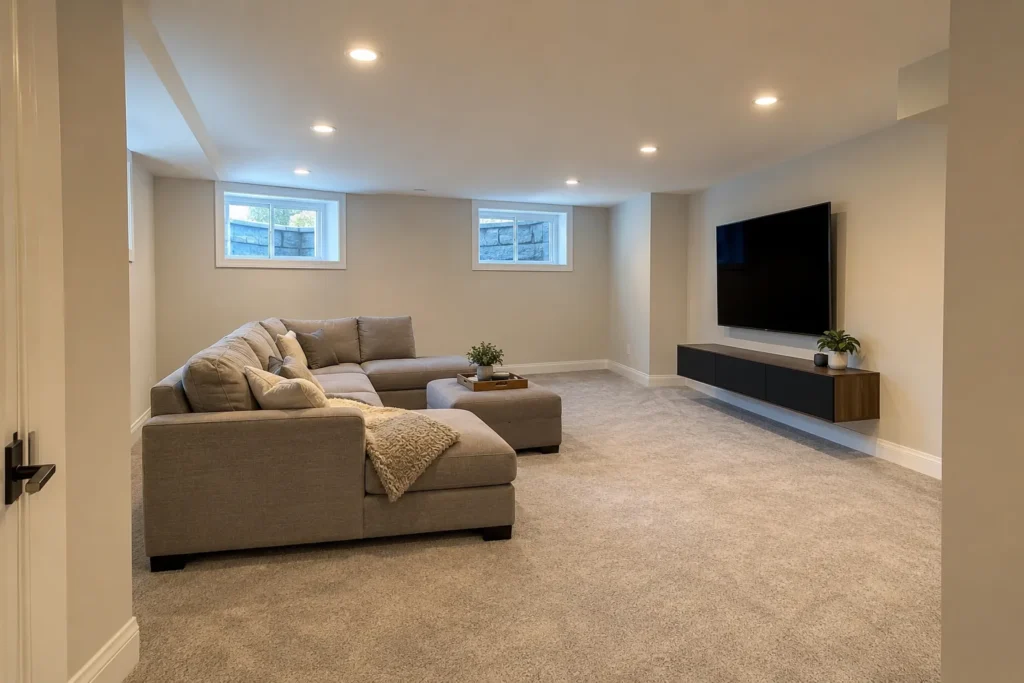
Television viewing requires special attention. Recessed lights that shine toward a screen or create a bright wall directly behind it can make the viewing area less comfortable. Softer surrounding light and independent control of nearby fixtures usually offer more flexibility than a single bright bank of downlights. Our living and family room pot light guide explains the role of seating, screens, feature walls and dimming in that decision.
Choose colour and beam for the room, not just the label
Two recessed fixtures can look similar in a product listing while producing very different results. Output, beam angle, trim design, glare control and colour quality all affect how light lands on a counter, wall or seating area. A broad beam can support general coverage, while a more controlled beam may be better for a selected wall or feature. Neither is automatically better without a target surface in mind.
Colour temperature also affects how connected rooms feel together. A visible run of mismatched older and newer lights can make a ceiling appear patchy. Compare proposed recessed lights with existing pendants, lamps and nearby rooms rather than selecting a Kelvin number in isolation. Dimming changes brightness, but it does not necessarily change colour temperature unless the specific product is designed for warm-dim operation.
For a practical comparison of common white-light options, see our guide to 3000K versus 4000K pot lights. It is also worth recording the exact proposed fixture and control models. If a product is substituted later, its cutout size, beam pattern, output, colour and dimmer compatibility should be reviewed again.
Expect finished-ceiling conditions to shape the final layout
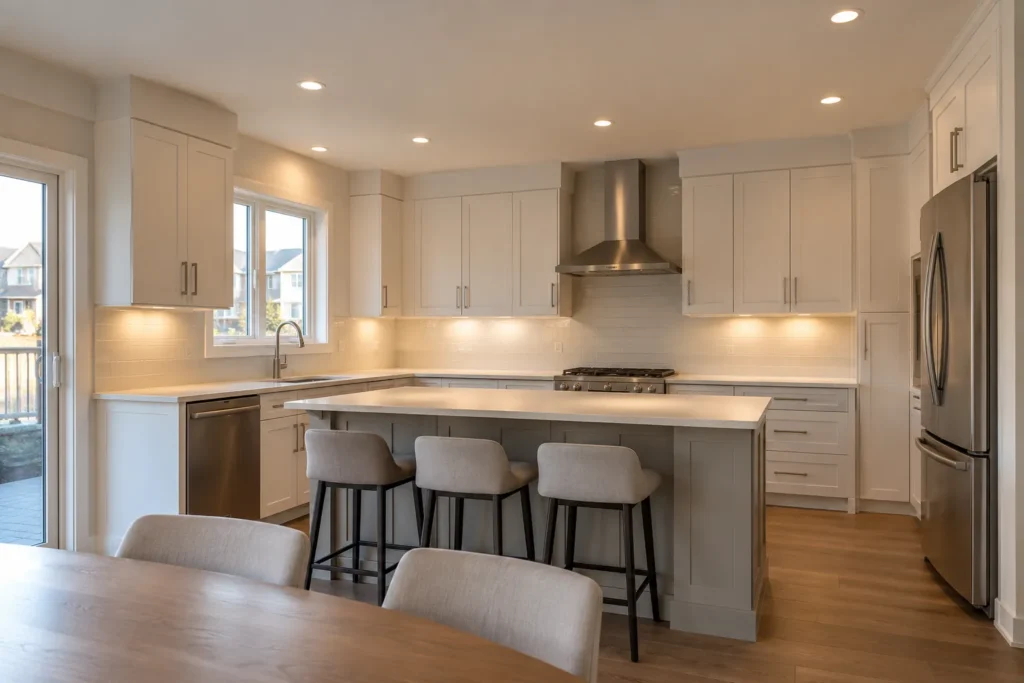
A finished ceiling conceals joists, ducts, plumbing, insulation, wiring and blocking. Those conditions can affect where a light can be placed and how wiring can reach it. A small position change may preserve the intended lighting result; in other cases, a different beam, fixture type or supplemental lighting layer may be a better solution.
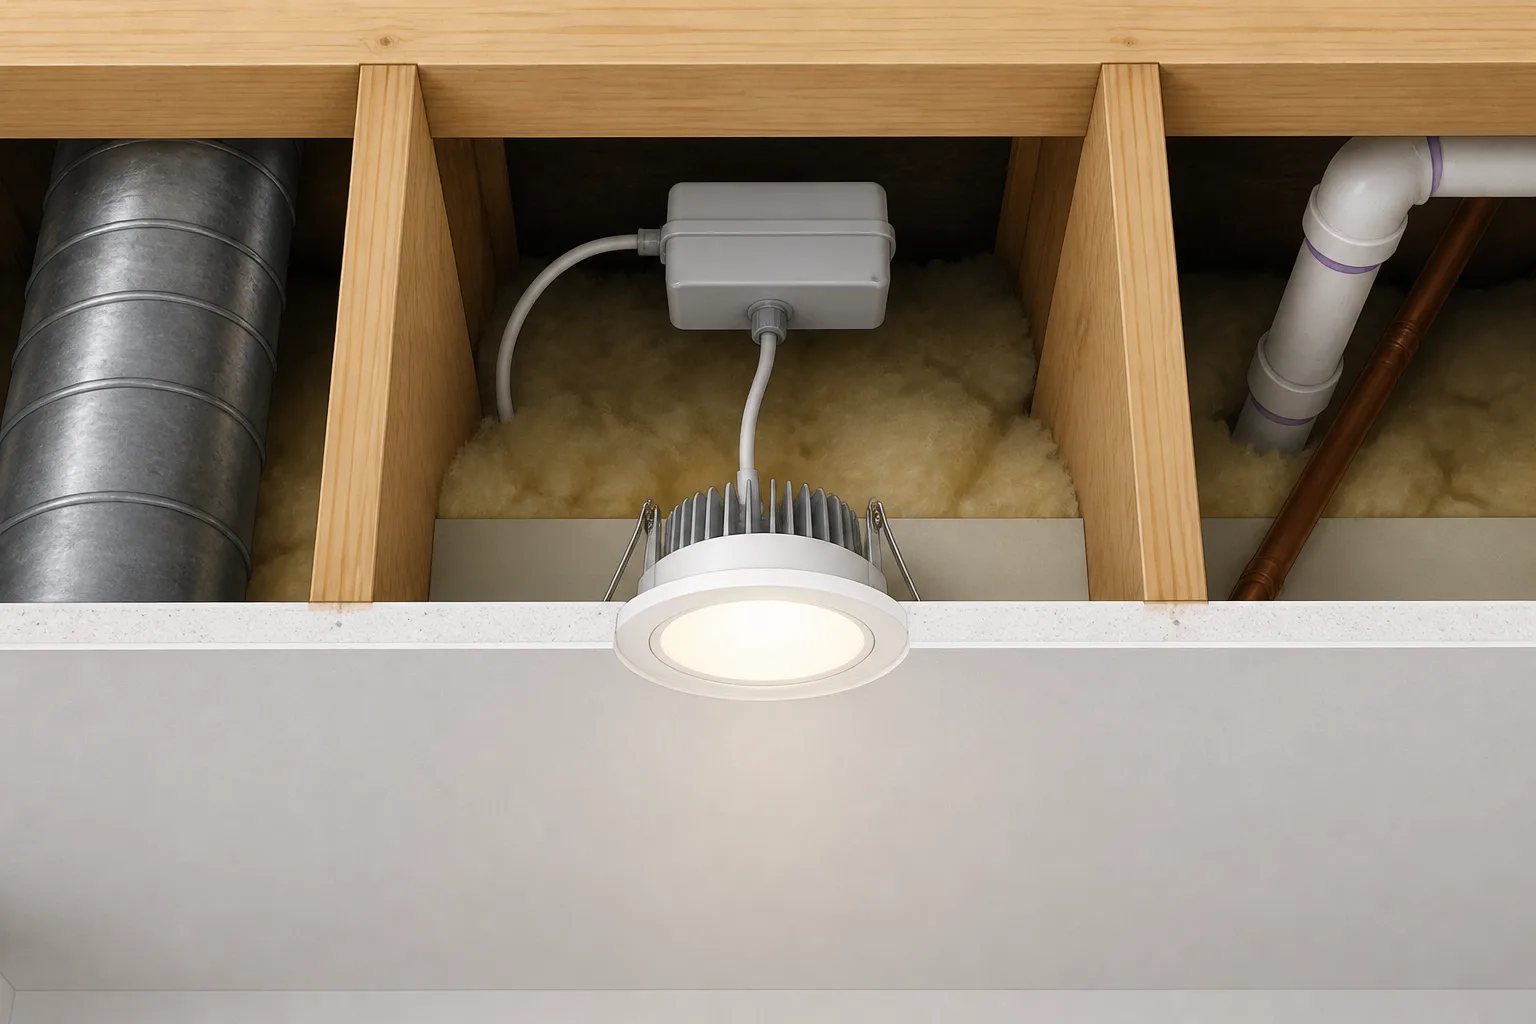
Low-profile LED fixtures can help in constrained ceiling spaces, but a thin light module does not remove the need for a suitable driver location, an appropriate wiring route or a product suitable for the ceiling assembly. No responsible installer can promise that a finished ceiling will need no drywall repair before the conditions are assessed. Learn more in our guide to pot lights without attic access.
Ontario electrical planning
A finished ceiling should be assessed before positions are promised
Joists, ducts, plumbing, insulation and existing wiring can change a proposed pot light position or routing method. For electrical work in Ontario, discuss the applicable ESA Notification of Work with the Licensed Electrical Contractor performing the installation, and confirm that the exact fixture is approved and suitable for the ceiling and location.
Prepare a clear brief before requesting a layout
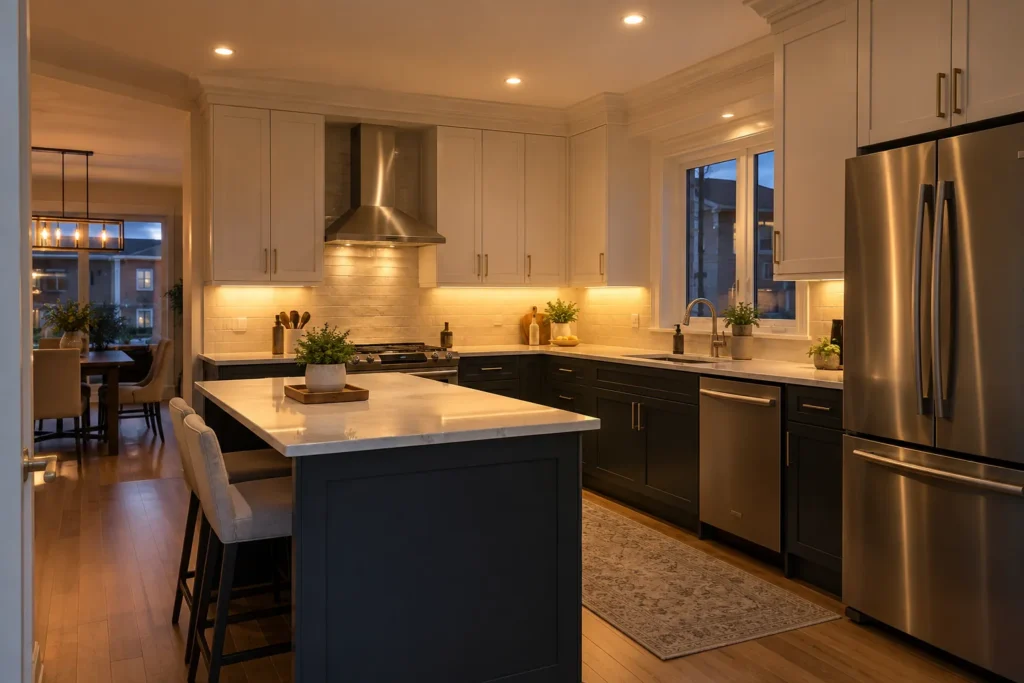
A detailed starting brief helps turn a general idea into a plan that addresses both the lighting effect and the installation conditions. Photos are especially useful when they show the entire ceiling, cabinets or furniture, existing fixtures, switches and nearby unfinished access areas.
Before a lighting quote
What to share for an open-concept pot light plan
A few specific details help us understand both the lighting goal and the existing conditions.
- Full-room photos from the kitchen, dining and living-room viewpoints.
- Approximate room dimensions, ceiling heights and any bulkheads or sloped areas.
- Cabinet, island, dining-table and furniture locations, including the television and fireplace if applicable.
- Photos of current fixtures, wall controls and any nearby unfinished ceiling or attic access.
- The surfaces that feel dark now and the scenes you want, such as food preparation, entertaining, reading or television viewing.
- Any planned renovation, ceiling painting or fixture changes that could affect timing and finish work.
For new interior lighting work in Ontario, the electrical process should be discussed with the Licensed Electrical Contractor completing the work. ESA states that almost all electrical work requires a Notification of Work, and a hired Licensed Electrical Contractor files the notification for its work. Electrical product approval and the installation process are separate matters: the selected fixture must carry a recognized approval mark and be suitable for its actual location and ceiling conditions. Our Ontario pot light electrical requirements guide explains the homeowner questions to raise before work begins.
The strongest open-concept lighting plans are not defined by the most fixtures or the most exact symmetry. They provide useful task light, calm evening light and simple controls that make sense every day, while allowing the final layout to respond to the realities above the ceiling.
Helpful answers
Frequently Asked Questions
Discuss your main-floor lighting plan
Share the rooms, surfaces and lighting concerns you want the quote to address.
Share the space, current lighting and the result you want.
Request a Lighting Quote